Friday, July 15, 2016

Bending and drilling the FL-706B bracket - 3.5 hours

 Note: Again, as per my previous post, refer to my build tip at the end of this post for the sequence I recommend. After building this portion I would do the sequence differently to ensure a more precise fit.

Next step is to clean up the FL-706B bracket, bend it and then drilling the FL-706A bracket and then drilling that assembly to the flap structure.
 

First thing I did was to fit the FL-706A angle bracket to the FL-706B bracket and drill the holes.

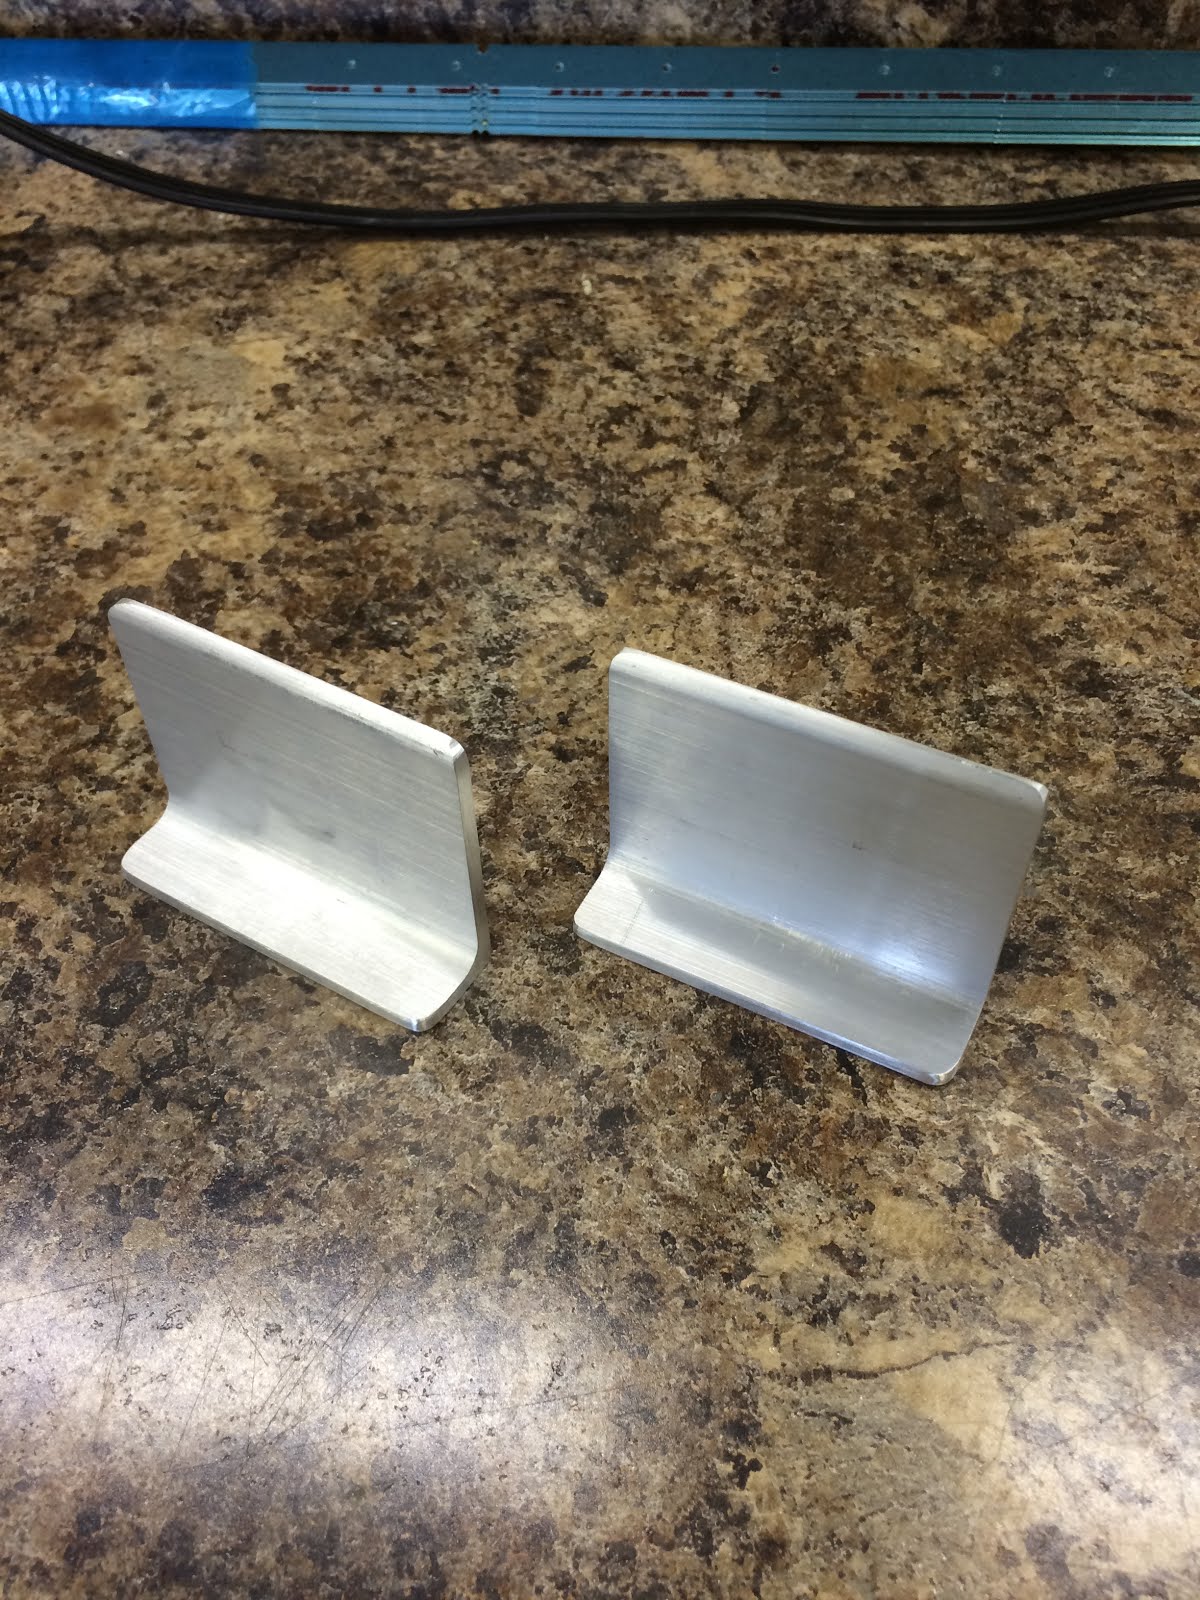
I marked out the bend line on the FL-706B bracket and clamped it in a vice. The plans call for bending it 6.3 degrees!!  Well, its a bit tricky since the material is so thick, but I managed to get really close. After some check, fit, bend, check, fit, I made the pieces work.

Now..this is where things get tricky...This ended up not being the best sequence as now I had a tough time getting the hole for the future flap control rod bearing to align. On the first go round, the holes did not match up well. Fortunately when I swapped the FL-706A angle brackets the holes aligned extremely well. Whew...Dodged a bullet there.

Now that the assemblies where done, I clecoed them to the flap assembly and began to drill the holes into the FL- 703 spar and the FL-704 rib.  Everything went well, except it seems that my first hole for the second flap assembly ended up drilled incorrectly. I thought I had the fit sorted before I drilled....guess not. After re-fitting.. I was about 0.030" out on my hole. Shoot!


 So I have two options now. Order a new spar, and re-use the FL-706A bracket, or make a new FL-706A bracket and re-use the spar (back drill the incorrect hole to the new bracket). Well both options need new parts from Van's.

Build Tip - So in Hindsight. If I redid the flap assembly, I would change the sequence of the build to maximize opportunities for the best possible fit. Sequence is as follows.
Step 1 - After fitting the flap assembly, you start fabricating the FL-706A angle bracket, cut it to the 2 5/8" length, but DO NOT TRIM the 3/4" leg just yet.
Step 2 - Edge prep the FL-706B bracket, bend it to the required 6.3 degrees. Then cleco the bracket to the flap assembly using the hole for the future rod bearing for proper alignment just as the plans call for. 
Step 3 - Start fitting the FL-706A bracket to the FL-706B bracket and the flap assembly with clamps, but do not drill holes just yet. Make sure the bottom edge of FL-706B fits nicely with the skin. Once all looks great. begin to drill the holes for FL-706B into the FL-704 end rib. Cleco all holes. 
Step 4 - Now that the position of FL-706B is locked in. Trace the outline of the bracket onto the FL-706A angle bracket...it will be extremely close to the required 3/4" dimension mentioned in step 1 but will allow you to fine tune the fit so that it is perfect. 
Step 5 - Clamp the FL-706A/FL-706B together and ensure good fitment. Carefully remove assembly, and drill the remaining holes that attach FL-706A/FL-706B in a drill press. Cleco the two pieces together.
Step 6 - Reinstall the pieces on the flap assembly and drill remaining holes that attache FL-706A into the spar. 

In my opinion this sequence gives better opportunity for a precise fit than the sequence that I used for my build.


Thursday, July 14, 2016

Fabricating the FL-706A brackets - 3 hours

Note: Refer to my build tips for a better sequence (in my opinion) of fabricating the FL-706A bracket. If I could do this again, I would not cut the 3/4" leg on the angle bracket just yet.

The two step again. I had cut the FL-706A brackets from the stock angle only to realize I cut them too short. Hahah. Oh well. Fortunately Van's gives you a little extra angle. So I was able to cut another two the proper size. Took exactly twice the required time, but I am really getting good at this!

Wednesday, July 13, 2016

Finished match drilling flap skins - 1 hour

Last little bit of work left to do on the flaps was to match drill the rear area when the skins overlap. Very important note here is that this edge will need to be edge rolled before dimpling. So make a mental note.

As you can see I use check marks to help distinguish what holes have been drilled and which have not. 


 All done.


Monday, July 11, 2016

Countersunk the flap spar and fitted the top skin - 2.5 hours

Since my microstop countersink was set up still from the main spar countersink. Moving on to the countersink on the flap spar was quick.


I ended up with a countersink diameter similar to that as used on the outboard skin of the wing spar.
I then fitted the top skin.

That's good enough for an evening's work. Time to call it a day.

Sunday, July 10, 2016

Fitting the flap hinge - 2 hours

Fitting the hinge on the flap is fairly easy. After some time looking for the hinges that I tucked away 8 months ago, I finally found them and drug them out.
I used an edge marking tool to measure in 1/4" on each side as noted on the plans.

Next I clamped the hinge onto the flap assembly and checked that the line match up through the holes. After double checking that my hinge alignment was consistent with what is shown on the plans. I began to drill and cleco, re-checking alignment as I worked from the center to the ends.


Here is where my alignment ended up on the outboard rib.


and the other flap
 
 Well...Enough for the weekend. I am airplane'd out.


Debur and dimple the skins - 4 hours

A majority of the skin prep time was spend yesterday. Today I just needed to debur and to dimple. Takes some time, but in the end it is straight forward. The deburing when quick, then it was a matter of dimpling. Of course the smaller inboard skins can be done solo, but the longer outboard skins required an extra hand.

I temporary cleco'd them on the wing to get them out of the way.

I was sure not to dimple the spots that are to be drilled in the future for the wing root fairing.

But all in all, it looked great.


Saturday, July 9, 2016

Devinyl and edge prep the skins - 7 hours

Well just when you had enough of dimpling and deburring when finishing the wing structure. Now you need to do the same for the wing skins. A very long a tedious process. But if there is some good music or some Netflix on the laptop. Time just passes by.

First I started by working the edges of the skins with a file to clear the shear marks off.

Next was the very boring and lengthy process to devinyl the skins


Now...I then dug out the 3M wheel on the die grinder and worked the edges smooth (doesn't take much, just a light once or twice over). Then I worked each corner with a file to round the edge. Thanks to my buddy mike he showed me a technique to help ensure a nice round edge. The technique is hard to describe (much better to see it). Essentially you push into the turn as you make it....so for example push the file left as you work the corner towards the right and back into you. Most folks drag the file with the direction that your turning. Increased the chance of an oblong fillet. Takes a little bit of technique but the fillets look great!
 
Once I was done, I then rubbed down each edge and corner with maroon scotchbrite. 
Next I pulled out the files and started the 'scarf joint'. Essentially you work the corner of each material (where they mate) so that the thickness between the two pieces are not stacked, but there is a transition. This goes fairly easily with a file. But be sure to make sure you keep the file flat to the piece.

Next was I pulled out my edge forming tool and worked the edge of each skin that meets the leading edge, and worked the edge of the outboard skin that overlaps the inboard skin.