When I came home I was ready to tackle those notches/scallops in the ribs. I ended up using a large round file to start me off in the right direction. Then I used a variety of sanding drums to make the final notches. The have a sanding drum for the drill that's just about 5/8" diameter so it makes the notches on the F-716 ribs perfect.


Next item I moved onto was getting the crotch strap mounting bracket worked out. I started off marking the centerline of the #19 hole as per the plans.

Using a square I carefully drew a vertical reference line down each rib. To check my work, I clecoed the pair of ribs back together and could verify if both lines on the ribs line up. Once I knew my lines were exact and the same on both ribs, I marked out a new line 3/32" offset aft of my reference line.

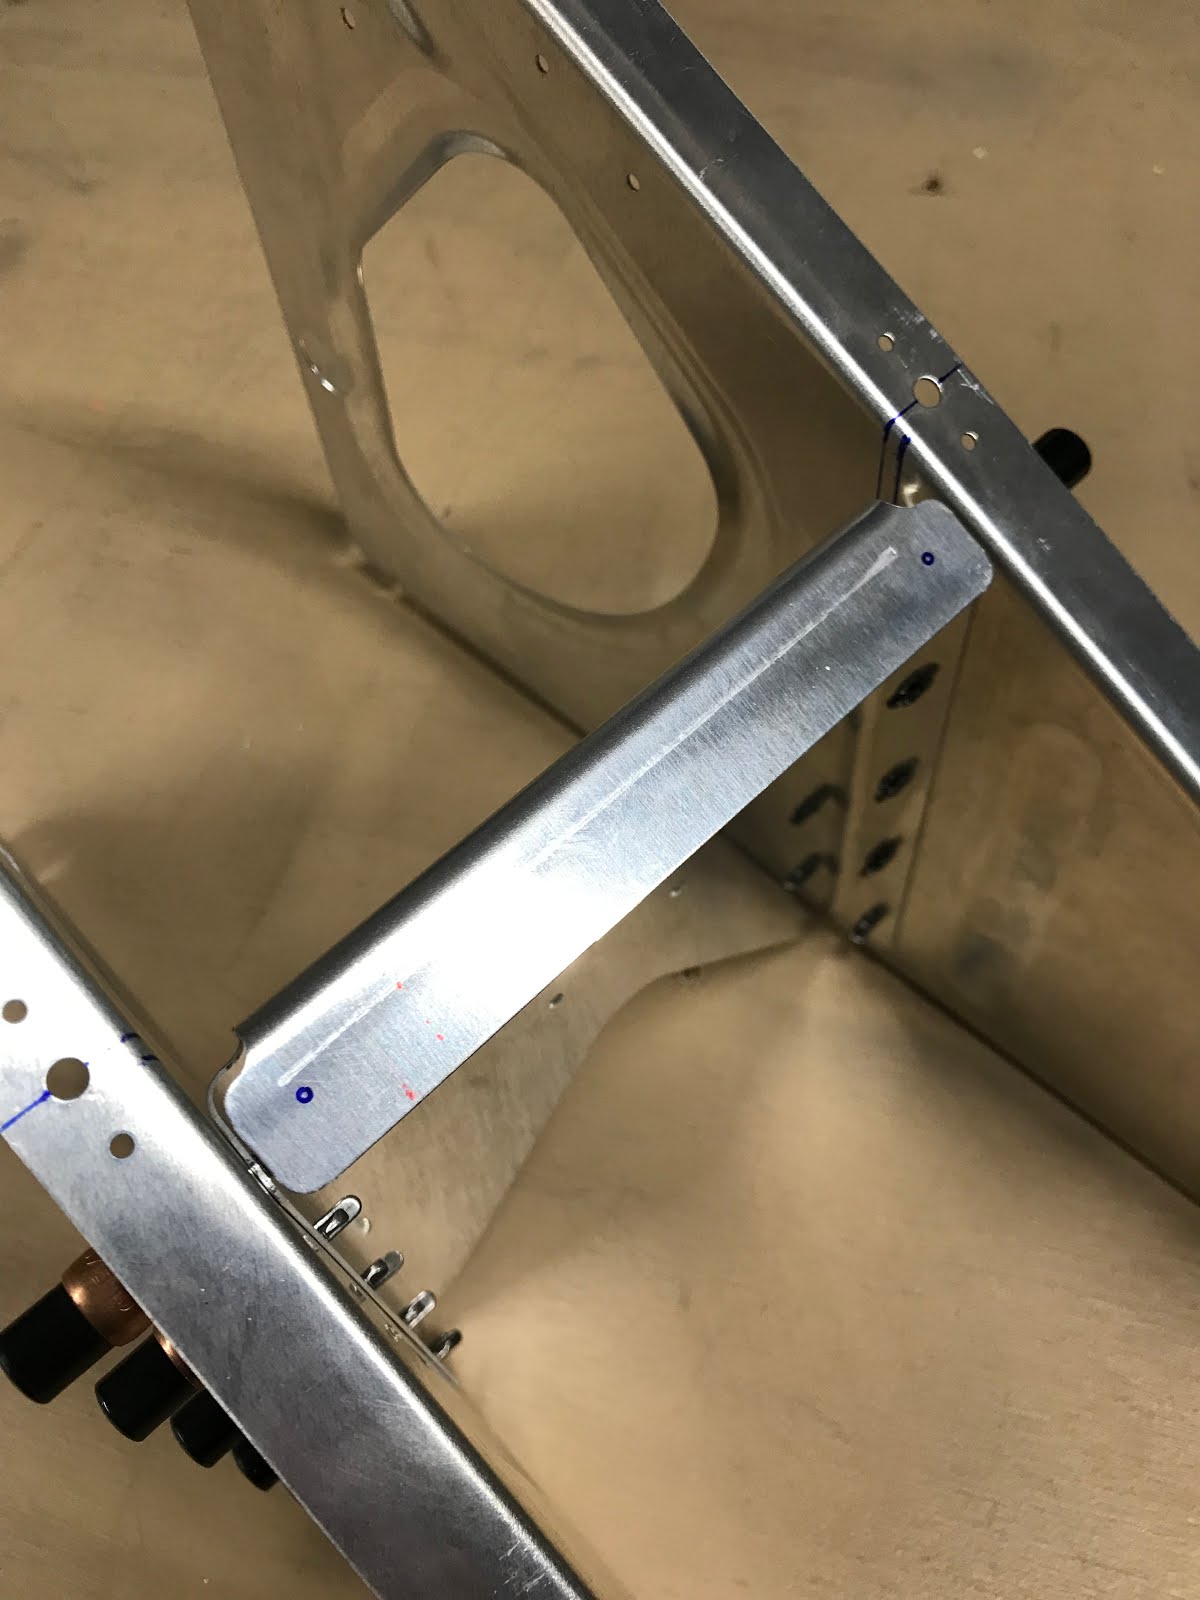
Again, I clecoed the two ribs together back to back to check if the lines matched up.This now gave me a mounting reference to locate the aft crotch strap mounting bracket. I then clamped a piece of plywood at a location that allowed me to just barely see the new line (3/32" aft of reference), and one along the top flange.

I then clamped the aft bracket in place, checked all alignments and then drilled. I ran the drill bit through the mounting holes on the opposite flange to ensure accuracy.


I then quickly clecoed on the floor/seat pans to confirm edge distances for the mounting holes on the flanges of the aft bracket.

The holes look good, however they are not exact (just a few hundreds of an inch off) so I will re-cleco the center section assembly together to ensure the most accuracy before drilling these holes.
Also, I dug out the Crow Harness crotch straps from the basement to work out how I need to mount these. Looks like I won't be able to use the stock mounting holes as the tabs are longer than the Van's mounts. But the tabs are 0.125" thick - give or take, so I will use Van's recommended dimension for spacing (0.125").

I then assembled the F-716B rib access plates. I had primed the pieces earlier in the day and now that the primer had a change to dry I could assembly. When I was done, I gave them an extra shot of primer cause these will likely see a lot of action during future construction.
