Woke up this morning with a cup of coffee planted in front of the computer, still reviewing the potential wiring needs of the wings. I will need a OAT probe, but that can be located in the right wing which I already have holes in the ribs I can use. I have a bunch of reading to do on remote magnetometers. I see Dynon has just released one earlier this year.
First order of business was to make extra sure that all the ribs were sorted and marked for the correct layout.

Then I transferred the tooling holes to the W-710-R rib on the left wing side. This tooling hole will be opened up to 3/8" to allow for the AOA/Pitot lines.

Next was to mark and drill the outboard end ribs of the wings to allow for the mounting brackets to be used to mount the assembly in the wing stand. I cut a small rectangle of aluminum and drilled a 3/16" hole. This hole lines up with the existing tooling hole. Then I measured 3" over and drilled a #40 hole. This is the pilot hole for the other 3/16" mounting hole which I then drilled. Worked like a charm! The template I created will be useful for the mounting angle when I build it.

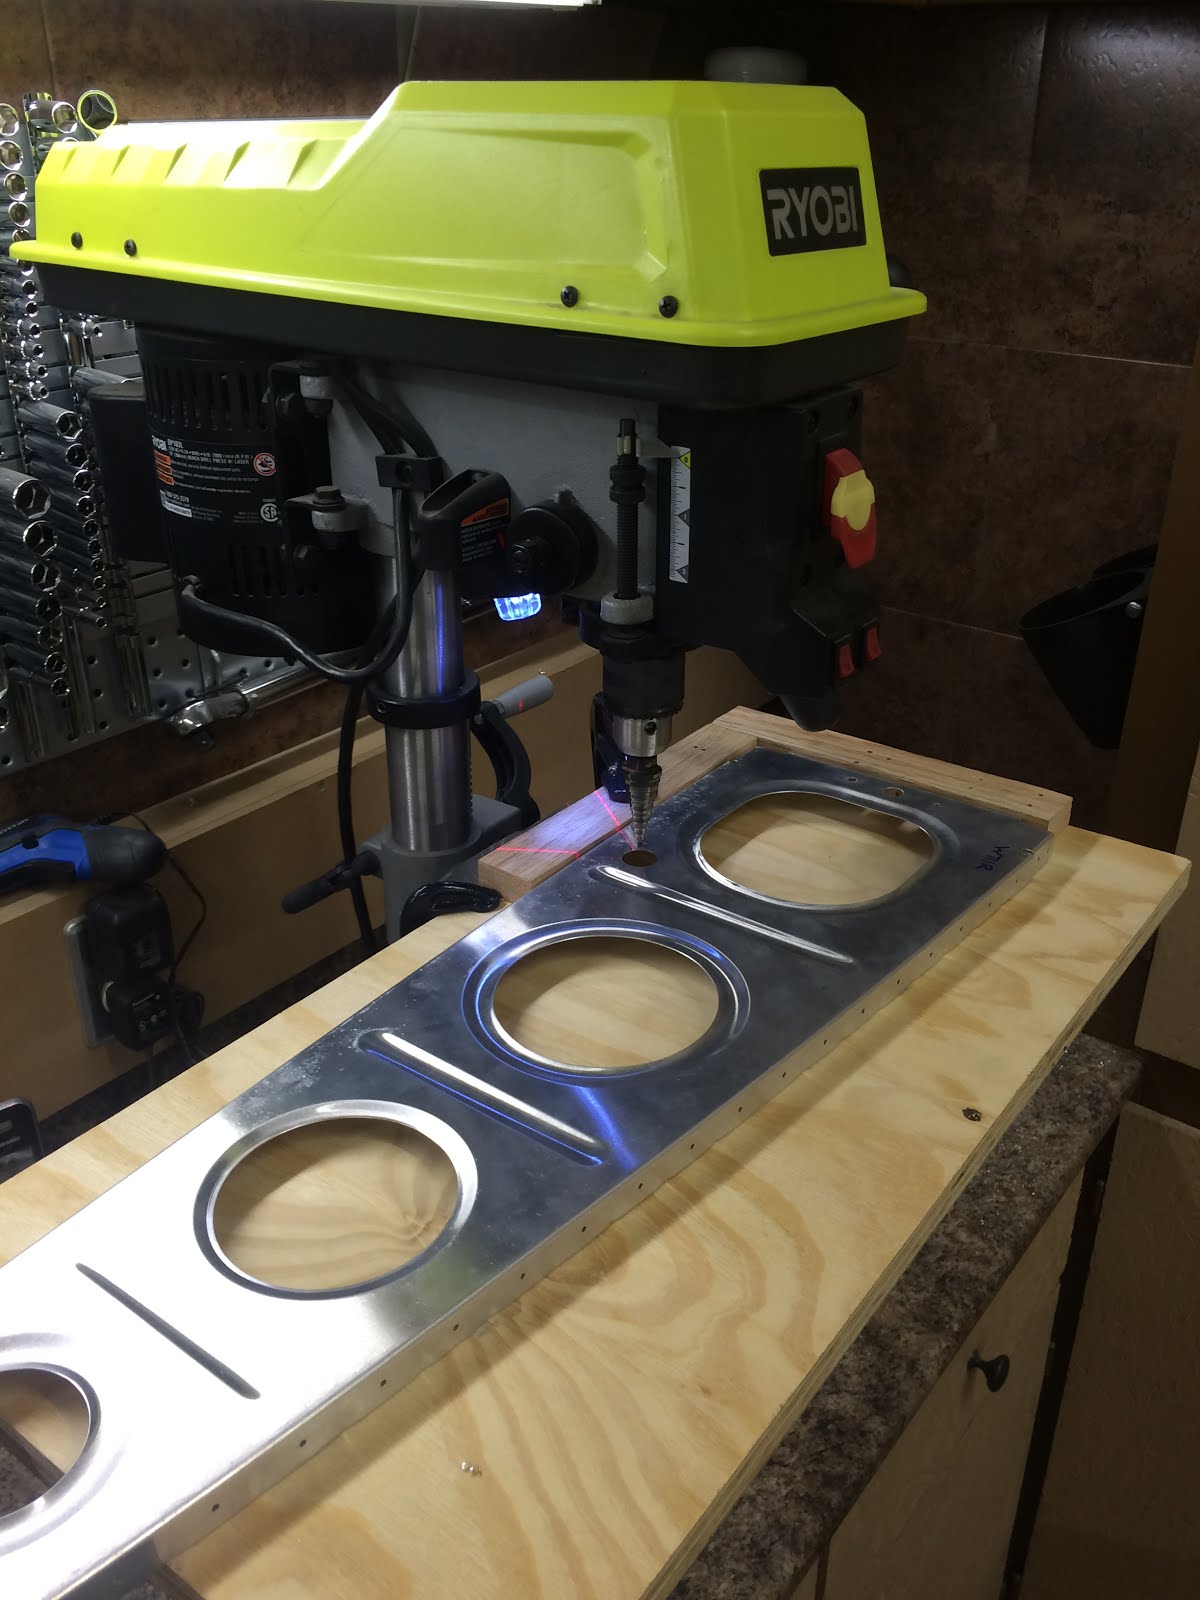
To locate the 3/4" conduit hole in the ribs, I built a jig. The jig allows a rib to be slipped in and out when clamped in a drill press. I placed a smaller piece of plywood as a cover to help as a drill guide for a #40 pilot hole. Once each rib was drilled, I opened the holes with unibits in the drill press until each hole was 3/4". Then I opened up the tooling holes on the left wing ribs to 3/8" to allow for the pitot and AOA lines.


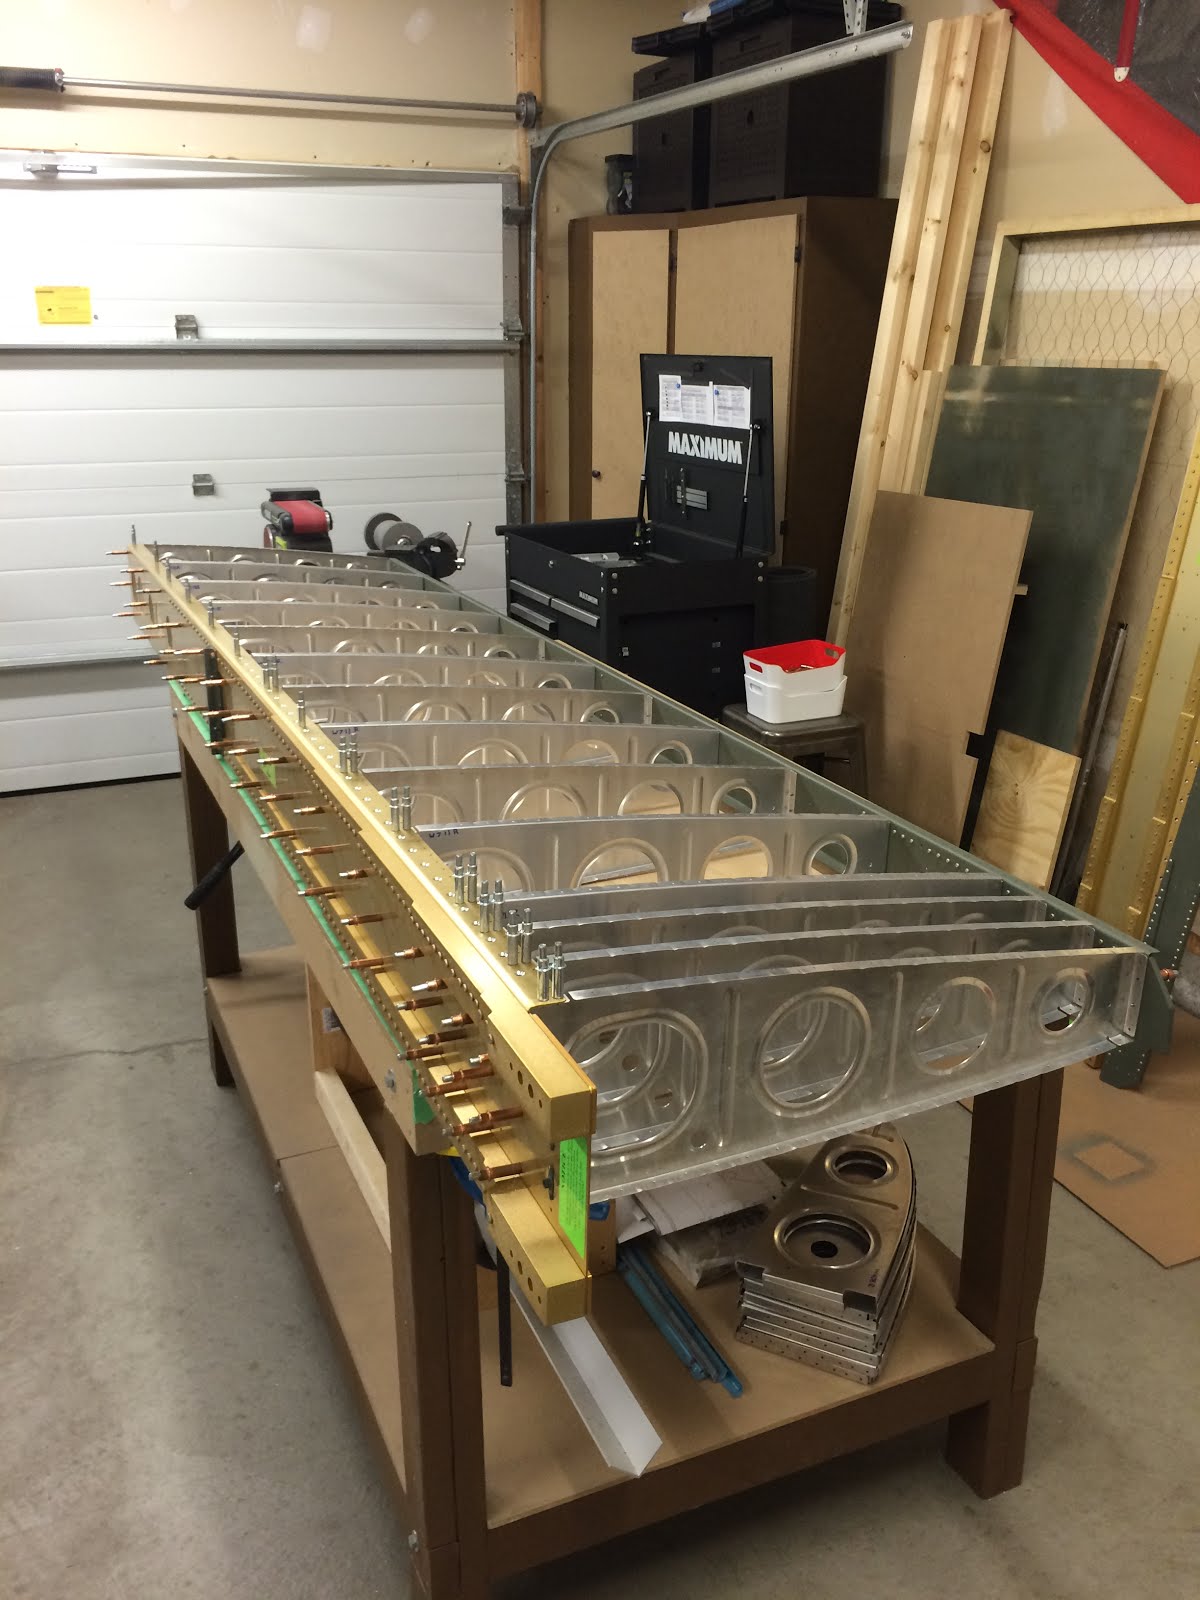
I then set up the main and rear spars and match drilled the ribs.
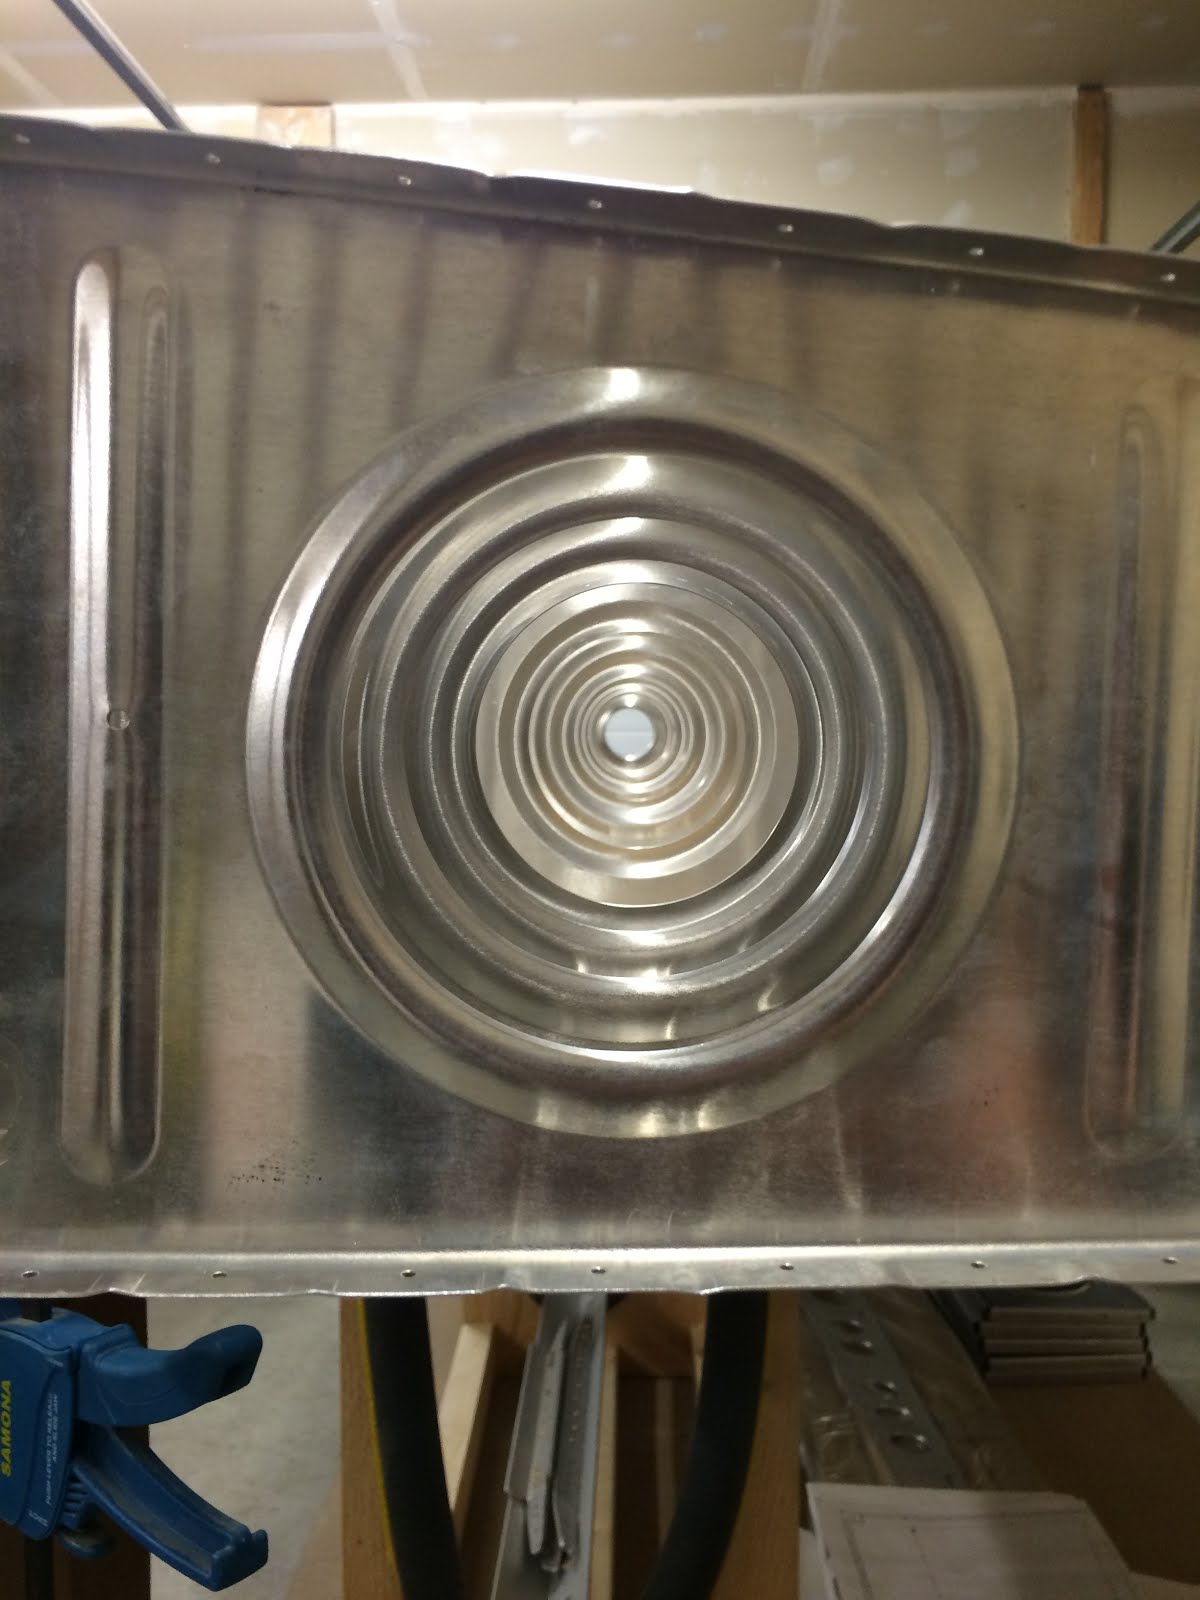
I was sure to get one of these shots. It's tradition!