Friday, April 30, 2021

Prepping interior parts for priming - 4 hours

 I am getting to the point where I need to start priming the interior cabin parts. So a big day of work but little progress. All of the parts needed the edges cleaned up and smoothed. All holes debured. I also needed to prep the side panels of the baggage compartment drilled and dimpled for nutplates. This is one part of the cabin area nutplates installation that I did not finish off. 


Thursday, April 29, 2021

Finished drilling the bolt holes for the side steps - 2 hours

 My pneumatic 90deg drill from ATS arrived. Seeing how much 90deg drilling I will be doing in the next while I needed to pull the trigger on buying one of these. I didn’t waste time getting the step mounting blocks drilled to the baggage rib. The drill does an excellent job. 


 Now for the stressful part....drilling the mounting block to the side step. The reason why it’s stressful is getting the bolt hole in the correct location since the baggage ribs tend to bow a bit, and the only way to get them straight is to install the baggage floor. But I cannot drill with the floors on. So I ended up taking a bunch of measurements with the floors on...took the floor off, clamped some braces on the rib and verified  measurements. Closed my eyes and started the drill location to give me a marker. Next I removed the assembly and then reassembled on the drill press. Drilled one hole on one side, flipped the assembly 180deg and drilled the opposite hole. The result is that the bolt fit is tight and perfect.  A tedious process, but its done well.


Wednesday, April 28, 2021

Finished the end cap installation and fitted the seats - 3 hours

 I am ready to start riveting the seat mod end caps to the F-705 bulkhead. I was kind of dreading this as the location and the configuration isn’t the best for getting great rivets. However it turned out to be not a big deal. I started bucking the rivets using the extra long rivet set and then finished setting using the alligator squeezer. The process was slow going, but the result is excellent.

 Now that the end caps a partly riveted in place. I temporarily installed the crossbar for the seat mod and installed the seat backs. I fashioned up some crude hinge pins, but I will make a second (better set). Looks pretty good. The clearance is good on the sides of the fuse.


Tuesday, April 27, 2021

Started riveted the almost an RV-14 mod - 1 hour

Small build session today. I riveted the gusset plate onto the end cap of the Almost an RV14 mod. I then fitted the assembly to the fuselage. Looking good.


Sunday, April 25, 2021

Nearly finished the External Step installation - 6 hours

 Jumped into the build today wanting to finish the step installation. I have to work on the couple of odd rivet lines. One of the existing AD3 rivets gets drilled out and replaced with the new AD4 rivet, that's simple enough. The other rivet above it is a bit more tricky. Ultimately it need's to be lowered as its current placement puts it too close to an existing AN3 rivet. 


Before I start drilling, I decided to shape and bend the mounting plate first. It is a task I'm kinda dreading so while it is early in the day might as well get to it. I shaped the aft end of the mounting plate in a fairly rudimentary style. The recent gusset enhancement made by Vans limits how much I can trim on the back corner. 

Grabbing various hammers, I slowly hammered the corner of the plate and bent it to the shape of the fuselage. Takes some trial and error but eventually it fits fairly good. 


Now to fit and drill those last couple of rivet holes...You can see the one rivet hole that I lowered. In the end I don't think its out of place...it's a "character" rivet.


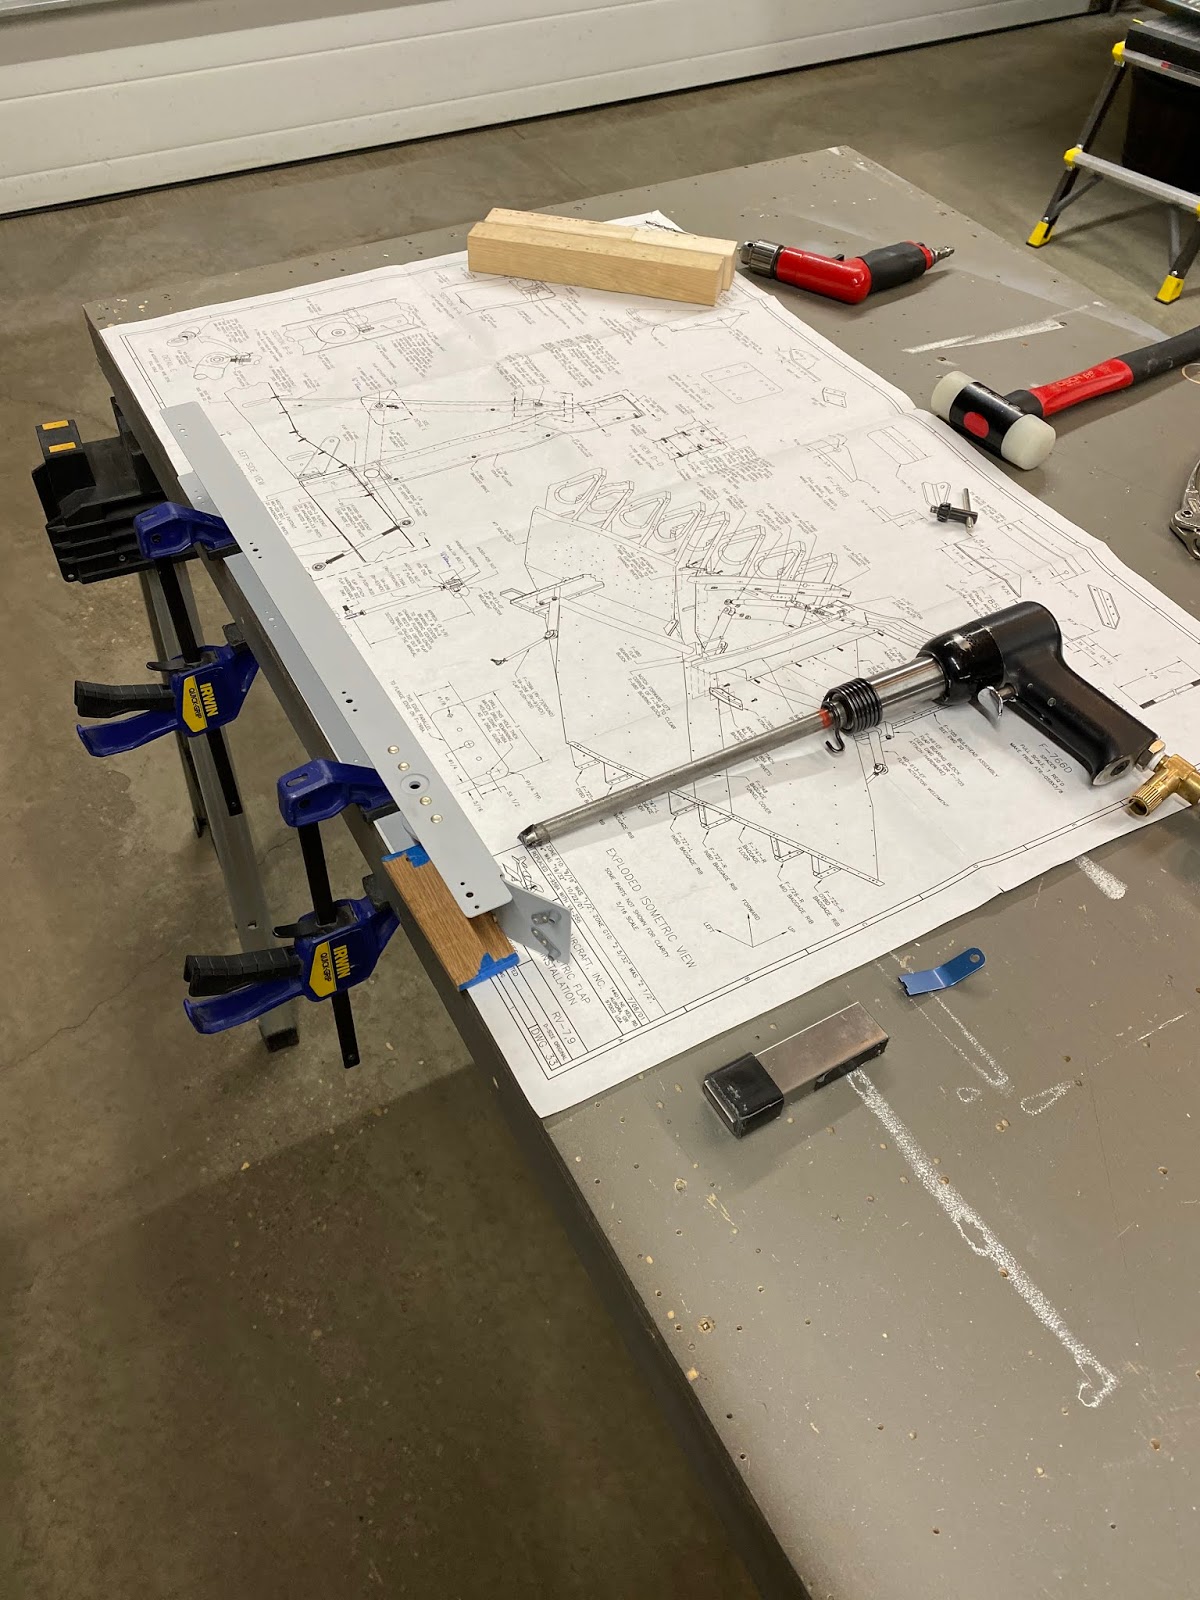
Next I need to fit the F-6125 step support blocks. As usual fabricating drilling templates makes for quick, easy and accurate drilling on these. Using the template, I started all holes as #40 and then proceeded with drilling incrementally (#40, #30, #21) to finish with #12. 


The blocks fit very well, but I need a proper air 90deg angle drill to finish the install. My small angle drill kit won't work as the drill head is too large. 


Friday, April 23, 2021

Started the External side step installation - 6 hours

 I've been avoiding installing the side steps for a while now. I can't really explain why, I suppose I thought it was going to be difficult and frustrating. Fortunately its much better than I thought it was going to be. 

I started off by marking out the rivet dimensions as per the plans. I do need to adjust the one rivet line to suit the F-724 bulkhead rivet line (as noted in the instructions).


I notice that I have to remove some material on the end of the tube to get the mounting plate to fit better. I also noticed that the inside of the welds on the backside of the mounting plate was also interfering with the fit. I will need open up the mounting hole, and trim the tube length. Fortunately trimming the end of the tube is really easy. It's a square cut (not angled) and its short work for an angle grinder. 


Soon I noticed that the inside of the mounting flange was making some marks on the fuselage side skin. Ultimately its caused by the front-side weld "bleeding" through to the backside of the plate and its a bit rough. 

Taking a non-ferrous wheel on the drill, I cleaned things up.


Next, I need to transfer the existing rivet lines onto the mounting plate. 

Its fitting really well. 

I finished the build session by drilling some of the top and forward #30 holes in order to mount the steps, however I am careful not to drill the aft holes yet. I will need to bend that lower aft corner of the mounting plate to fit the fuselage before I can drill those holes. I have quite a gap to close there. 


Monday, April 19, 2021

Riveting the seat assembly and flap channel - 5 hours

Now that the primer has had 24 hours to dry, time to get some of the riveting done. I started riveting the F-766A channel assembly. I get much better results and more consistent rivets when I buck rather than squeeze. So that's what I'll do.


Next I can rivet the hinge lengths on the bottom of the seat floors. I looked at doing these with solid AN rivets, but in the end I decided to use the pull rivets as shown in the plans. I don't need to be a hero, I just need to finish the plane.


Sunday, April 18, 2021

Big priming day - 7 hours

I needed to get some parts primed in order to keep making progress on the build. There is a considerable amount of parts that need to be primed (baggage floors, seat floors, flap parts, etc etc). I've been holding off for some warm weather so that I can prime outside but it looks like its not going to come for some time. So I just have to bite the bullet and do a priming session in the garage.

I set up the all of the buckets, tarps, etc so that I can do a priming run.


Its a lot of work to prime. Wash, scrub, acid etch, rinse, MEK, prime.  I did as much as I could, but at the end of the session, I didn't have to drive to keep priming. I still have all the big panels to complete (Baggage bulkhead, baggage floors and panels, forward seat floors) I wait for a warmer day to do those. I don't need them done just yet.

Saturday, April 17, 2021

Notching the rivet holes in the Almost a 14 mod - 2 hours

 One of the items that's a bit of a head scratch-er for me was figuring out how the rivets should work on the Almost a 14 mod where it connects to the longeron. The you-tube instruction video notes that the rivets are to be ground down so the end cap sits flush with the underside of the longeron. I don't like the idea of grinding down rivets, so I chose to install the required rivets, however I will notch the end caps to fit around the rivets.

First I need to open up the rivet holes to the size/diameter of a shop rivet head.


I can now cut openings in the end cap rivet holes so the end caps will slip into place with the longeron rivets in-tact. 


Yup, this will work well.


Friday, April 16, 2021

More interior cabin work - 6 hours

 At first glance, it looks like I don't have much left to do in the aft section of the Cabin Area, but in actually there is a mountain of small tasks that need to still happen before I can prime and assemble. I need to drill the nutplates in the F-767 attach plate. (I deviated from plans and put them at a 45...don't ask why, I just did).

Next I stripped all the interior out of the cabin area including the flap assembly so that I can prep everything for priming. 

Lots of deburing, edge prep, filing and scotchbrite work.


One item that I haven't addressed yet is countersinking and dimpling the canopy deck/side rails. Doing a little research on this, there's not much out there to say how other builders did this area (Countersink the longerons, or the canopy deck). Seems like builders have done both from what I can tell. I reference a couple of different builders build logs regularly and they both have countersunk the longerons so that's the path I will stick to. As usual though, setting up the countersink depth for nested material is always a painful process. I never like this part as its a bit too much guess and test for my liking. 


Once all the countersinking is done, all of the canopy deck/side rails could then be dimpled.