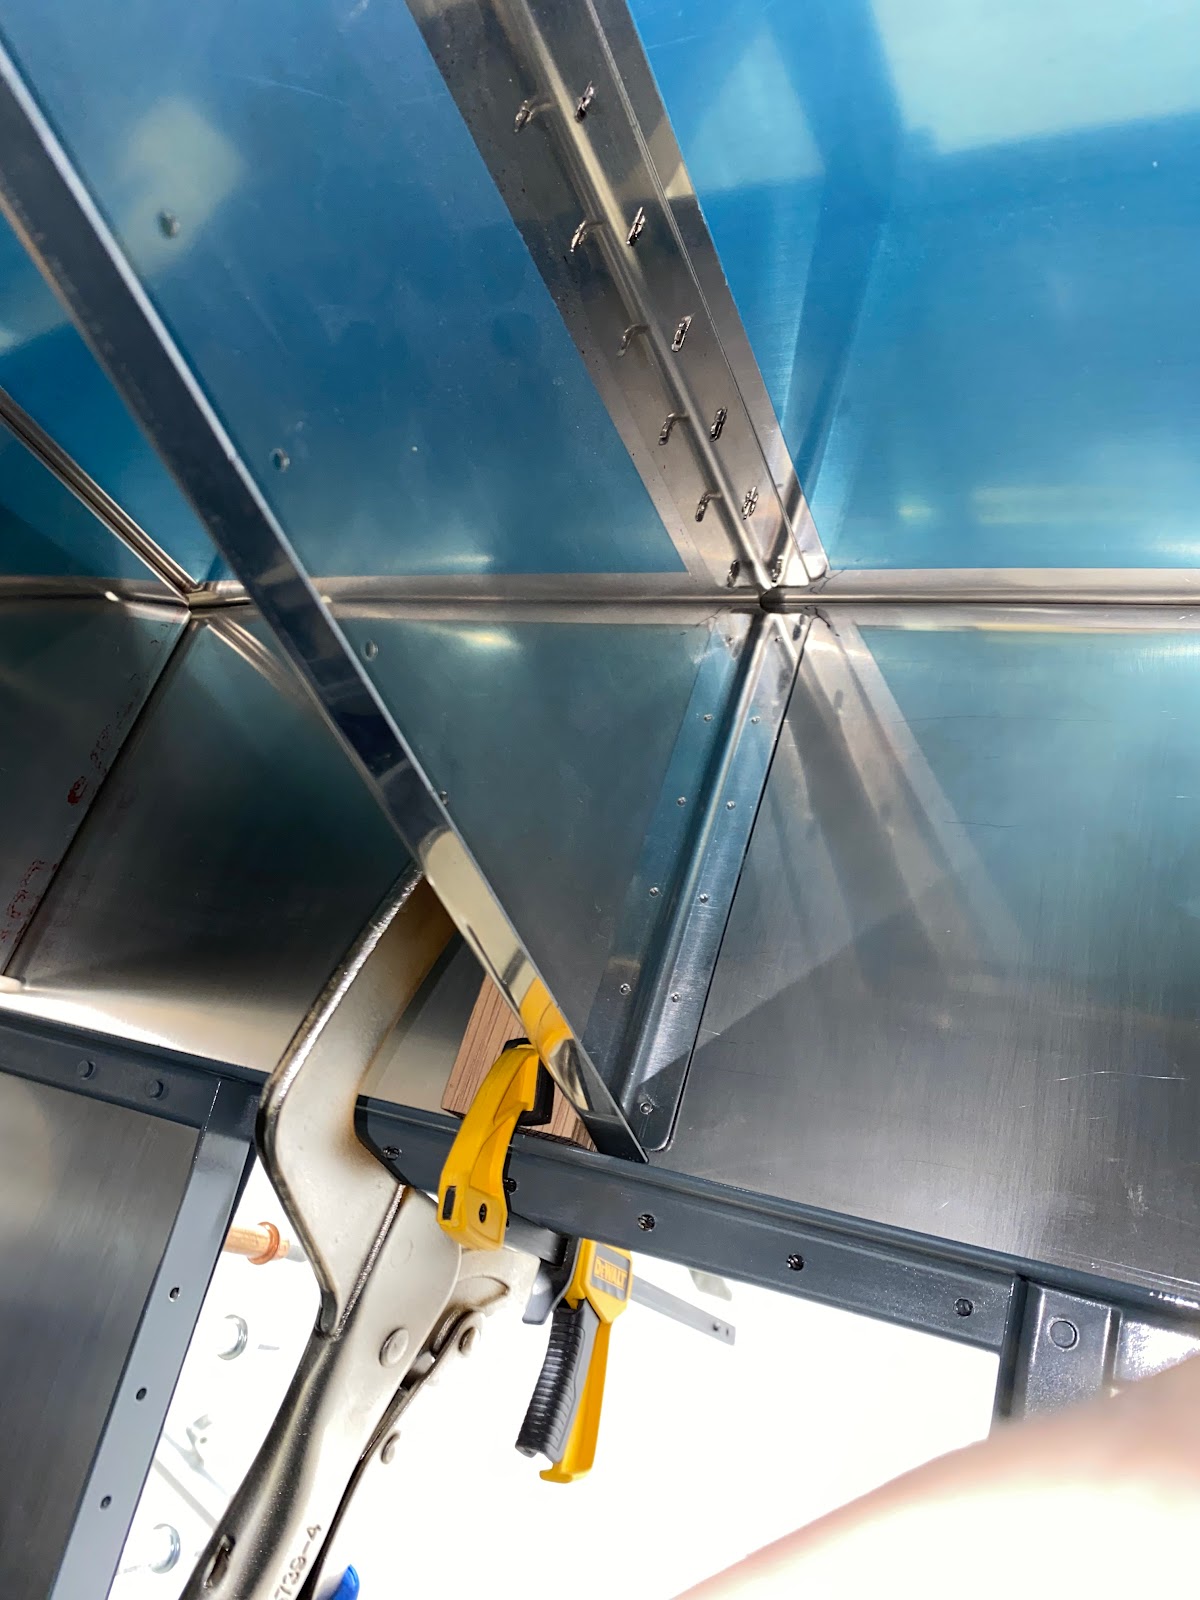
In order to get a good fit on the skins, its important to remove the vinyl for the mating surfaces. So digging out the soldering iron, I went to work and de-vinyled the top skin.
Previously in fitting attempts I carefully marked out guidelines on the bulkhead for the center rib. I then installed an alignment guide (scrap oak block) for the rib to sit against. This will ensure that I have the rib perfectly vertical during final fitting.Then installed the top skin on the fuselage, concentrating on the center potion of the skin, and center rib.
Now comes the fun part, I need to check the alignment of all the parts with lots of contorting in the fuselage and through the firewall opening.Once I was happy with how things were fitting. I clamped everything down and drilled the first hole. Now…Drilling in this area is very difficult as the access is awful. The solution to help make drilling easier and more precise was to then use a scrap piece of angle as a drill guide after the first hole was drilled. I drilled all of the holes from the center rib into the scrap angle and now I have a drill guide. This allows me to remove all of the top skin and ribs. All that is needed is to insert a cleco in the one pre-drilled hole, check vertical, clamp and drill all remaining holes.
Now that all holes are pre-drilled to #40. Next step is to upside each hole from #40 to #30.
Now that the center rib is firmly and correctly in place, I can now drill the forward end of the F-710B angle into the top firewall angle.The fitment of the entire structure of the forward deck is very good.


