My friend mike stopped by to give me a hand riveting the wing skins. I did not expect to be done the right wing so soon yesterday, so there was not much work to do today. Mike helped me buck some under squeezed rivets that I had done on the leading edge. We also pulled the wing off the stand and began to rivet a few locations we couldn't do on the wing stand. Lots more riveting to do but I can do that another time when I don't have a helper.
He helped me set up the left wing so that we can start riveting the leading edge assembly on. Again, a slow and careful process but necessary in my mind to ensure a straight wing.
Sunday, July 31, 2016
Saturday, July 30, 2016
Started wing skin riveting on right wing - 5 hours
Before I can start wing riveting, I needed to get that missed countersink taken care of. After the advice I had received this is what I came up with. Fortunately my right angle drill kit comes with a super compact countersink bit.

So with my daughters help, I turned the tank pressure down on the drill and carefully countersunk the hole. Excellent! it worked.

By the time I was done Eugene had come over to help me with the wings skins. So now it was down to business. We mixed up and applied about 30 grams of proseal to the wing walk doubler. He used popsicle sticks to spread it on quite thin. This is done to help improve strength and to prevent corrosion in that area.

Next we cleco'd the skin/doubler to the wing and got ready to rivet. Eugene had brought a good selection of his trusty bucking bars which made short work of the skins. I worked the gun, while Eugene was on the bucking bar. After about 4 hours of work we had one entire wing skin done and riveted. We made excellent progress today!!!!


Friday, July 29, 2016
Finishing the Leading edge attachment - 5 hours
Now for the dreaded part, installing the cherry rivets deeper into the leading edge. I had it in my mind that I was to install them from the leading edge side to the spar side, which requires you to get your hands through the leading edge rib holes.

Its obvious that some rivets can be pulled much easier from the other direction, so that is what I did. Of course I also confirmed that I am not the only other person doing this by checking other builders websites.

But of course, some of these locations are extremely tight to the wing rib. Well a sacrificial hand riveter to the sanding station will solve this issue.


After using some gorilla tape on the makeshift riveter (so I won't scratch the primer) I then completed all of the cherry rivet installation. Worked like a charm. Next step was to use the pneumatic squeezer on the leading edge skin/spar rivets. This went extremely well and I was quite pleased when I hit quite a road block. Seems I missed a countersink on the spar for a leading edge skin dimple. Its the last hole in the line.


I was taken back a bit...How did I miss this. I thought I checked them all. I wasn't sure what I was going to do as everything was nearly riveted up. I thought that I was going to have to squeeze the dimple flat and countersink the skin, but this didn't sit right with me. So I posted the options on the Van's Airforce forums to see if anyone else had advice. Sure enough....it was as clear as day, just put the countersink bit on the tight space right angle drill. All I needed to do was drill out a few rivets, enough to get the drill in there.

That's enough for one day.

Its obvious that some rivets can be pulled much easier from the other direction, so that is what I did. Of course I also confirmed that I am not the only other person doing this by checking other builders websites.

But of course, some of these locations are extremely tight to the wing rib. Well a sacrificial hand riveter to the sanding station will solve this issue.


After using some gorilla tape on the makeshift riveter (so I won't scratch the primer) I then completed all of the cherry rivet installation. Worked like a charm. Next step was to use the pneumatic squeezer on the leading edge skin/spar rivets. This went extremely well and I was quite pleased when I hit quite a road block. Seems I missed a countersink on the spar for a leading edge skin dimple. Its the last hole in the line.

I was taken back a bit...How did I miss this. I thought I checked them all. I wasn't sure what I was going to do as everything was nearly riveted up. I thought that I was going to have to squeeze the dimple flat and countersink the skin, but this didn't sit right with me. So I posted the options on the Van's Airforce forums to see if anyone else had advice. Sure enough....it was as clear as day, just put the countersink bit on the tight space right angle drill. All I needed to do was drill out a few rivets, enough to get the drill in there.

That's enough for one day.
Thursday, July 28, 2016
Installing the right leading edge - 2.5 hours
I began to prepare the right wing for the attachment of the leading edge. I need to make sure that the wing is level, no twist before I make anything permanent. My first step was to place the jacks under the assembly and eyeball level/sag as best I could. Then I installed the plumb bobs on each end of the wing. Next I pulled out my bubble level and placed it on the spar. I then made the adjustments with the threaded rod on the wing stand till the wing was where I wanted to be. Measurement of the plumb-bobs confirmed there was virtually no twist (I was about 1/64" out, but that is darn close to perfect). Next I cleco'd the wing skins on the assembly. This takes out any sag in the spar, and ensures the wing is square side-to-side. I then re-checked all measurements and confirmed all was good. I then clamped the rear spar to the stand and removed the 1/64" twist and rechecked measurements.
Perfect!

I then clecoed on the leading edge assembly.

I then used MSP 42/43/44 cherry rivets to attach the leading edge ribs to the spar. Van's has indicated to me via email that LP4 rivets are acceptable too when the correct grip length is accounted for, but I choose to go with the more structural cherry rivets. I managed to get the first 10 rivets installed.

Tuesday, July 26, 2016
Completed preperation of the flap assembly - 3.5 hours
My shipment from Vans had arrived with a replacement flap spar, and replacement angle. I wasn't sure which piece I was going to remake/replace as I could do either, so I ordered both. Once I started down to business, I decided to give redoing the rear spar a try rather than cut a new angle bracket....again. First I removed the old spar and cleco'd in the new spar and match drilled the skins..again.

Everything looked good, so I fit up the attach brackets I had and match drilled the holes to the new rear spar. This time, it was perfect.

Now, the next tricky operation is to back drill into the angle bracket using the holes in the spar/rib as a guide. Carefully I started a pilot hole by hand, and then completed the holes using a drill press to ensure a straight hole.

Next was a part that I was unsure about. I had to match drill the ribs that have already been match drilled to #30. I was really careful not to make an oblong hole as this scenario makes it possible.

Next I had countersunk the rear spar where the hinge was to be riveted eventually.

All that was left to complete the preparation for assembly was to drill the nutplate assembly. I used a 1/4" drill bit to allow for the future bolt.

I sacrificed a K1000-4 nutplate and ran a tap through it. Using an AN4 bolt and washers, I installed a nut plate onto the rib. I aligned it and drilled the first #40 hole in the drill press and installed a cleco. Then I drilled the other hole.


All finished...well sort of.

I still need to counterskink for the rivets, of course the rib is too thin for a standard rivet so I will use an opps river there, however the thicker material on the other side of the hole will allow a standard flush rivet.

Wednesday, July 20, 2016
Installing flush rivets on the wing spar - 1.5 hours
One of the items that is not outlined on the plans or manual is the need to install flush rivets in the wing spar that attaches the rib right where the tank skin is installed. it's fairly obvious when looking at it that a AN470 rivet will not work, and when looking at other builder's sites it becomes very clear what needs to be done to prevent interference with the tank skin.
I took the wing off the stand, placed it on my table and went to work with AN426 rivets.


I took the wing off the stand, placed it on my table and went to work with AN426 rivets.


Tuesday, July 19, 2016
Priming the wing skins - 2 hours
Now that I've done all I can do with the flaps for now, I felt motivated to move back onto the wing structure. I needed to prime the wing skins. I gave the skins a quick wipe with MEK and began to scuff the surfaces with maroon scotch brite. Then I sprayed Alumabrite 215 acid etch on the surfaces needing priming. I wiped the surfaces clean, and rescuffed with a clean scotch brite pad, and re wiped with MEK. Fortunately it was a really nice day so I could prime outside.

Most important is that I didn't want to prime the mating surface between the wing walk doubler and the wing skin as I intend to apply a thin layer of proseal to the surface. So I cleco'd those to pieces together before I primed to ensure that those surfaces did not get primed.


Most important is that I didn't want to prime the mating surface between the wing walk doubler and the wing skin as I intend to apply a thin layer of proseal to the surface. So I cleco'd those to pieces together before I primed to ensure that those surfaces did not get primed.


Sunday, July 17, 2016
Building the Flap Cradle - 2 hours
Still wanting to further the flaps, but stalled in progress do to the miss drilled hole in the spar. I jumped on building the cradle for the flaps. I drove over to home depot and picked up some 3/4" plywood. I used the aileron rib to scribe the required angle on the wood, then I clamped two pieces together aligning the edges.

I made the first initial cuts with a circular saw, and completed the cut in the "V" with a jigsaw.

I then used a couple of 2x3's to form the structure. I decided that the "V" was a little deep so I cut the top of the holder down.

All done. I just need to install some padding on the mating surfaces.

Friday, July 15, 2016
Bending and drilling the FL-706B bracket - 3.5 hours
Note: Again, as per my previous post, refer to my build tip at the end of this post for the sequence I recommend. After building this portion I would do the sequence differently to ensure a more precise fit.
Next step is to clean up the FL-706B bracket, bend it and then drilling the FL-706A bracket and then drilling that assembly to the flap structure.

First thing I did was to fit the FL-706A angle bracket to the FL-706B bracket and drill the holes.

I marked out the bend line on the FL-706B bracket and clamped it in a vice. The plans call for bending it 6.3 degrees!! Well, its a bit tricky since the material is so thick, but I managed to get really close. After some check, fit, bend, check, fit, I made the pieces work.
Now..this is where things get tricky...This ended up not being the best sequence as now I had a tough time getting the hole for the future flap control rod bearing to align. On the first go round, the holes did not match up well. Fortunately when I swapped the FL-706A angle brackets the holes aligned extremely well. Whew...Dodged a bullet there.

Now that the assemblies where done, I clecoed them to the flap assembly and began to drill the holes into the FL- 703 spar and the FL-704 rib. Everything went well, except it seems that my first hole for the second flap assembly ended up drilled incorrectly. I thought I had the fit sorted before I drilled....guess not. After re-fitting.. I was about 0.030" out on my hole. Shoot!


So I have two options now. Order a new spar, and re-use the FL-706A bracket, or make a new FL-706A bracket and re-use the spar (back drill the incorrect hole to the new bracket). Well both options need new parts from Van's.
Build Tip - So in Hindsight. If I redid the flap assembly, I would change the sequence of the build to maximize opportunities for the best possible fit. Sequence is as follows.
Step 1 - After fitting the flap assembly, you start fabricating the FL-706A angle bracket, cut it to the 2 5/8" length, but DO NOT TRIM the 3/4" leg just yet.
Step 2 - Edge prep the FL-706B bracket, bend it to the required 6.3 degrees. Then cleco the bracket to the flap assembly using the hole for the future rod bearing for proper alignment just as the plans call for.
Step 3 - Start fitting the FL-706A bracket to the FL-706B bracket and the flap assembly with clamps, but do not drill holes just yet. Make sure the bottom edge of FL-706B fits nicely with the skin. Once all looks great. begin to drill the holes for FL-706B into the FL-704 end rib. Cleco all holes.
Step 4 - Now that the position of FL-706B is locked in. Trace the outline of the bracket onto the FL-706A angle bracket...it will be extremely close to the required 3/4" dimension mentioned in step 1 but will allow you to fine tune the fit so that it is perfect.
Step 5 - Clamp the FL-706A/FL-706B together and ensure good fitment. Carefully remove assembly, and drill the remaining holes that attach FL-706A/FL-706B in a drill press. Cleco the two pieces together.
Step 6 - Reinstall the pieces on the flap assembly and drill remaining holes that attache FL-706A into the spar.
In my opinion this sequence gives better opportunity for a precise fit than the sequence that I used for my build.
Thursday, July 14, 2016
Fabricating the FL-706A brackets - 3 hours
Note: Refer to my build tips for a better sequence (in my opinion) of fabricating the FL-706A bracket. If I could do this again, I would not cut the 3/4" leg on the angle bracket just yet.
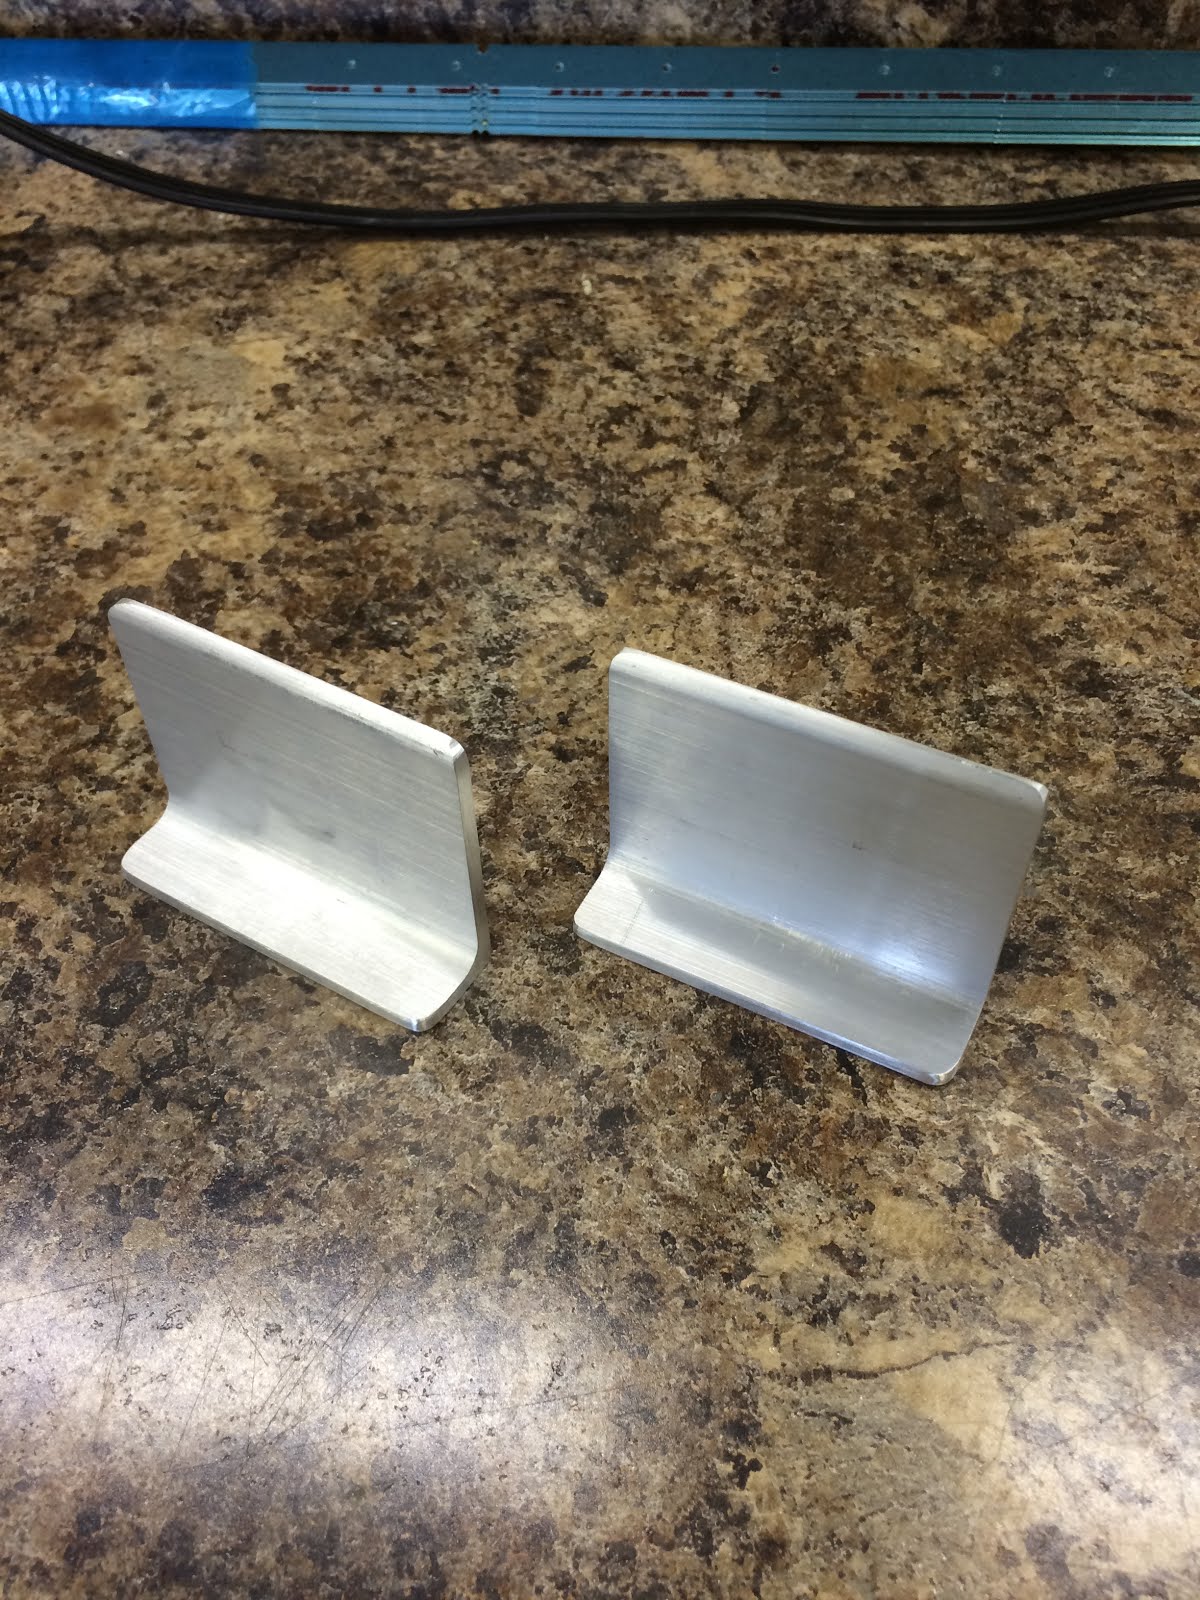
The two step again. I had cut the FL-706A brackets from the stock angle only to realize I cut them too short. Hahah. Oh well. Fortunately Van's gives you a little extra angle. So I was able to cut another two the proper size. Took exactly twice the required time, but I am really getting good at this!


The two step again. I had cut the FL-706A brackets from the stock angle only to realize I cut them too short. Hahah. Oh well. Fortunately Van's gives you a little extra angle. So I was able to cut another two the proper size. Took exactly twice the required time, but I am really getting good at this!

Wednesday, July 13, 2016
Finished match drilling flap skins - 1 hour
Last little bit of work left to do on the flaps was to match drill the rear area when the skins overlap. Very important note here is that this edge will need to be edge rolled before dimpling. So make a mental note.

As you can see I use check marks to help distinguish what holes have been drilled and which have not.

All done.


As you can see I use check marks to help distinguish what holes have been drilled and which have not.

All done.

Monday, July 11, 2016
Countersunk the flap spar and fitted the top skin - 2.5 hours
Since my microstop countersink was set up still from the main spar countersink. Moving on to the countersink on the flap spar was quick.

I ended up with a countersink diameter similar to that as used on the outboard skin of the wing spar.
I then fitted the top skin.

That's good enough for an evening's work. Time to call it a day.

I ended up with a countersink diameter similar to that as used on the outboard skin of the wing spar.
I then fitted the top skin.

That's good enough for an evening's work. Time to call it a day.
Sunday, July 10, 2016
Fitting the flap hinge - 2 hours
Fitting the hinge on the flap is fairly easy. After some time looking for the hinges that I tucked away 8 months ago, I finally found them and drug them out.
I used an edge marking tool to measure in 1/4" on each side as noted on the plans.

Next I clamped the hinge onto the flap assembly and checked that the line match up through the holes. After double checking that my hinge alignment was consistent with what is shown on the plans. I began to drill and cleco, re-checking alignment as I worked from the center to the ends.

Here is where my alignment ended up on the outboard rib.

and the other flap

Well...Enough for the weekend. I am airplane'd out.

I used an edge marking tool to measure in 1/4" on each side as noted on the plans.

Next I clamped the hinge onto the flap assembly and checked that the line match up through the holes. After double checking that my hinge alignment was consistent with what is shown on the plans. I began to drill and cleco, re-checking alignment as I worked from the center to the ends.
Here is where my alignment ended up on the outboard rib.

and the other flap

Well...Enough for the weekend. I am airplane'd out.

Subscribe to:
Posts (Atom)