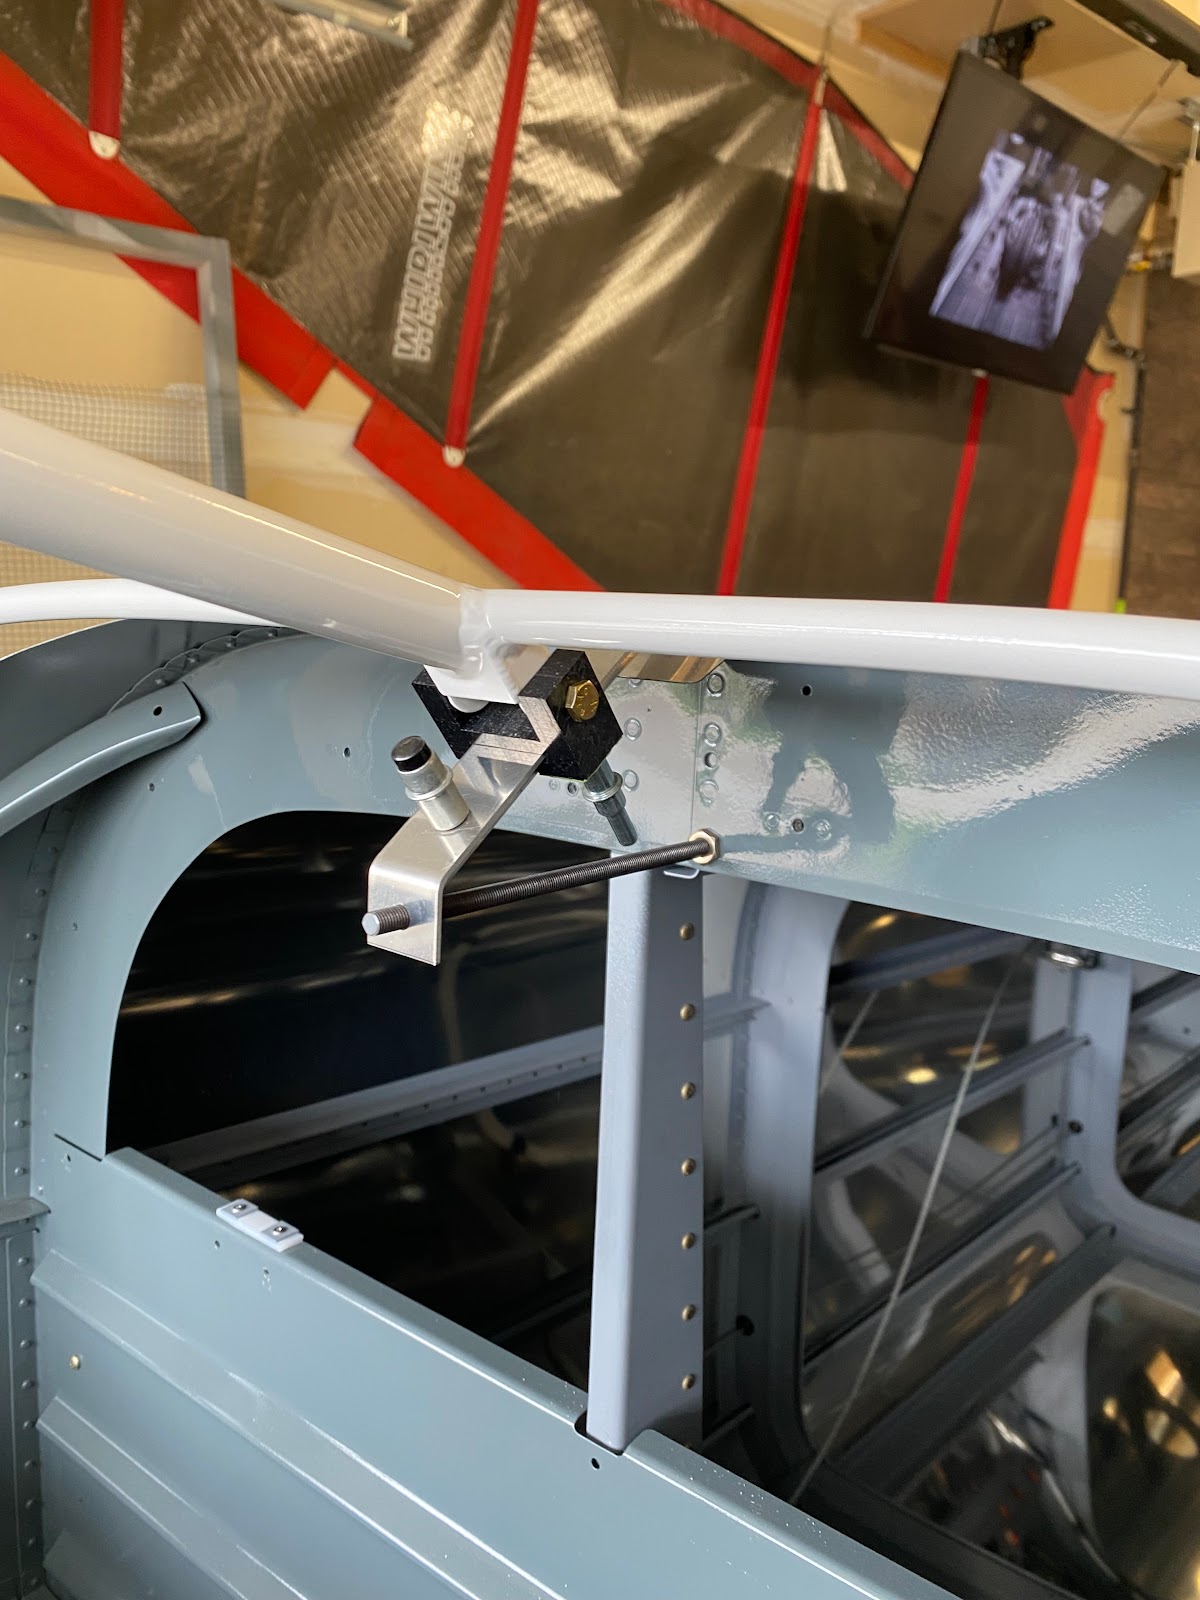
It’s painful to drill into a perfectly good piece of painted material. I opened the existing hole in the luggage bulkhead to accept the slider support threaded rod. That’s the easy part.
On to the fairly tricky part. Setting up for, and drilling the the slider canopy guide. There is dimensions for the plastic spacer, that’s easy enough, however getting those holes set up correctly for the slider canopy frame is a bit tricky. Drilling the bolt hole in the space itself starts by a #40 drill. Then I have to basically use a palm drill to carefully transfer those holes into the steel frame. Not all the way through….but enough to give a guide. After many checks and little bit of creative drill work, I was happy with the placement of #40 pilot holes in the steel frame.Slowly I opened up the holes to 3/16” with reamers. A little bit of primer on the bare metal and we are good to go. Fit is looking pretty decent.
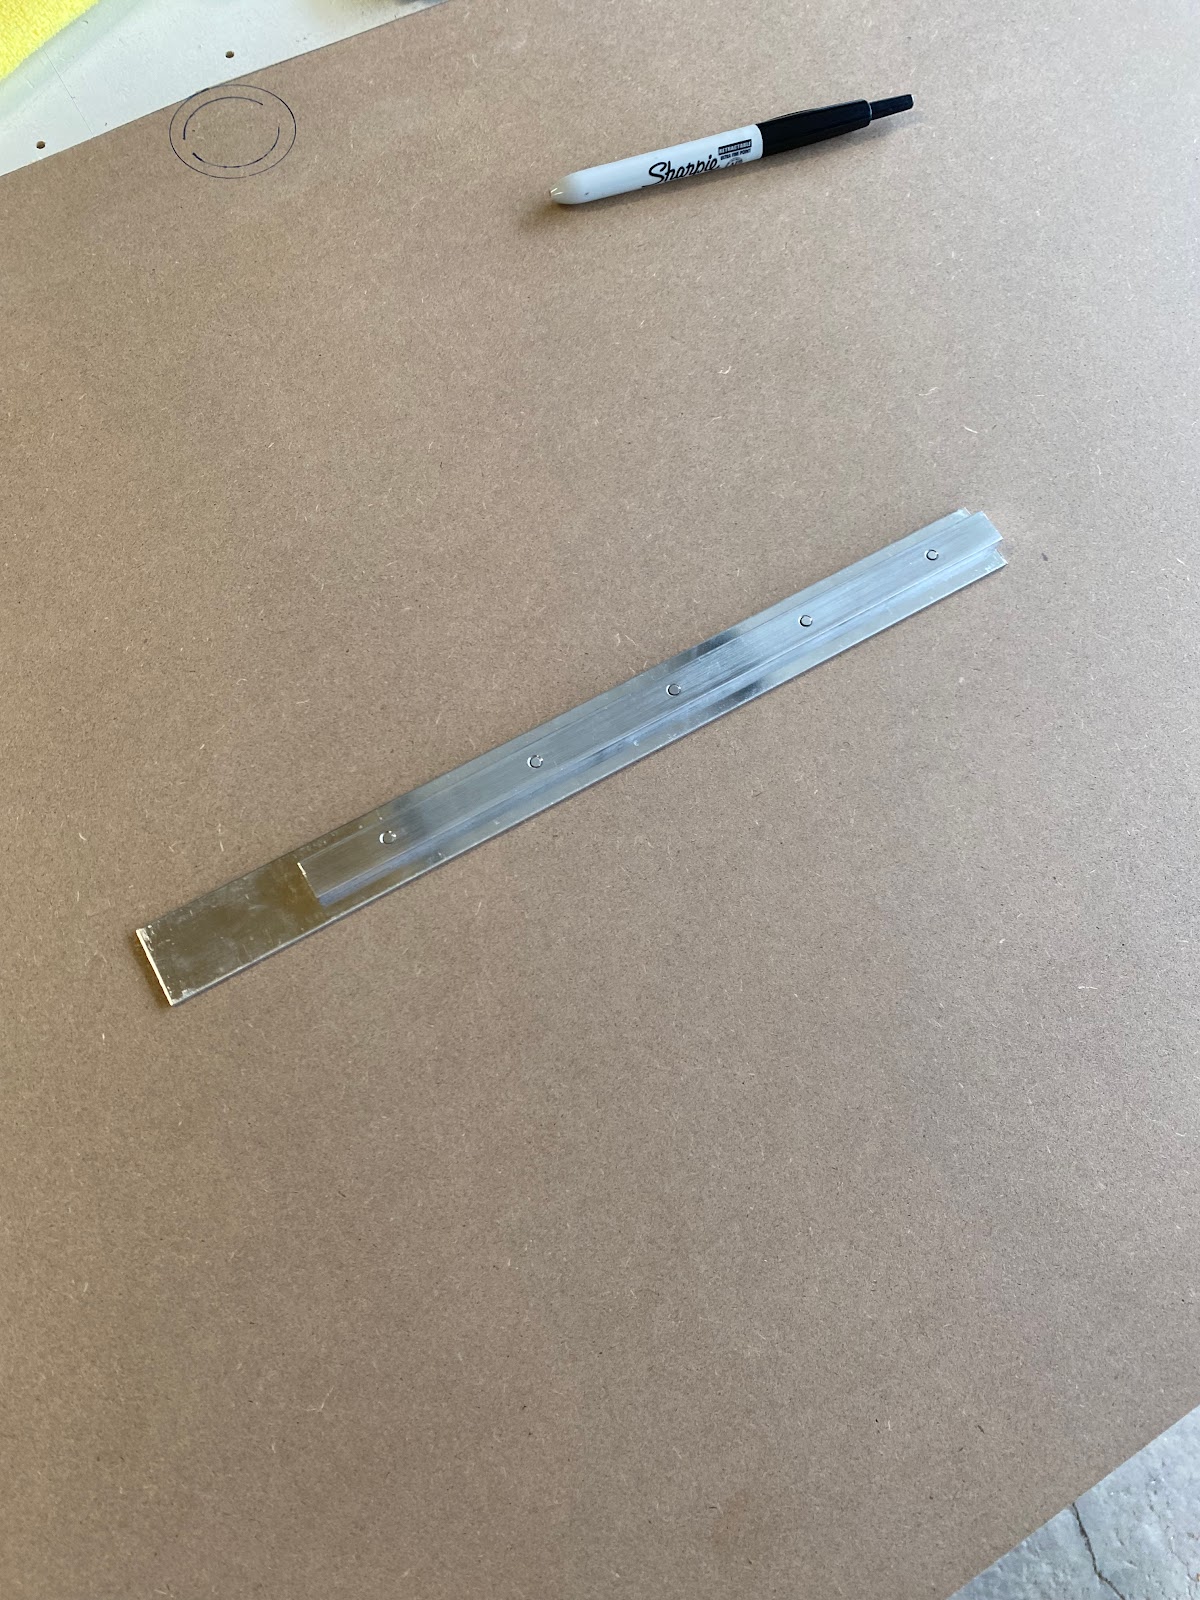
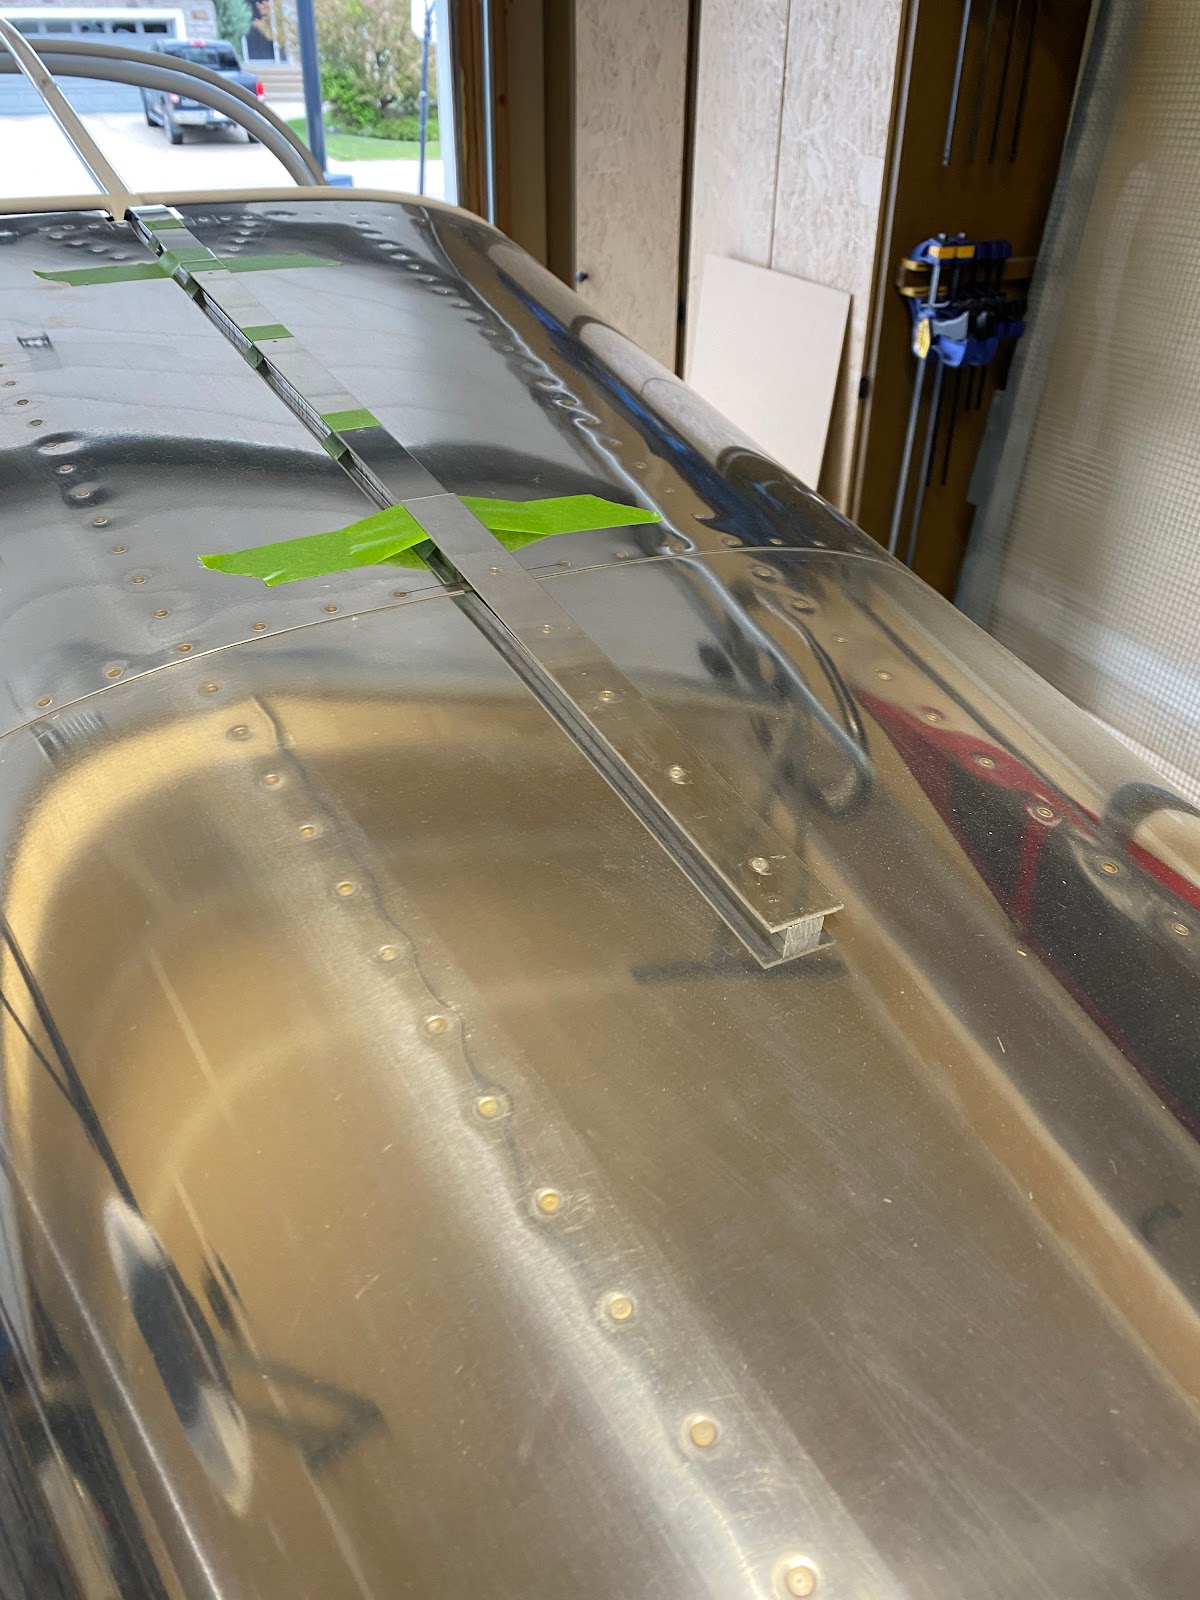
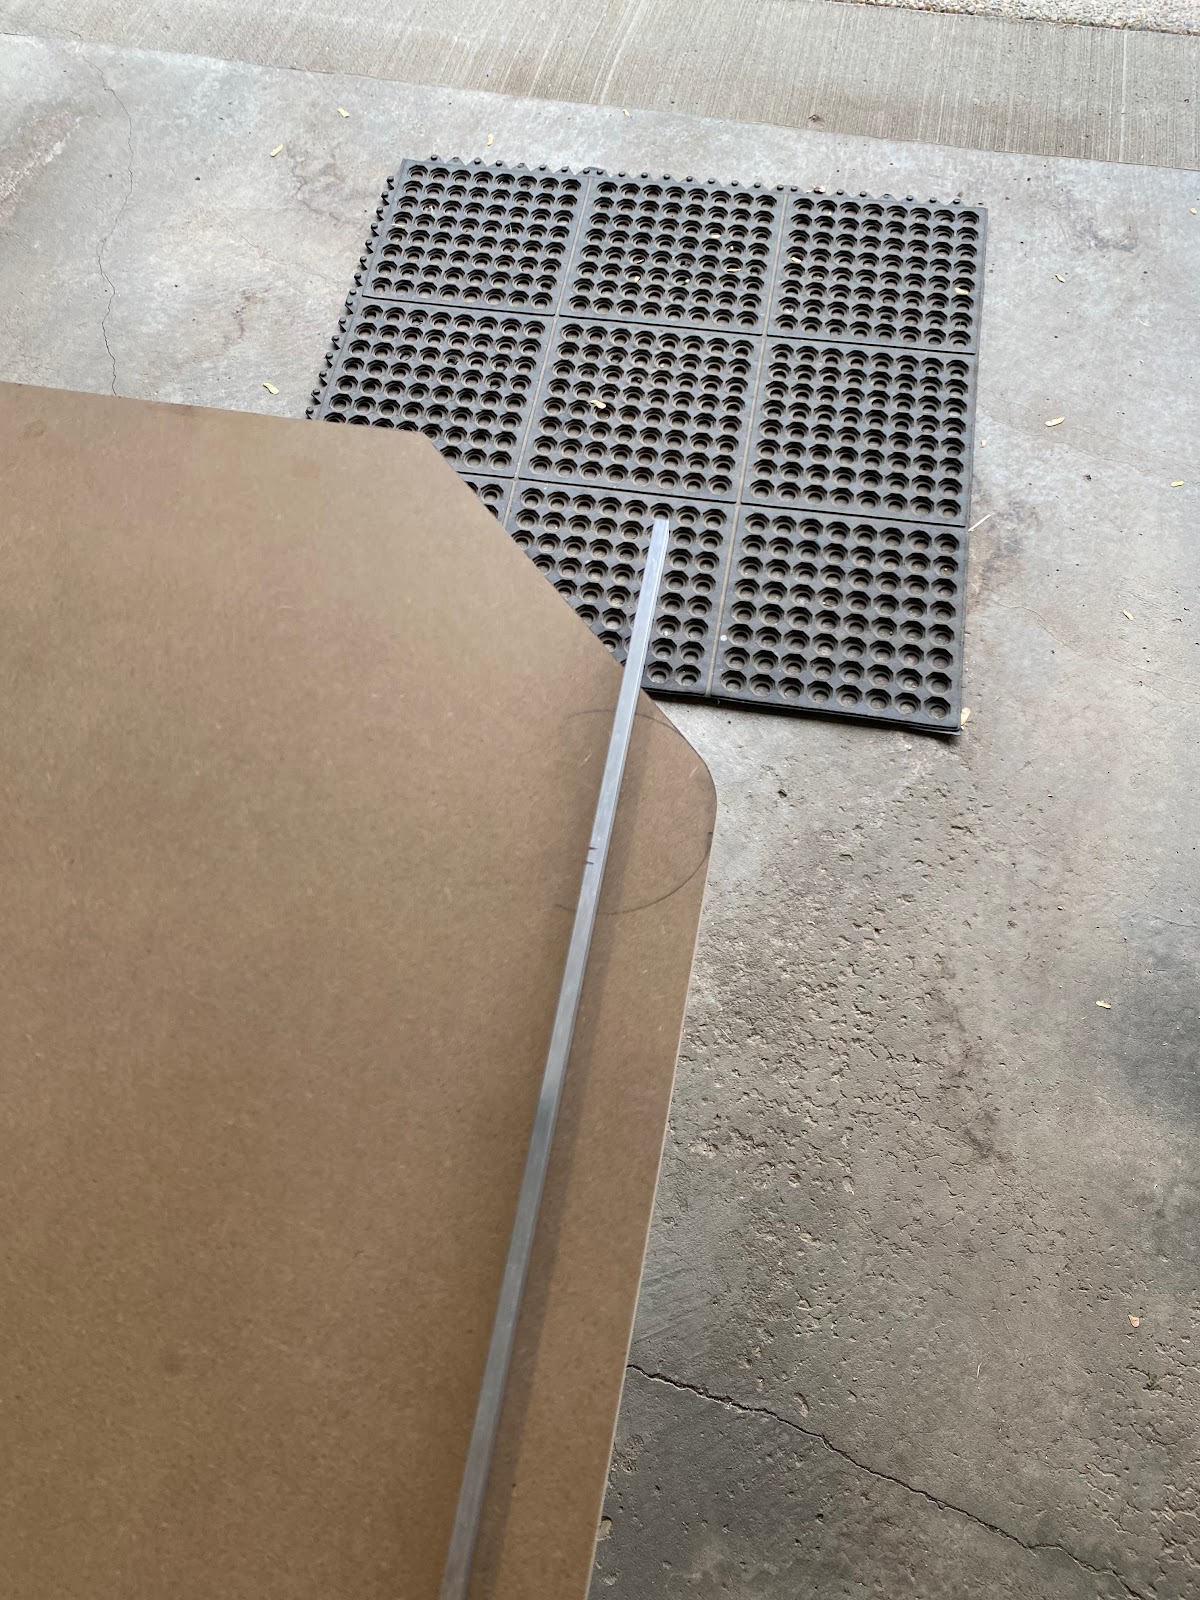
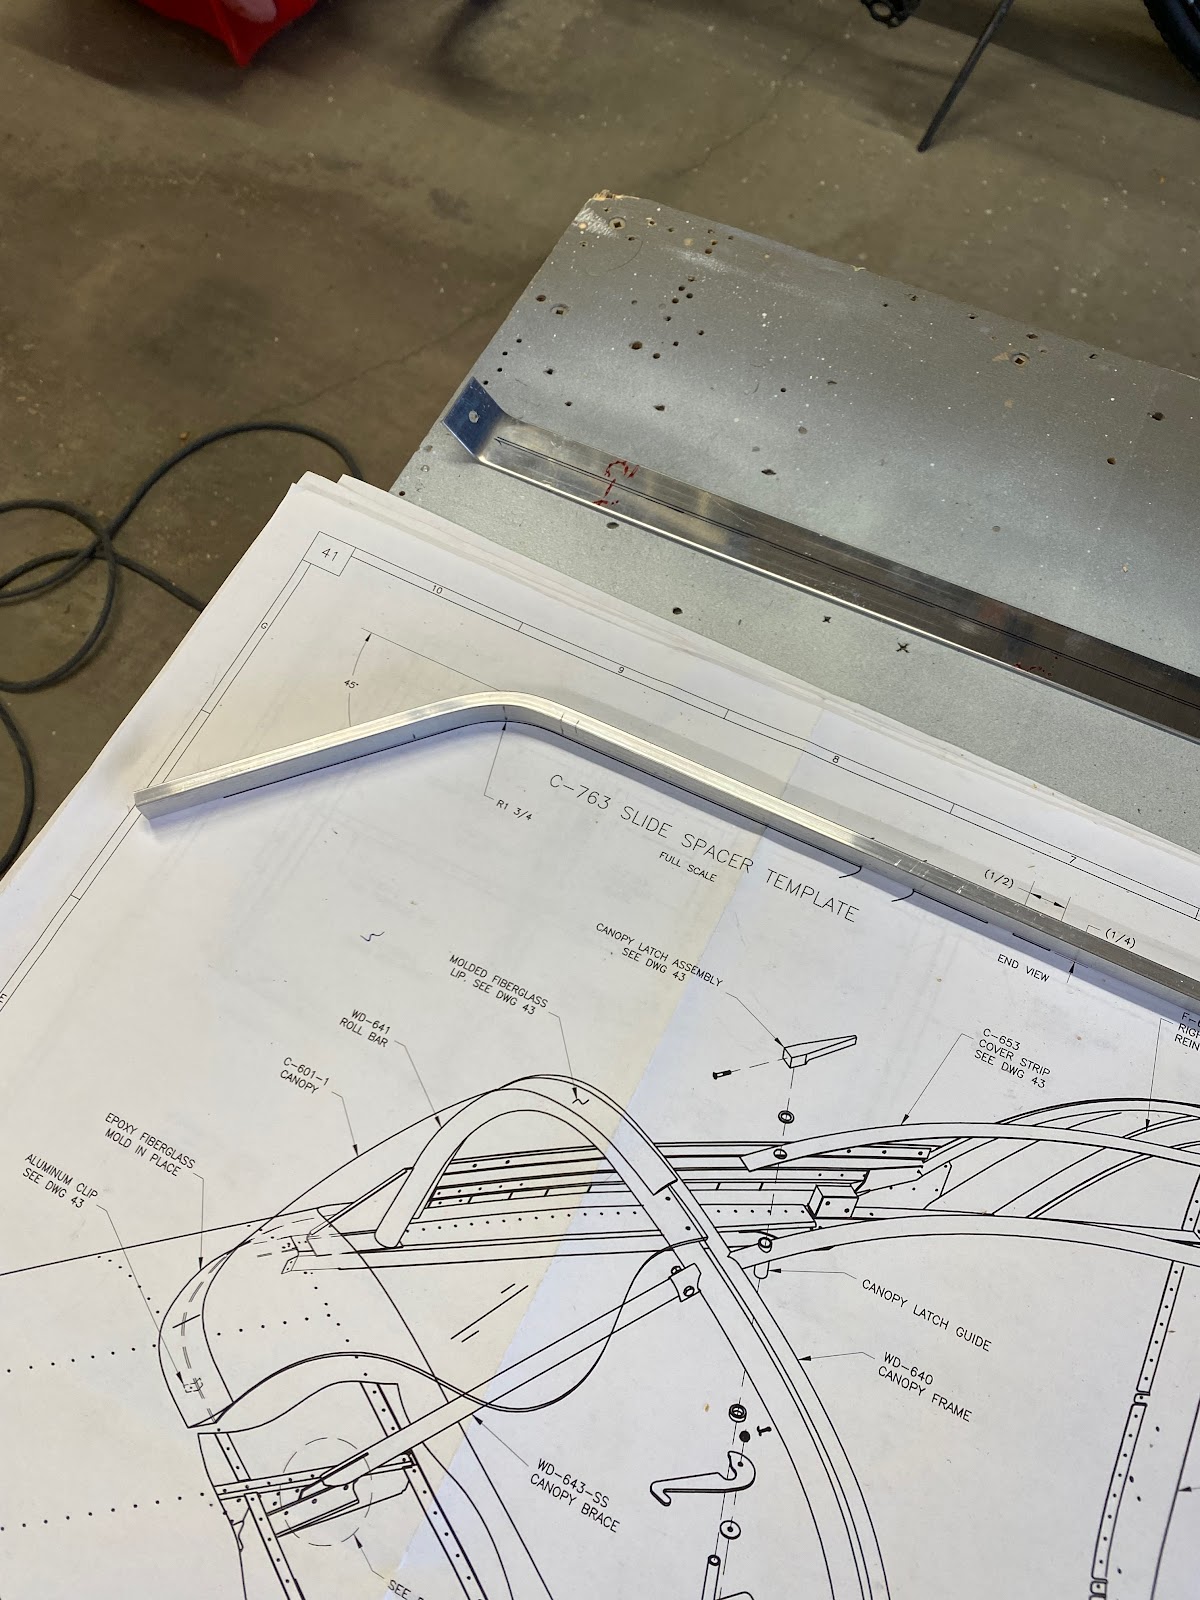
So, back to the spacer…I purchased the Flyboys supertracks mod a while back. Flyboys notes that the slider spacer can be made from a long piece of spacer from an RV8. Well….A while back I had ordered these pieces. Since I sort of messed up drilling the original spacer I decided I will tackle modifying the long spacer. This basically means cutting off the factory curved end and rebinding it to the new template. Well good lord that ended up being a pain. I used a piece of MDF and cut a arc bend in it. Clamped the spacer on and used a mallet to put a new bend in the spacer. Well…. That didn’t work well. Think it might be the rather thin MDF template, but the spacer has a slight angled bend off to the side. Doesn’t sit flat on the table. Well forget trying to get it straightened out. I just need to re-do things with the factor spacer, allow an extension piece. The saving grace is I have a long piece of 0.64” of aluminum fir the guide. So I can splice the spacer, but make the top guide one piece.


