Sunday, June 19, 2022

Completed the canopy slide rail - 5 hours

 Being that I messed up my original C-762 Canopy slide rail spacer. I had to pull out my original one as a replacement.

Back when I ordered my supertacks mod I had ordered the long RV8 Spacer and slide rail in an effort to make it all one piece rather than 2 sections. Well...Messing up the spacer derailed that idea somewhat. Without spending a bunch of money on shipping, I will have to make the space 2 pieces, but at least I can make the slide rail one piece. 

Well, second try here we come! I checked the angle of the spacer. 

Next I drew out centerlines on all pieces and then stater initial drilling moving from front to back.


Now comes the somewhat difficult task of getting the slide rail tightly bent around the curve in the spacer. This is where basically every small clamp I own is used. After clamping and checking, and re-clamping and re-checking. I started to drill the rivet holes. 

After an initial fit check, I was able to confirm the potential mounting screw holes and also plan the fitment of the rear most section of the spacer. 


Sunday, June 12, 2022

A flight in an RV7A

 Today was a treat! A local builder reached out and asked if I would like to come with him on a flight out east of the city. What an awesome offer! Tracy built an RV7A and just finished a couple of years ago and the chance to go look at it and fly in it was an offer I was not going to pass up.

This was well needed for me at this stage of the build, particularity with what I need to figure out with respect to how I need to be building and positioning things, especially in the cabin area and the front deck. Tracy was kind enough to allow me to really look over his build and learn as much as I can. 

We flew out of Cooking Lake, and did a round trip to Flagstaff/Killam-Sedgewick. It was a beautiful flight with perfect weather. Tracy let me take the controls, but I will have to admit I was awfully nervous as the only plane that I've really flown lately is the Cessna 172, and lets face it...things happen fast in the RV. (That and I'm not entirely familiar with his RV). But I appreciate the stick time and appreciate the opportunity. 

One item that stand out in my mind for the build is the importance of knee space under the instrument panel. I think for my height, I am going to have to rethink my headset jacks placement.


Saturday, June 11, 2022

Fitting the vent mounts behind the instrument panel - 1.5 hours

 I need to trim the bottom flange of the instrument panel to allow the vent mount to sit flush behind. A little bit of work with the files made the new vent plates to nest nicely.


Friday, June 10, 2022

Cutting air vent mounts - 4 hours

 Using the paper template that I have test fitted, I cut the vent mounts out from scrap 0.063" aluminum sheet. Now comes the incredibly difficult and tricky part. I have purchased the standard SteinAir vents that are of similar size to the stock Van's vents. Well...they are actually a bit larger than stock.  Drilling the very large 2 3/4" holes required for the vents is not easy. There are various tools that can be used....A fly cutter, a large diameter "wood" hole saw, but these are not precision tools. How do I know....well I wrecked a couple vent mounts. Good thing I have a lot of 0.063" scrap sheet (Thanks aircraft spruce). 


The best scenario in my opinion in the absence of a proper one piece 2 3/4" metal cutting hole saw is to attempt to cut the hole using many drill holes, or a unibit.

  There is no question that this results in considerably more work as the hole has to be shaped using files...but the hole is fairly precise but best of all, incredibly clean.


With both vent holes cut, I am now ready to begin fitting to the instrument panel. As you can see the vents interfere slightly with the instrument panel. I will need to trim a very small amount of material from the panel to allow the vents to sit flush.


The vents now sit perfectly within the vent mounts....Now I need to begin work on placing the mounts so they fit behind the instrument panel. 


Wednesday, June 8, 2022

Made new F-7103C attach angles - 3 hours

 Well. Since I am sidelined on mounting the canopy frame until new parts arrive. I moved back onto fixing the F-7103C instrument panel attach angles. A while ago I followed the “instructions” a little too closely and fluted the angle, rather than cutting relief holes. Well…Lesson learned, This time I cut relief holes instead. 

Didn’t take too long and I had these sent into place in the correct location. I was able to mark out the correct locations of the panel mounting holes and determine the proper location for the flutes that I will now cut! 

I used the firewall reliefs as a template on how to cut these. Initial cuts were made using aviation snips. Then some work with the files and some 3M scotchbrite on the dremel and we were done. 


As you can see the pieces fit very well and the bend is smooth. I then fit the top deck skin on, checked fitment and marked the top mounting holes, as well as drilled the instrument canopy mounting holes. 


Sunday, June 5, 2022

Installing the slider support rod and slider guide - 4 hours

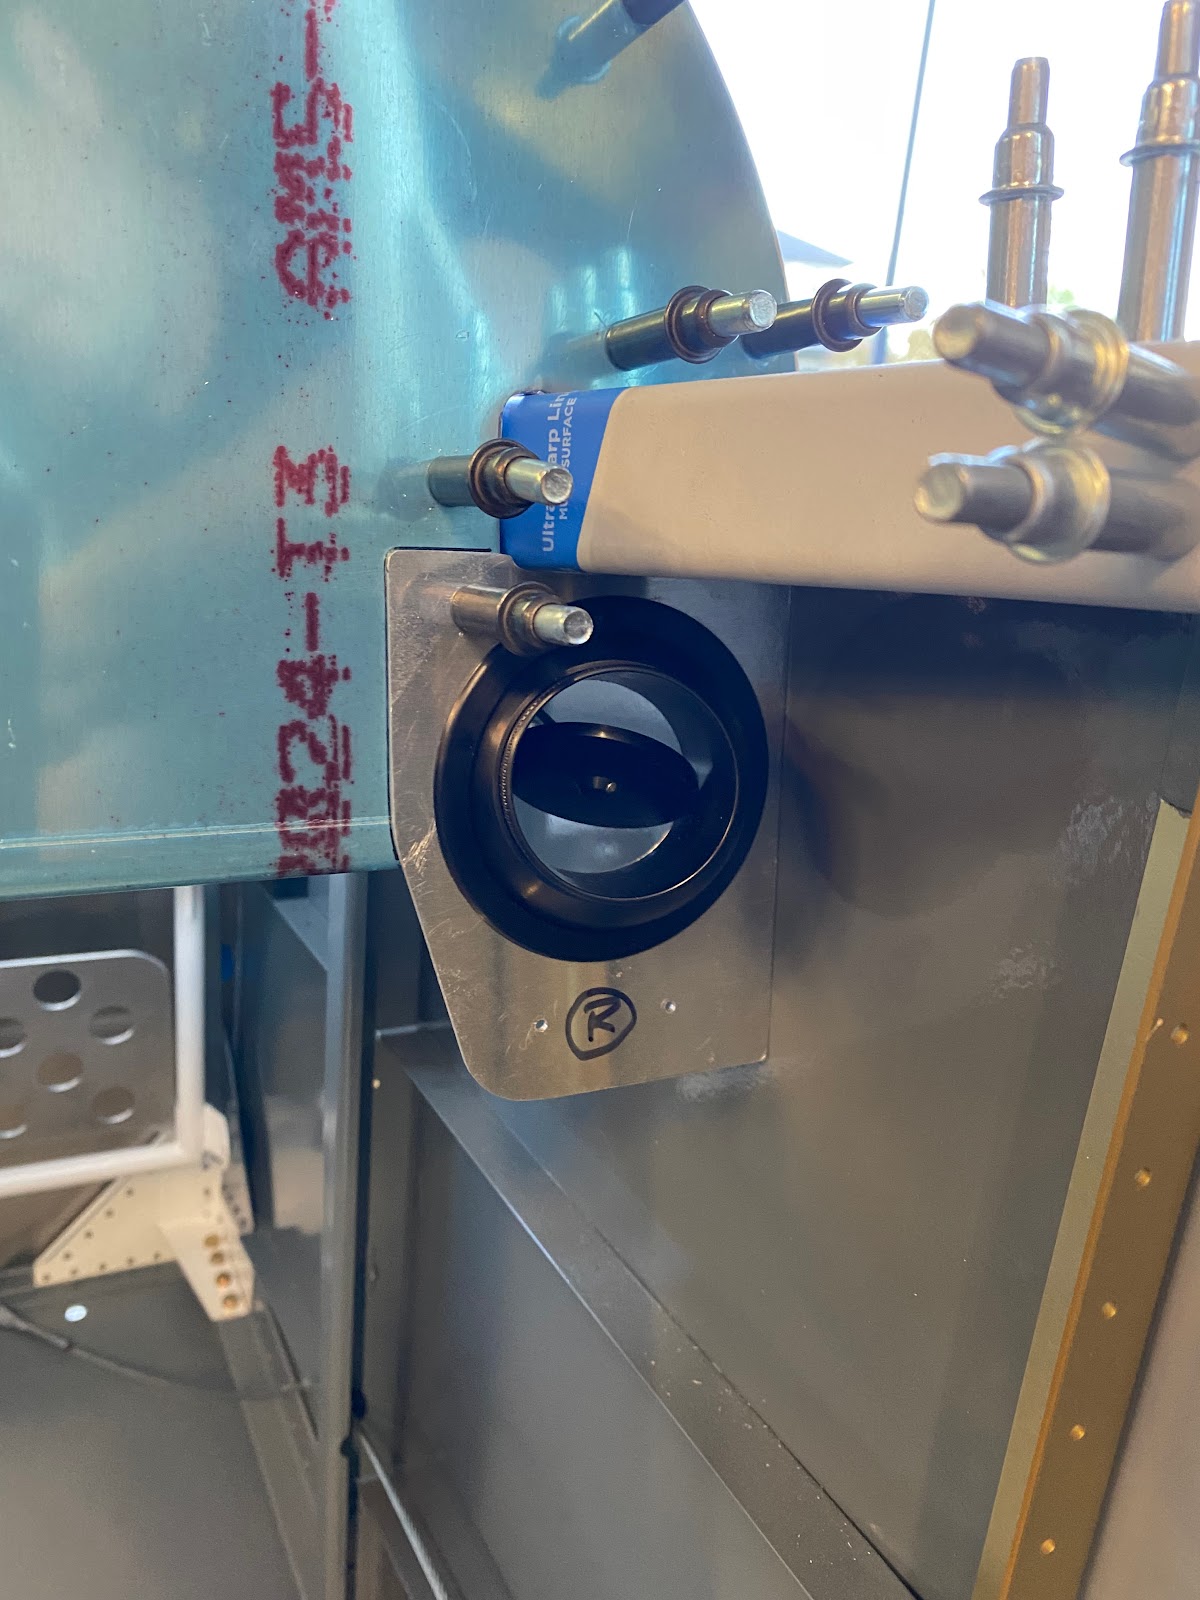
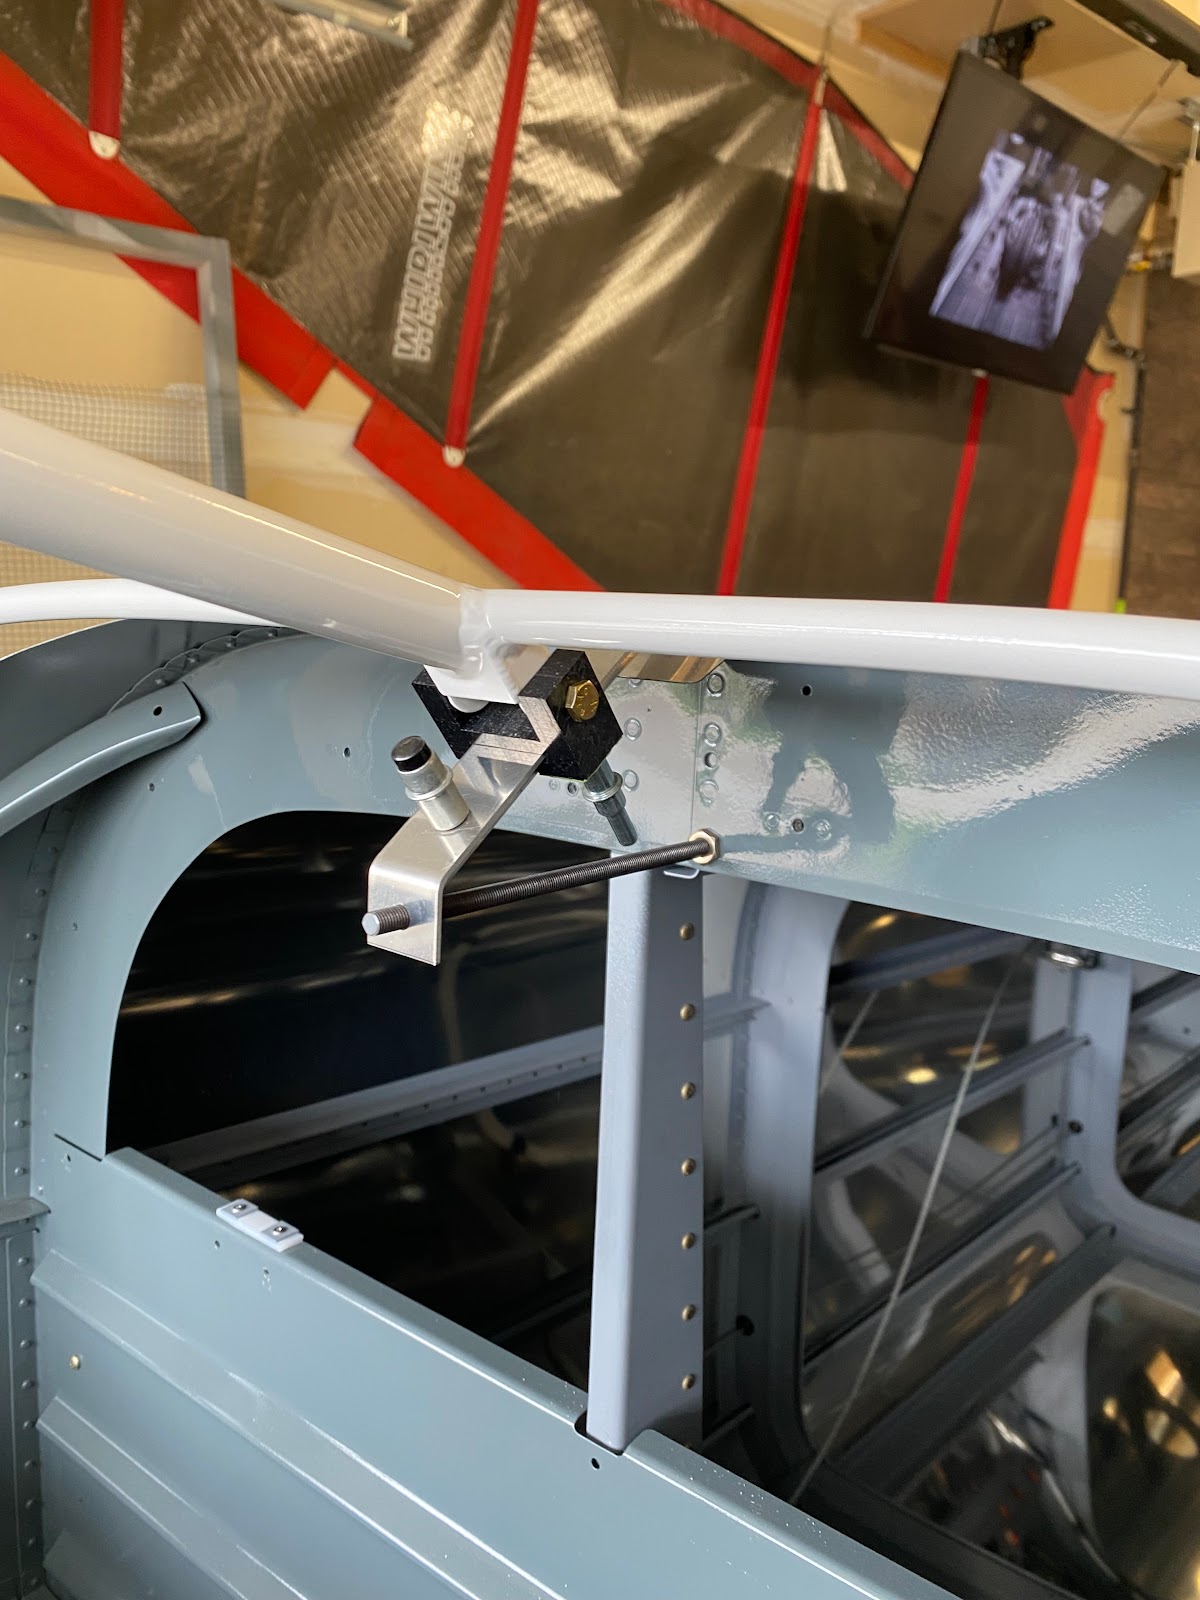
 It’s painful to drill into a perfectly good piece of painted material. I opened the existing hole in the luggage bulkhead to accept the slider support threaded rod. That’s the easy part.

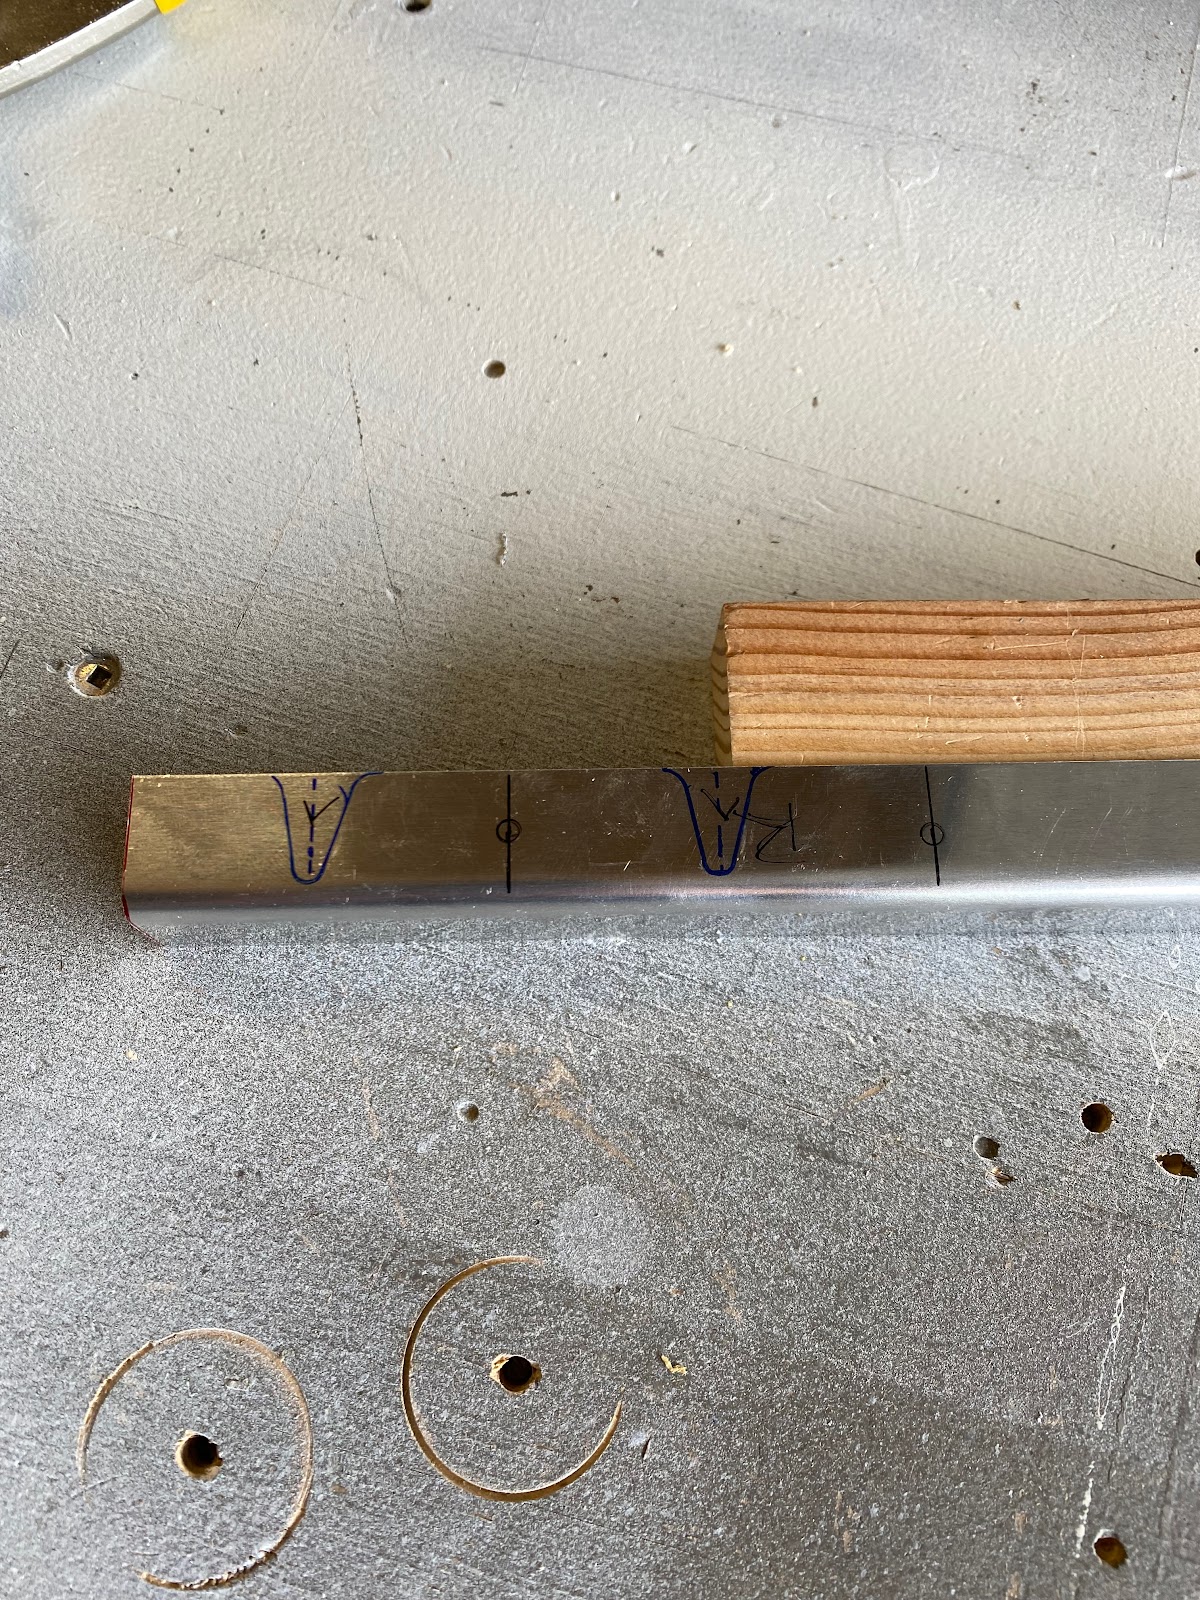
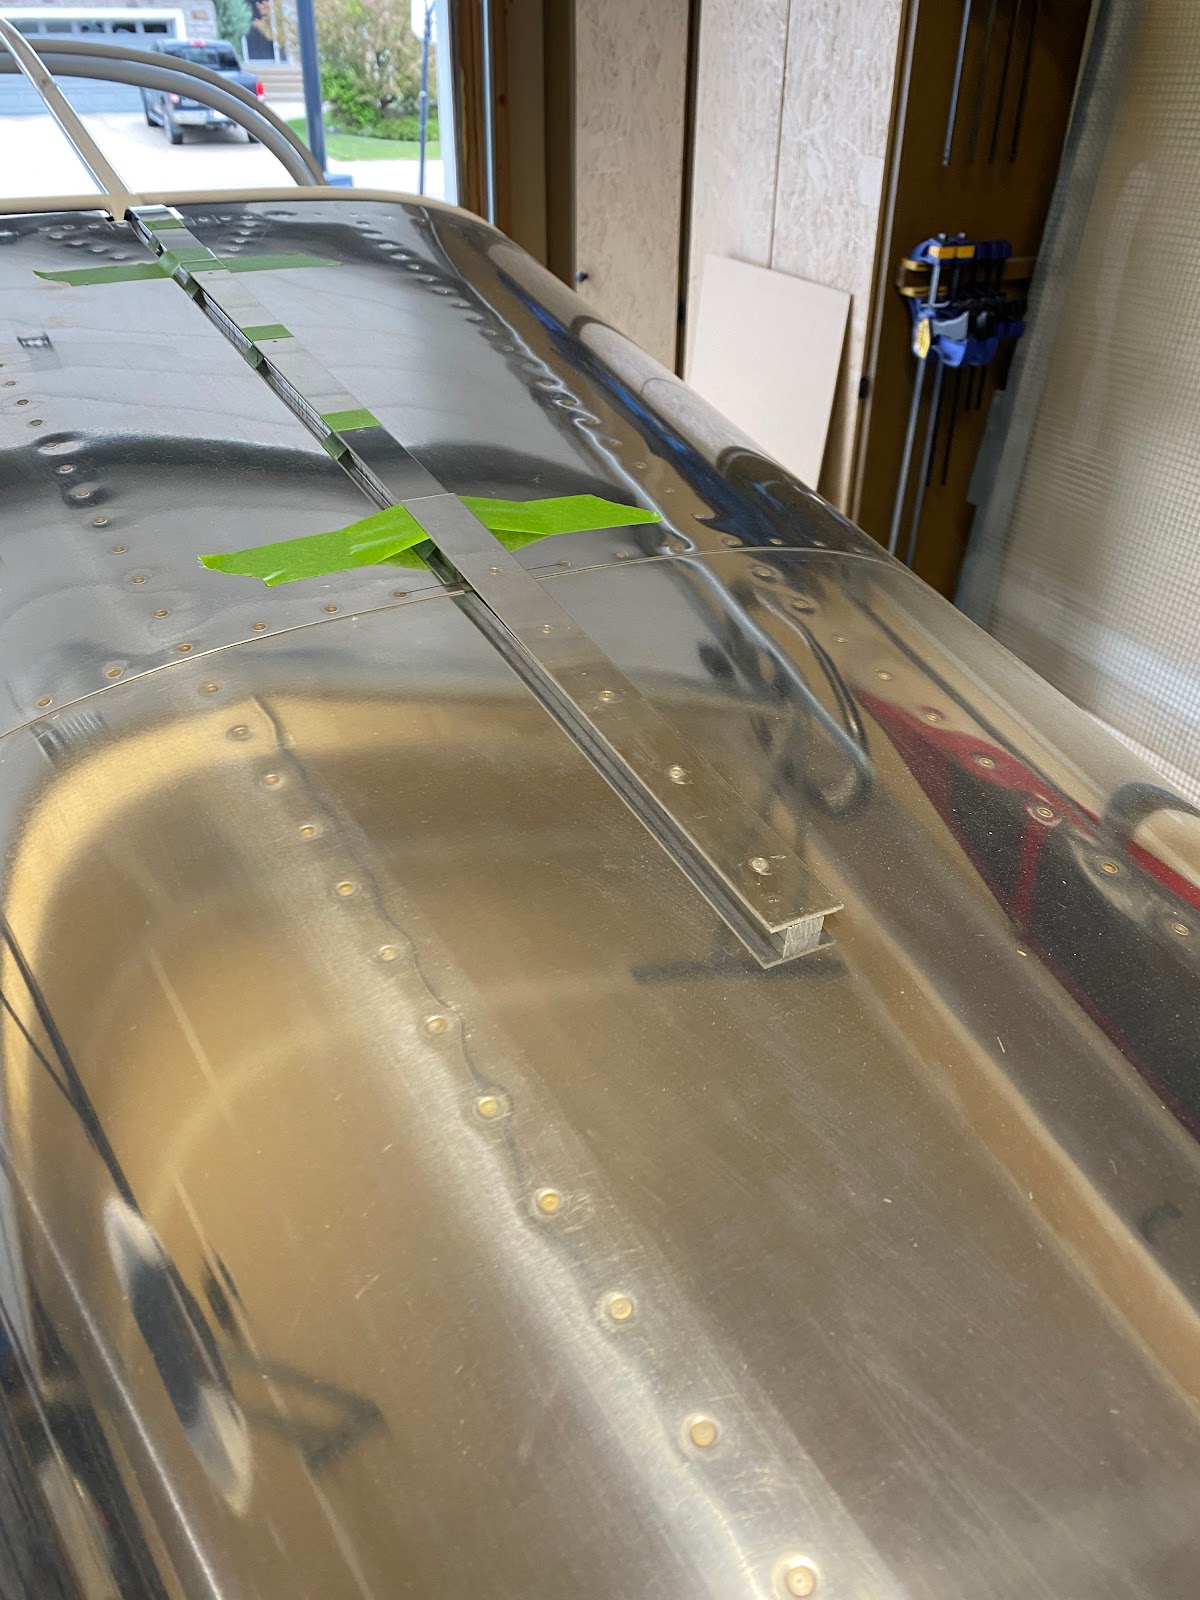
On to the fairly tricky part. Setting up for, and drilling the the slider canopy guide. There is dimensions for the plastic spacer, that’s easy enough, however getting those holes set up correctly for the slider canopy frame is a bit tricky. Drilling the bolt hole in the space itself starts by a #40 drill. Then I have to basically use a palm drill to carefully transfer those holes into the steel frame. Not all the way through….but enough to give a guide. After many checks and little bit of creative drill work, I was happy with the placement of #40 pilot holes in the steel frame.


Slowly I opened up the holes to 3/16” with reamers. A little bit of primer on the bare metal and we are good to go. Fit is looking pretty decent. 


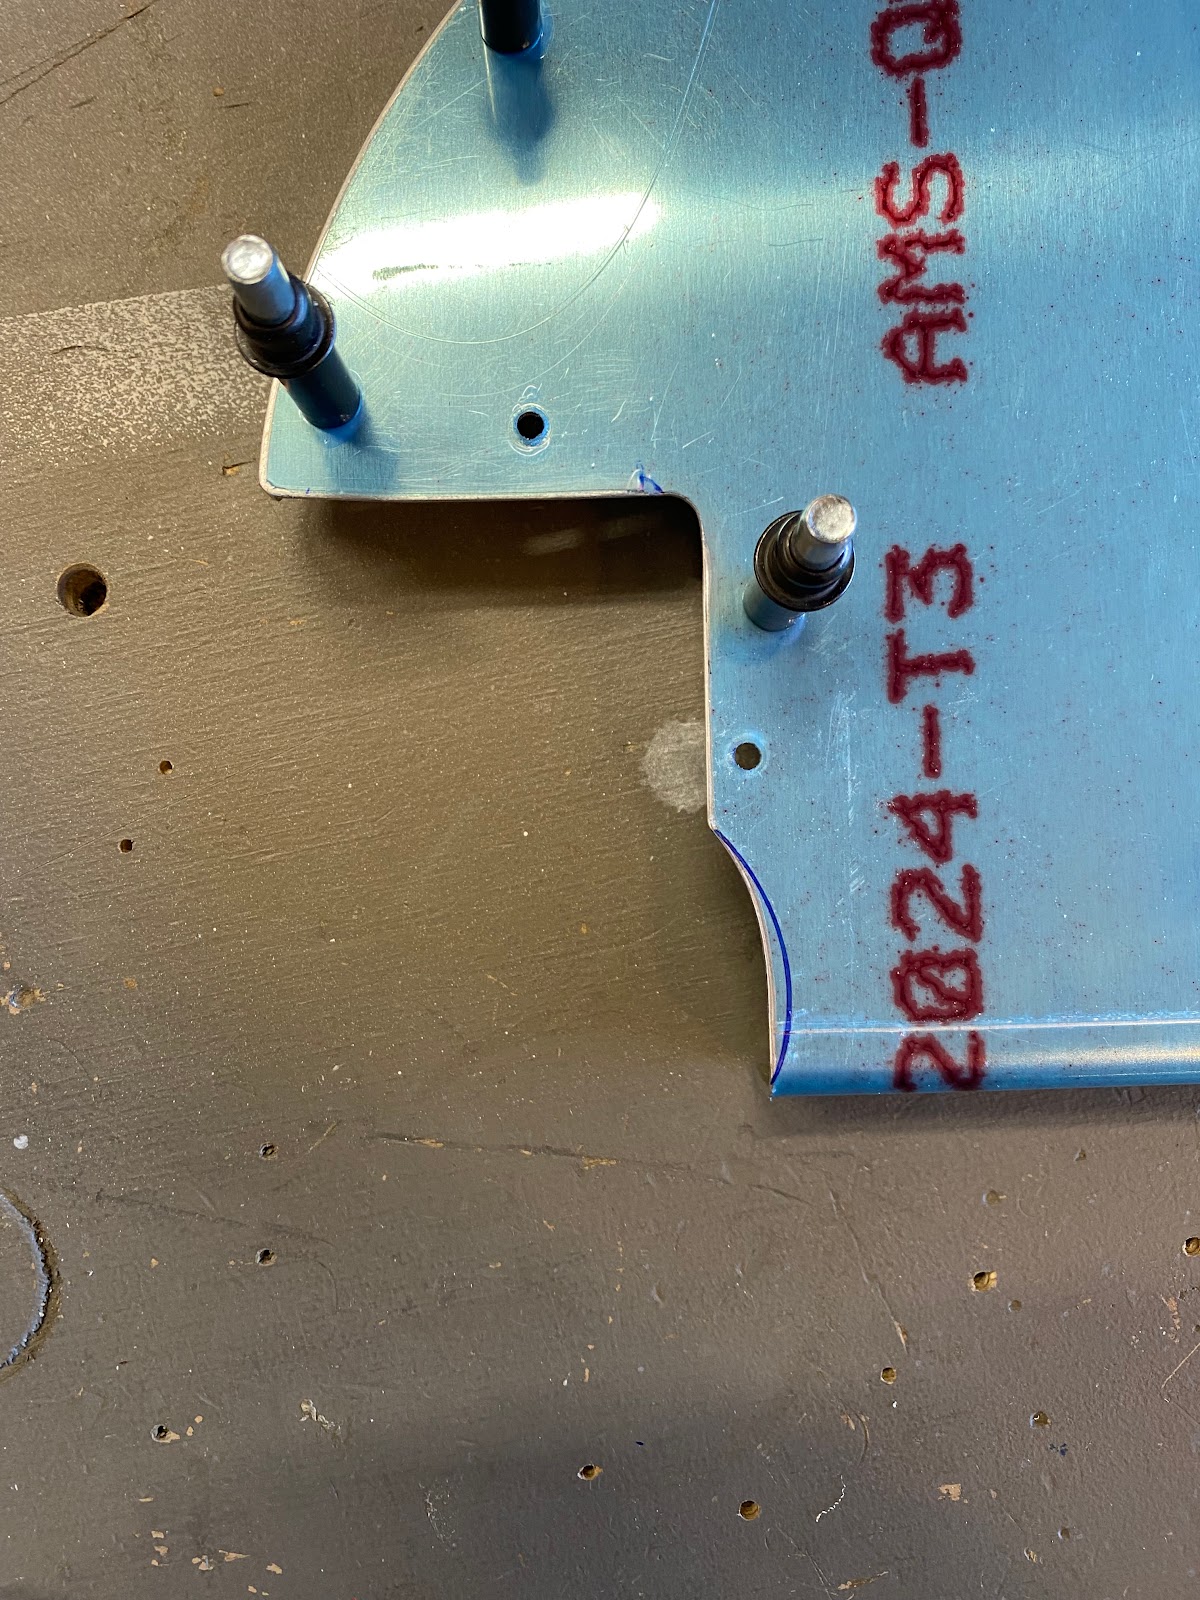
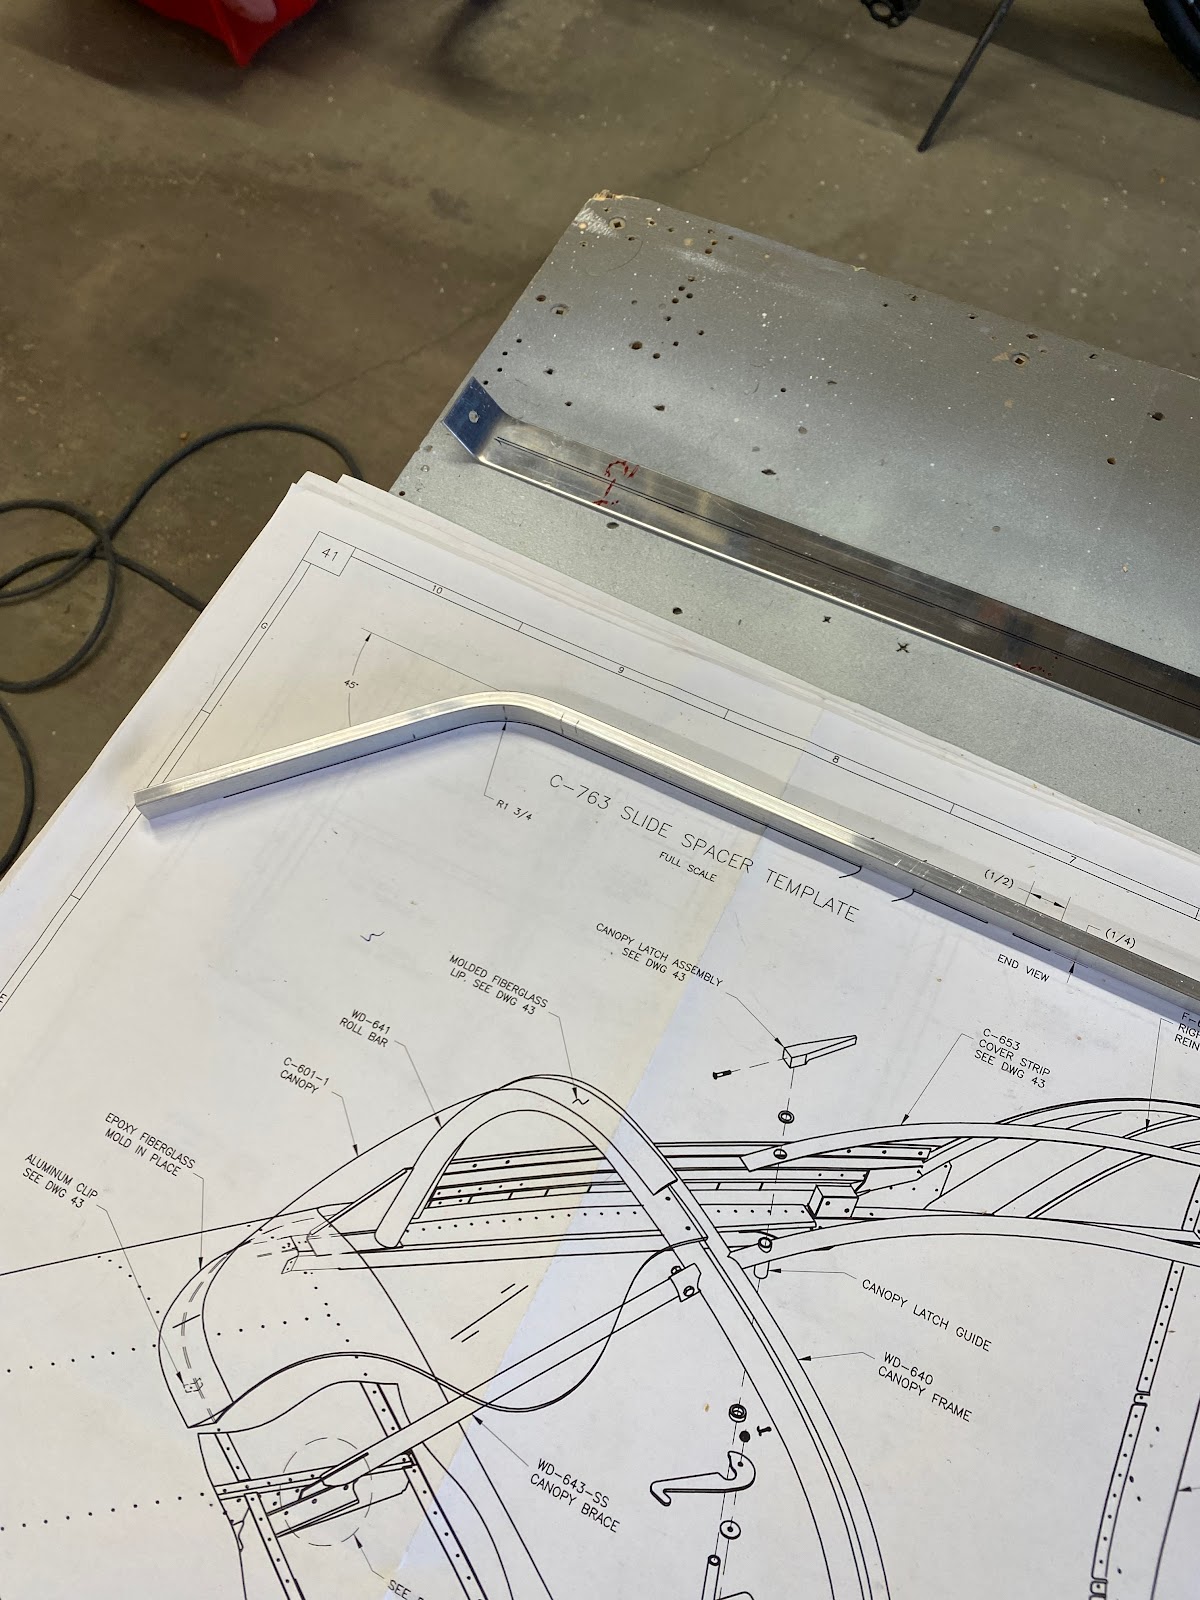
So, back to the spacer…I purchased the Flyboys supertracks mod a while back. Flyboys notes that the slider spacer can be made from a long piece of spacer from an RV8. Well….A while back I had ordered these pieces. Since I sort of messed up drilling the original spacer I decided I will tackle modifying the long spacer. 

 
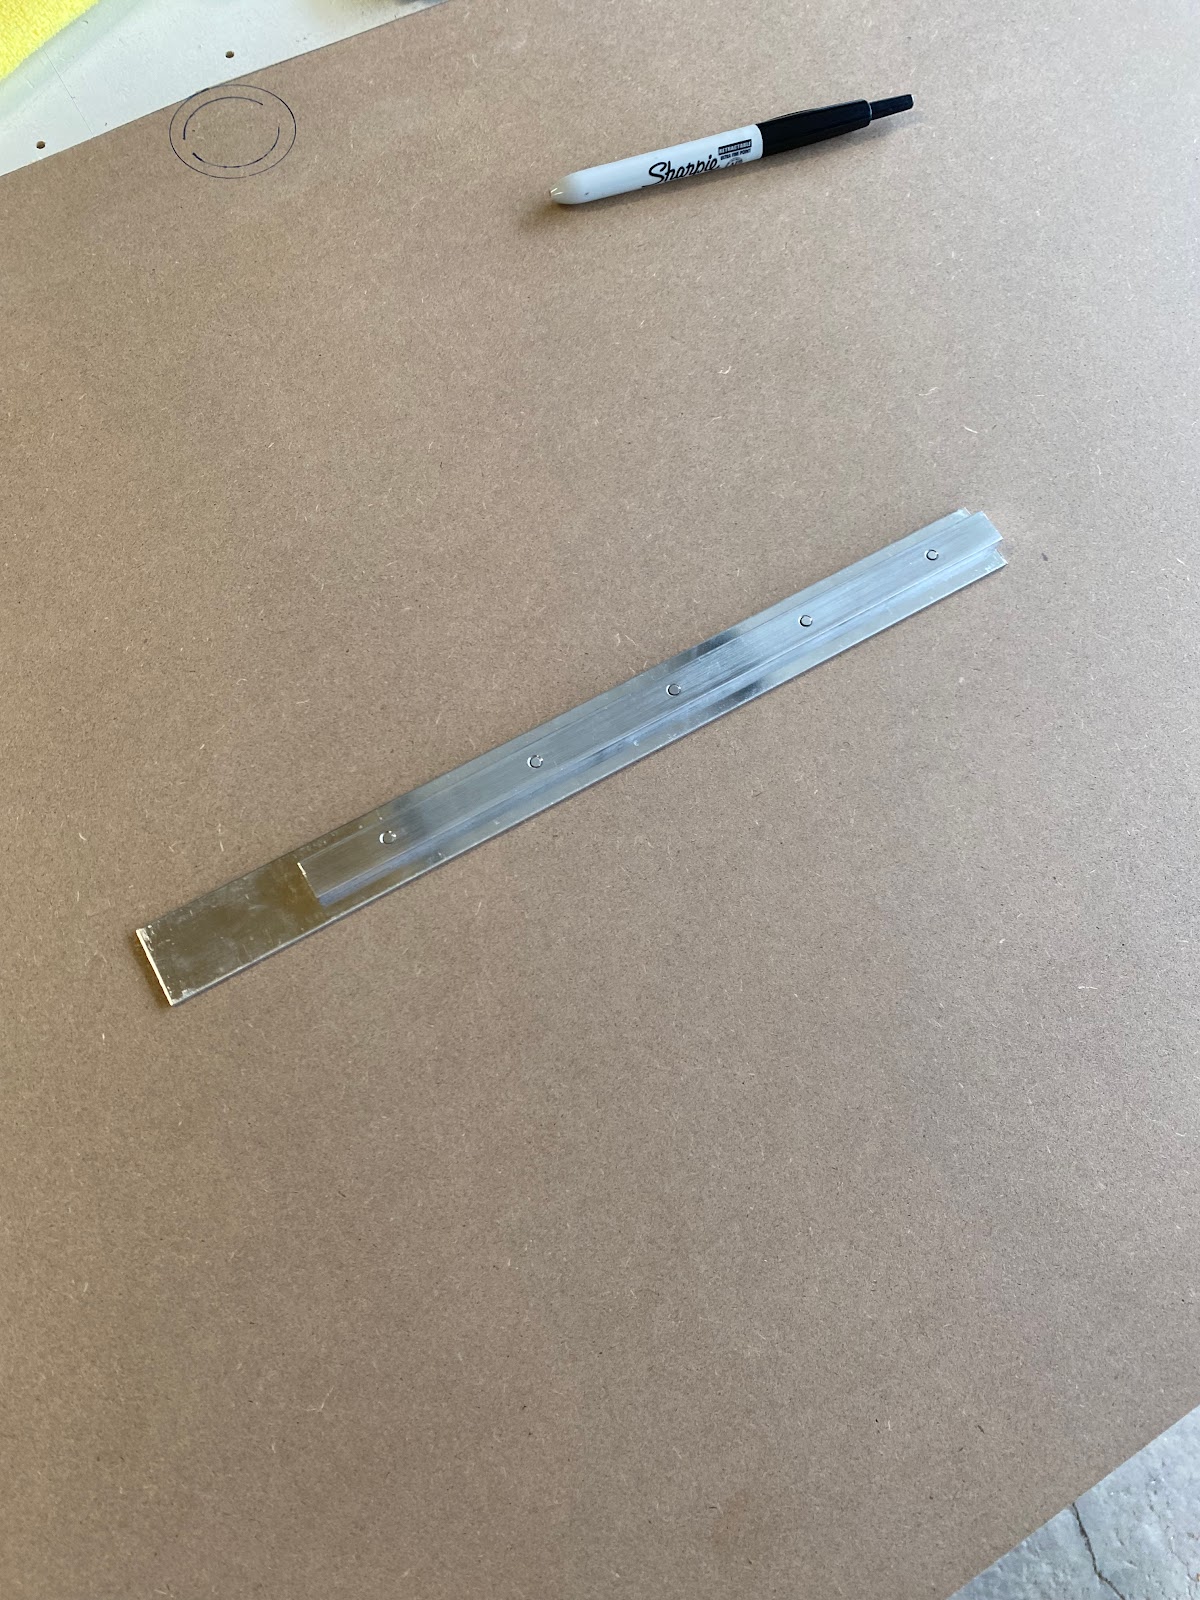
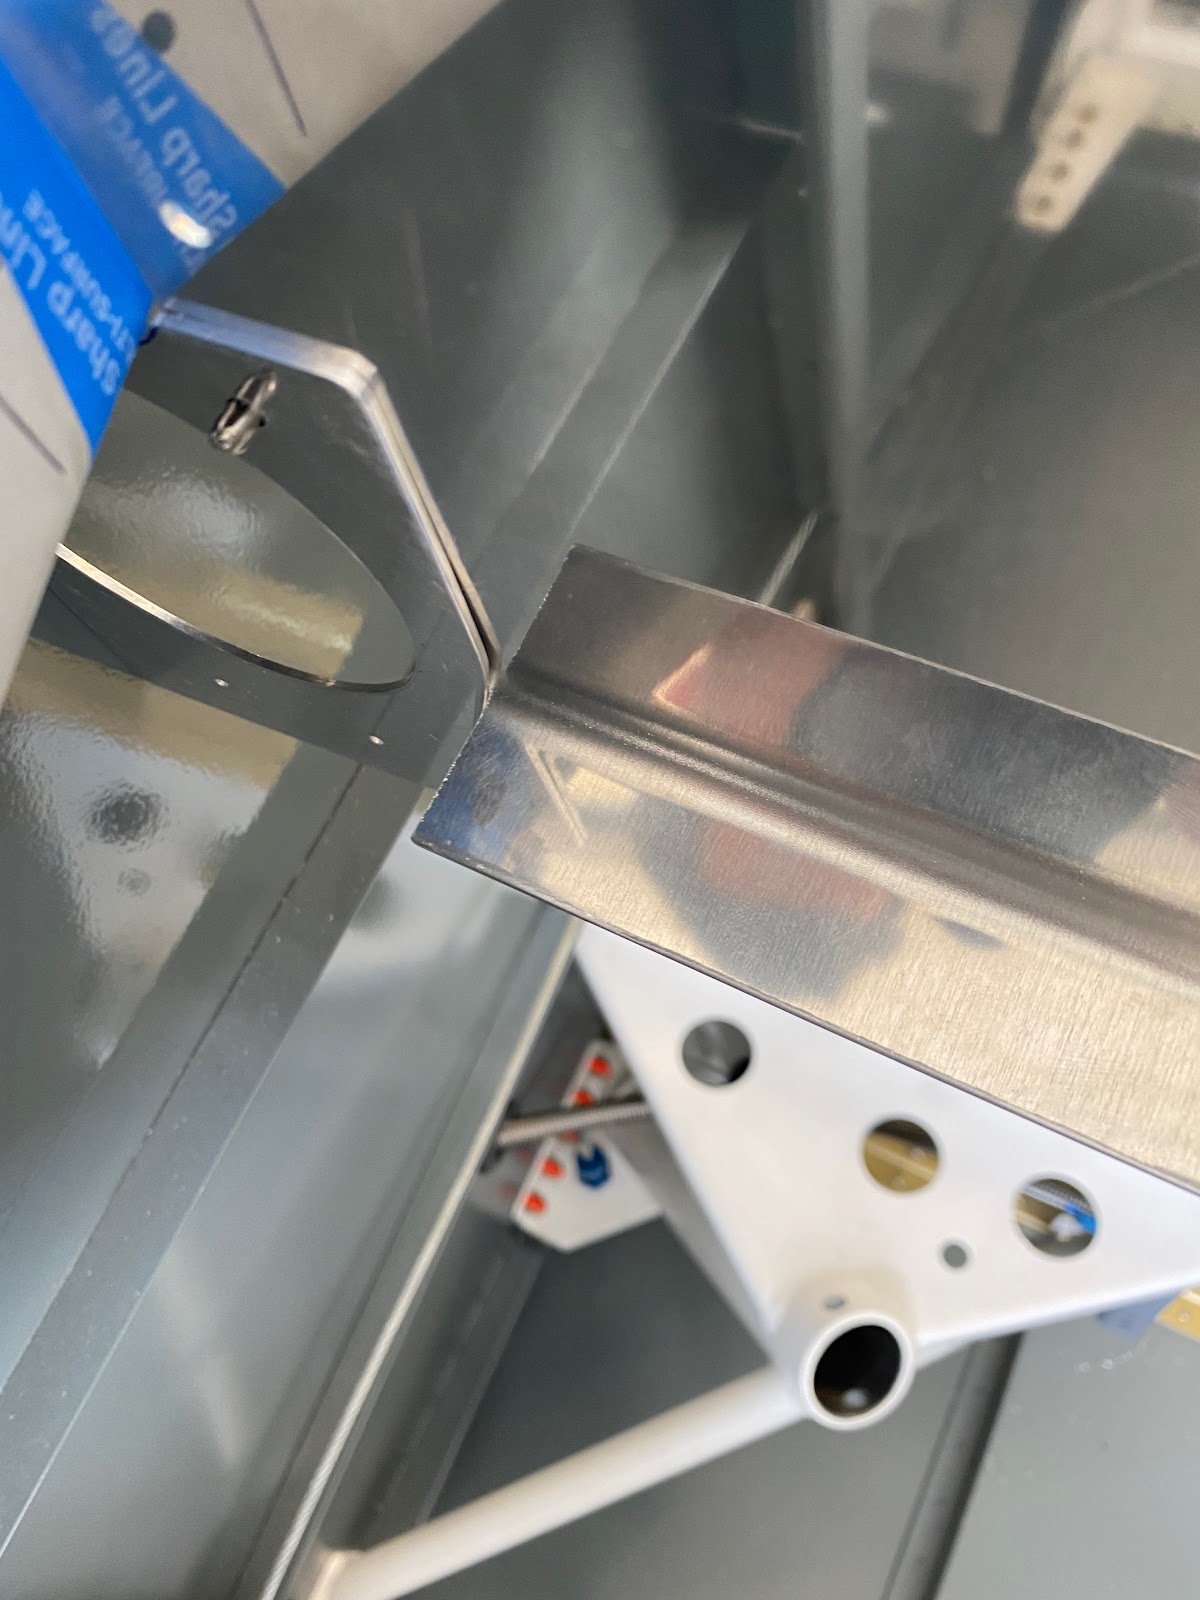
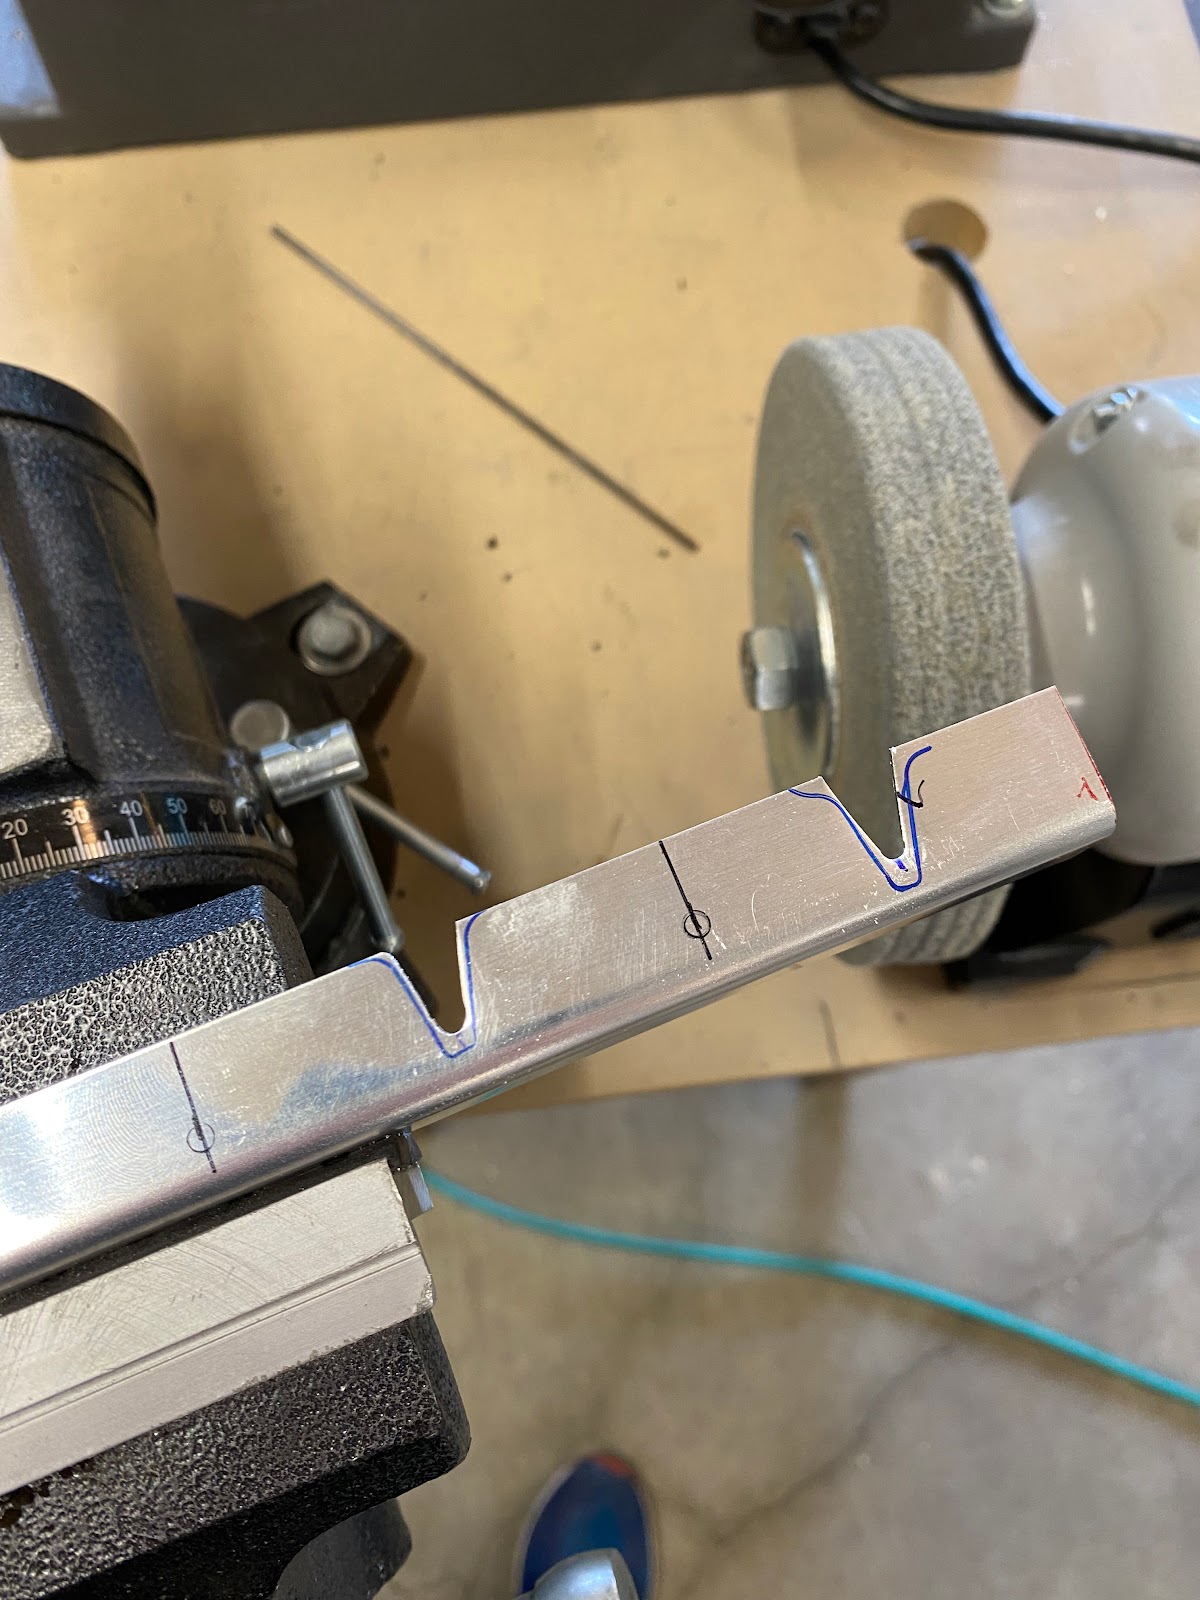
This basically means cutting off the factory curved end and rebinding it to the new template. Well good lord that ended up being a pain. I used a piece of MDF and cut a arc bend in it. Clamped the spacer on and used a mallet to put a new bend in the spacer. Well…. That didn’t work well. Think it might be the rather thin MDF template, but the spacer has a slight angled bend off to the side. Doesn’t sit flat on the table. Well forget trying to get it straightened out. I just need to re-do things with the factor spacer, allow an extension piece. The saving grace is I have a long piece of 0.64” of aluminum fir the guide. So I can splice the spacer, but make the top guide one piece.