Showing posts with label Instrument panel. Show all posts

Saturday, June 10, 2023

More work on the Vents and Instrument sub-panel - 2.5 hours

 Today, I finished drilling the #8 screw mounting holes for the Vent mount plates in the F-793 brackets. Not much room here to drill, but my Nova tools 90deg drill comes in so handy. I am very happy with the fit and finish in the end.


During test fit of the vents I noticed there was a bit of a fit issue with the way the Stein Air vents secure with the F-793 brackets. there is a gap on one side of the vent assembly as the bracket causes some interference.


 I thought first about trimming the mount bracket to clear the vent flange, but I think that is going to result in too much material being removed.

In the end, I think the best and easiest option is to print a shim on the 3D printer, I can make a perfect plastic shim that will solve this. I will do that later in the build. 

Next I moved onto fitting the F-746 fwd engine control bracket to the instrument sub-panel.


Monday, June 5, 2023

Working on the F-793 Vent Brackets - 3.5 hours

 Now that the vent mounting plates have been trimmed, I can now work on the F-793 vent brackets. Originally I wasn't happy with my first attempt at the F-793 brackets. they were ok, but I can make them better. Since I have extra material, I quickly made 2 new ones and trimmed them up to suit the revised vent mount plates. 


After painstakingly trimming the half moon shape to allow the vents to next into them, I now need to locate the two mounting holes in each located closest to the fuselage side. Well... I put my 3D printer to work again and made a drill template to locate the holes. 


Sunday, June 4, 2023

Timming the Cabin Vent mount plates - 3 hours

 One of the things I noticed flying in a local RV7A (Thanks to Tracy for taking me up in his RV). I noticed how much space I needed for my long legs. My original plan was to locate the head phone jacks below the vents, however I realize now they take a bit of room in a critical area. I think it is very important for me to re-consider my original choice for placement as I need every inch of space I can get.  

I already have the larger 1 5/8" vents from Stein Air. I originally purchased these as they are most similar in size to the stock Vans units. So...I am going to keep those. I decided I am going to trim off the extra tab on the vent mount plates that was reserved for headphone jacks. I'll find somewhere else to put them later.


 Best way I figure to trim a nice clean line is to print a cutting template on the 3D printer.


I have a nice clean line/guide that is perfect dimension allowing me to to trim and reshape the vent mount plates.


Saturday, June 11, 2022

Fitting the vent mounts behind the instrument panel - 1.5 hours

 I need to trim the bottom flange of the instrument panel to allow the vent mount to sit flush behind. A little bit of work with the files made the new vent plates to nest nicely.


Friday, June 10, 2022

Cutting air vent mounts - 4 hours

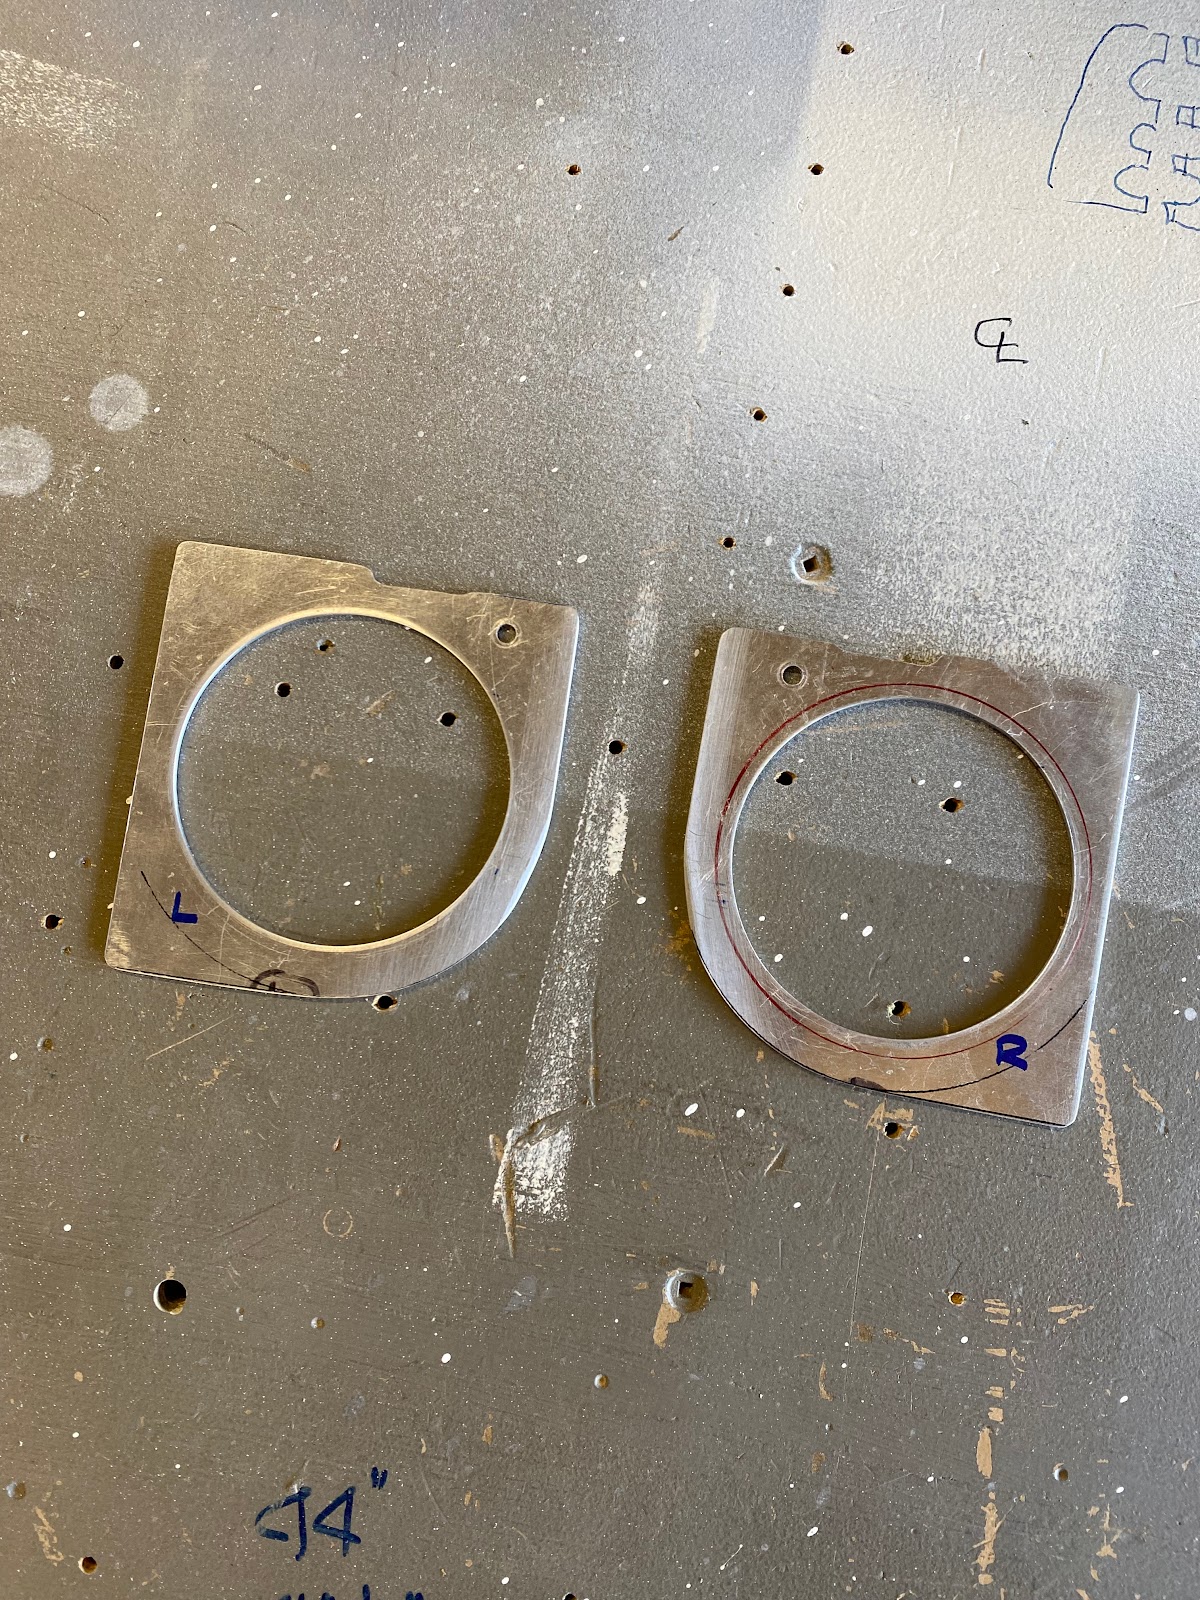
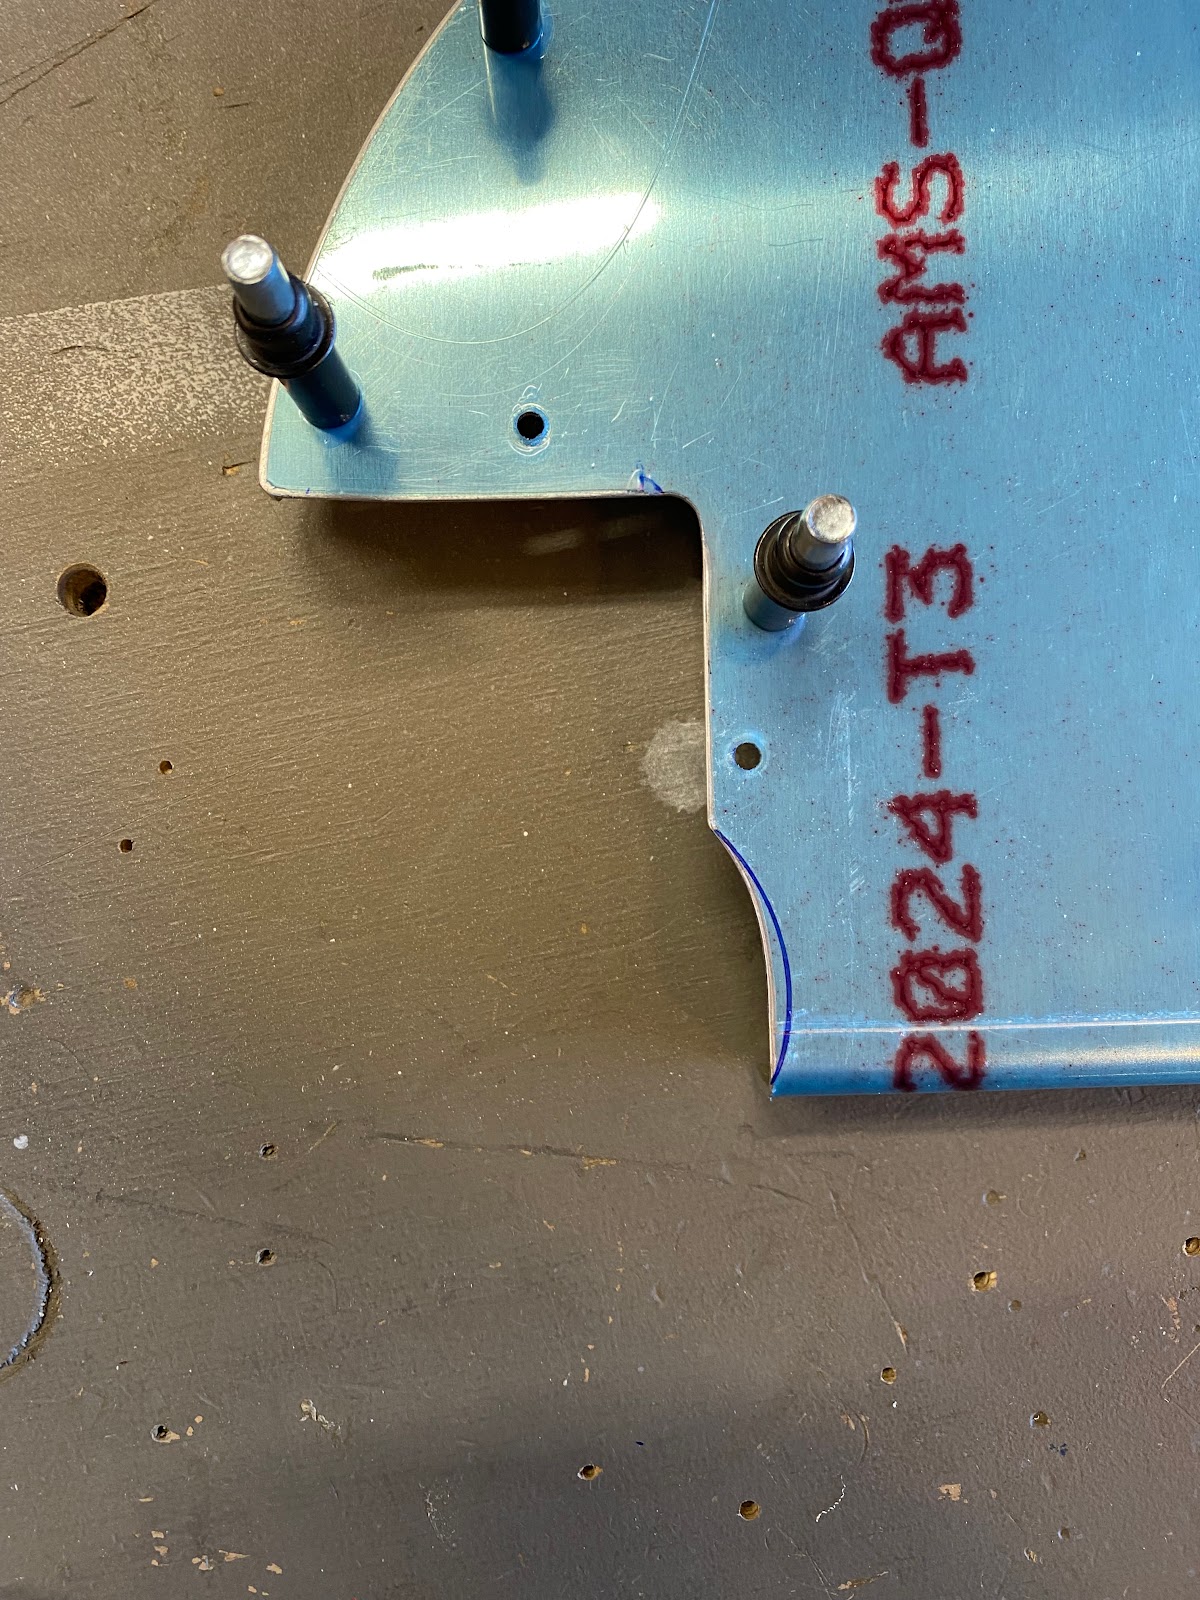
 Using the paper template that I have test fitted, I cut the vent mounts out from scrap 0.063" aluminum sheet. Now comes the incredibly difficult and tricky part. I have purchased the standard SteinAir vents that are of similar size to the stock Van's vents. Well...they are actually a bit larger than stock.  Drilling the very large 2 3/4" holes required for the vents is not easy. There are various tools that can be used....A fly cutter, a large diameter "wood" hole saw, but these are not precision tools. How do I know....well I wrecked a couple vent mounts. Good thing I have a lot of 0.063" scrap sheet (Thanks aircraft spruce). 


The best scenario in my opinion in the absence of a proper one piece 2 3/4" metal cutting hole saw is to attempt to cut the hole using many drill holes, or a unibit.

  There is no question that this results in considerably more work as the hole has to be shaped using files...but the hole is fairly precise but best of all, incredibly clean.


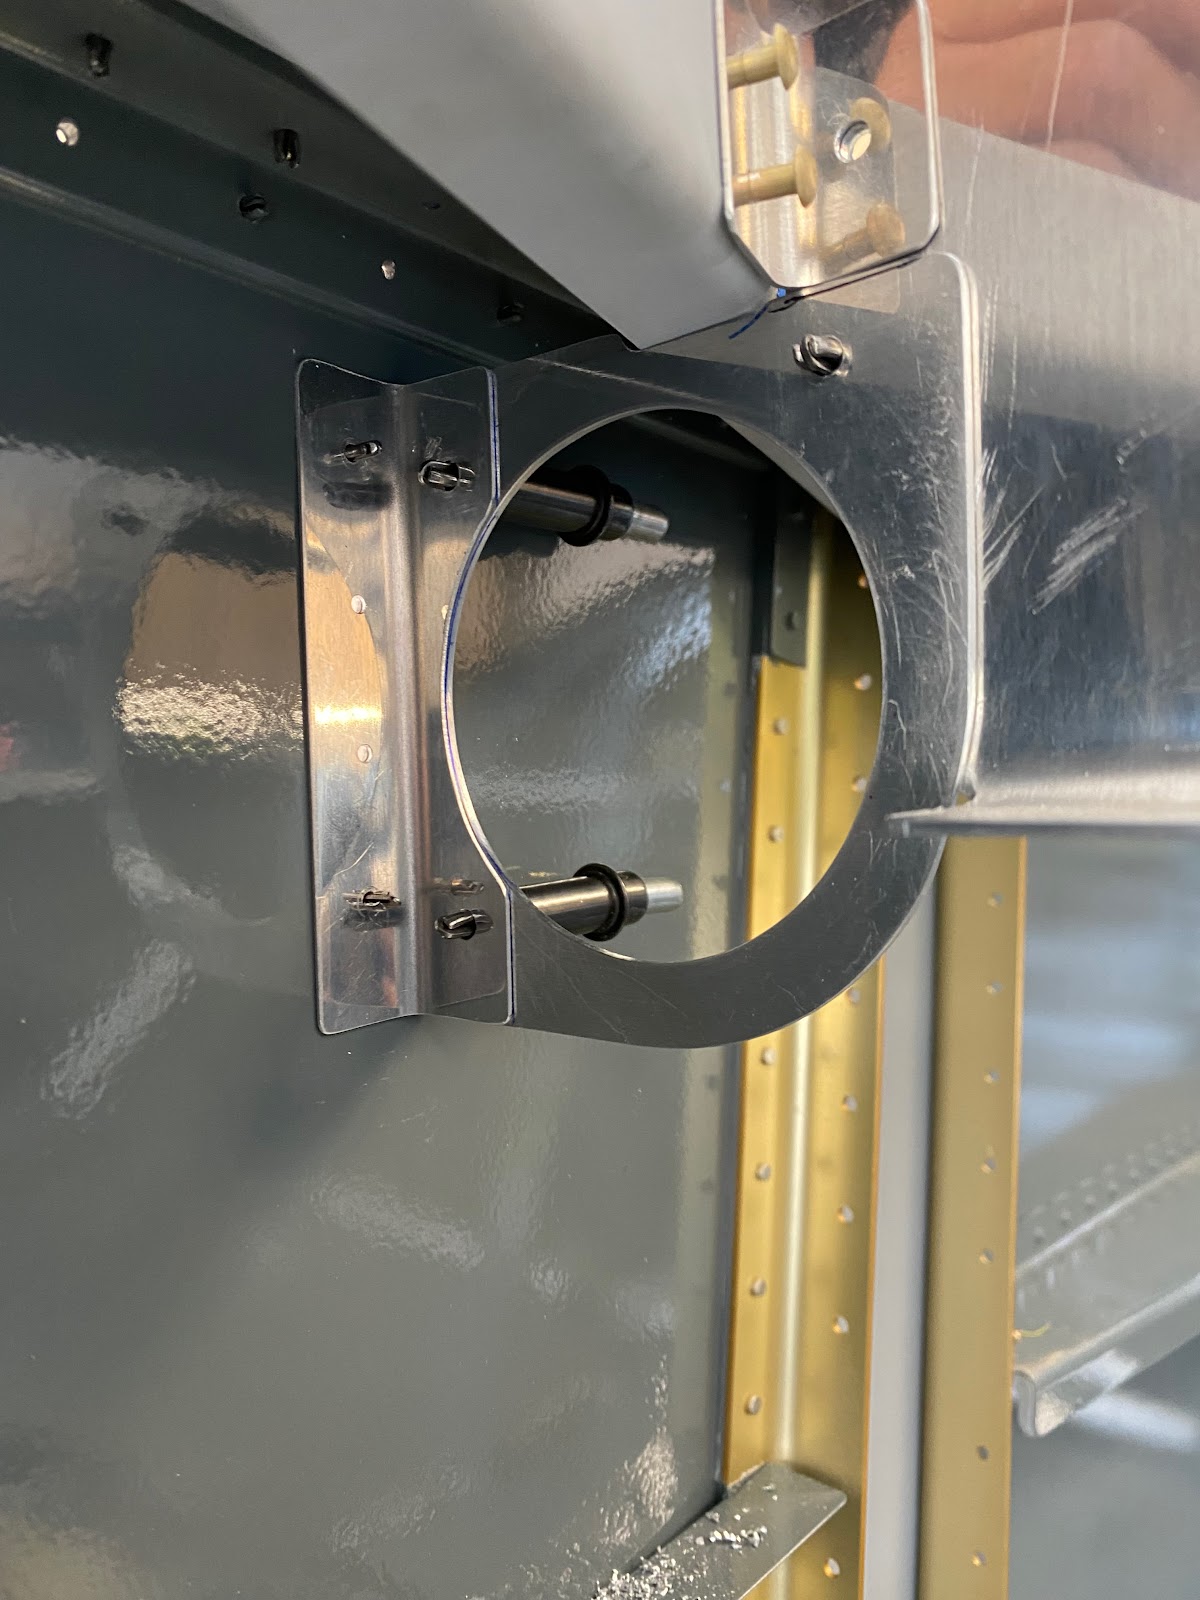
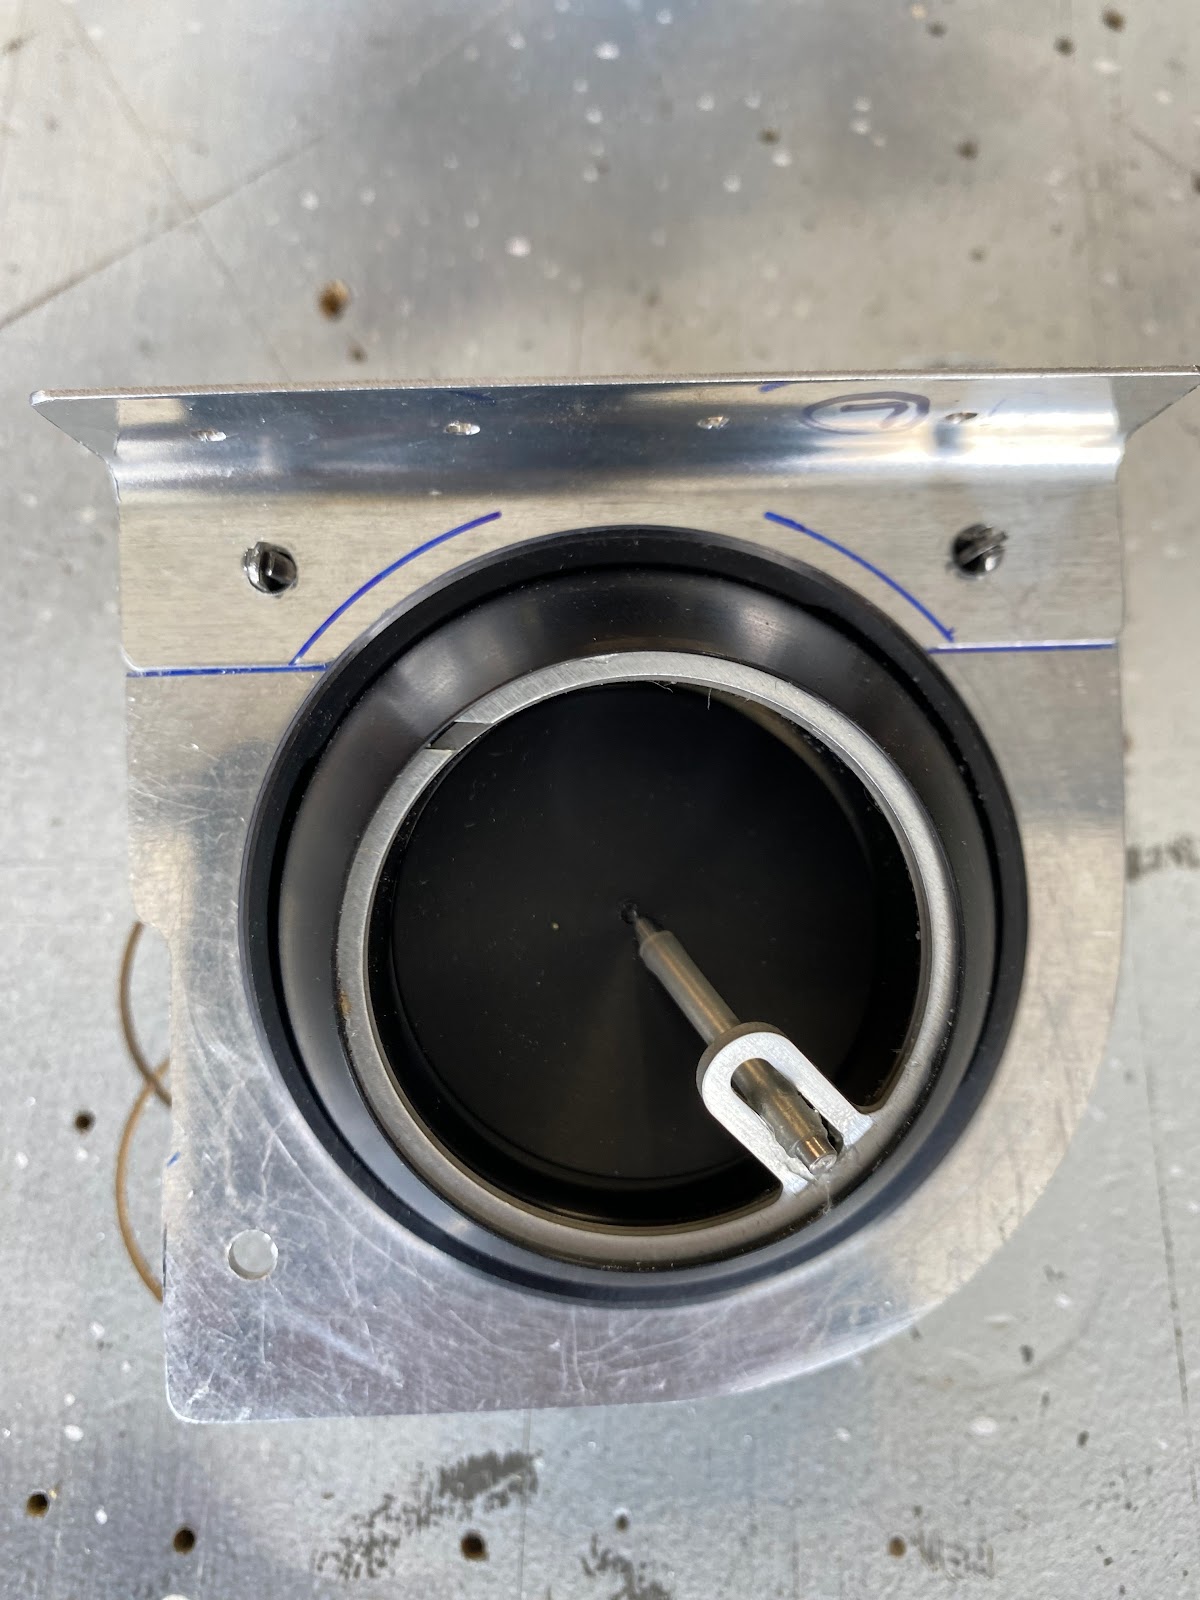
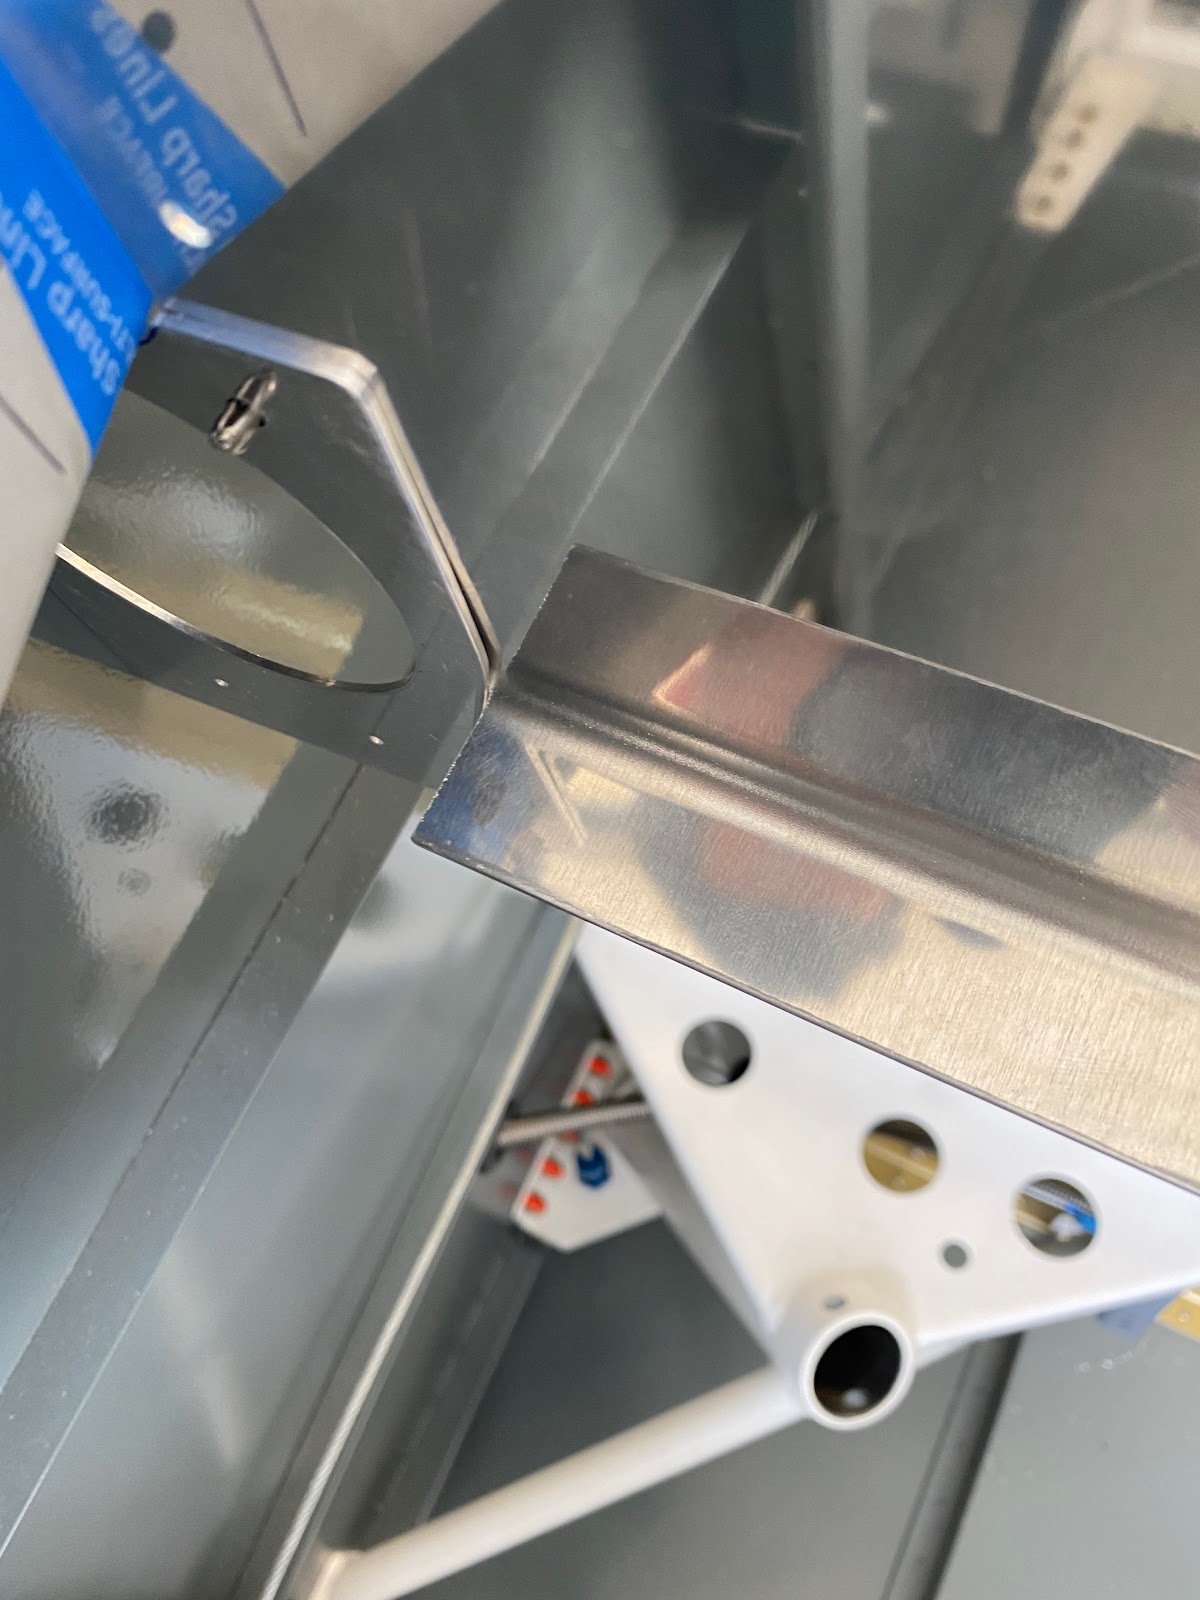
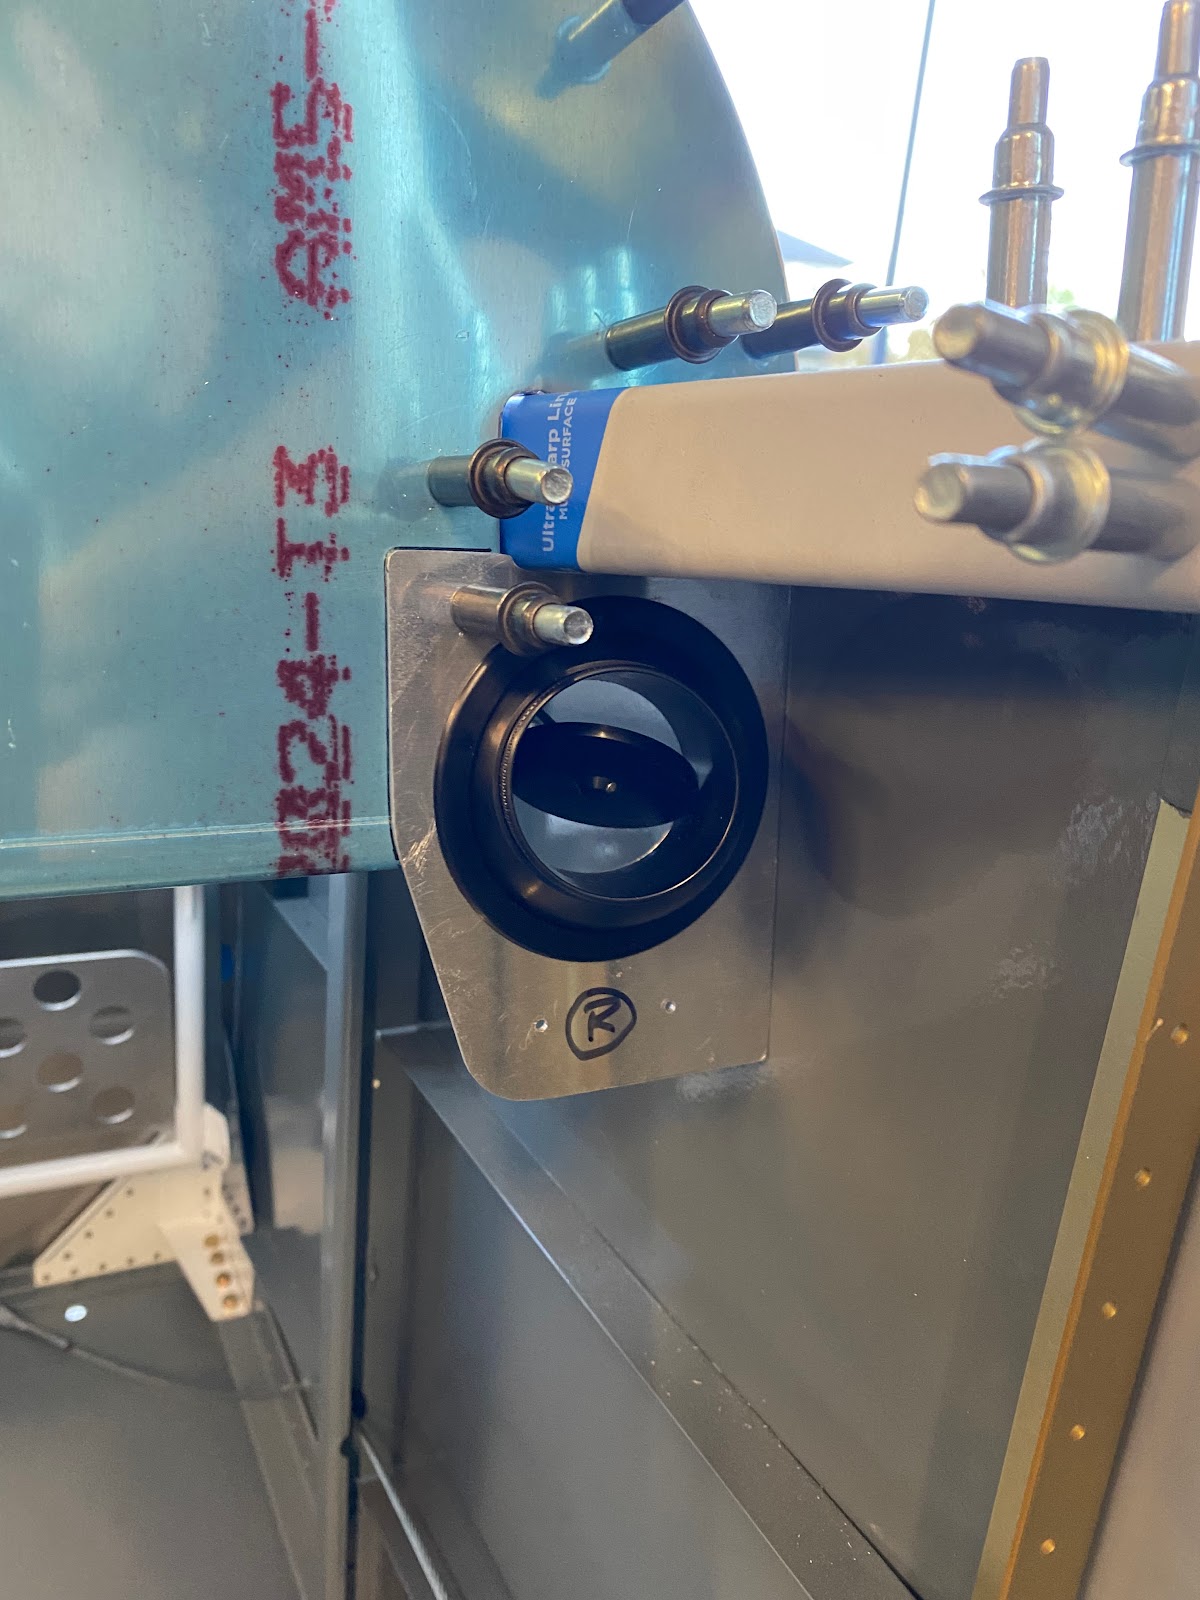
With both vent holes cut, I am now ready to begin fitting to the instrument panel. As you can see the vents interfere slightly with the instrument panel. I will need to trim a very small amount of material from the panel to allow the vents to sit flush.


The vents now sit perfectly within the vent mounts....Now I need to begin work on placing the mounts so they fit behind the instrument panel.