

I was now ready to begin riveting. Using the exact technique described in the manual. I laid the right wing upside down on the table and clecoed the entire wing skin onto the wing. Once I was happy with the fit, I removed all clecos with the exception of those on the rear spar. I began to rivet all of the holes along the rear spar working from the 4th rib to the 1st root rib. Accessibility at this point was still ok.

I found an easy way to work in the tight space was to loosely tape the bucking bar to my finger. This would allow me to get my hand in the tight spots without dropping the bucking bar.

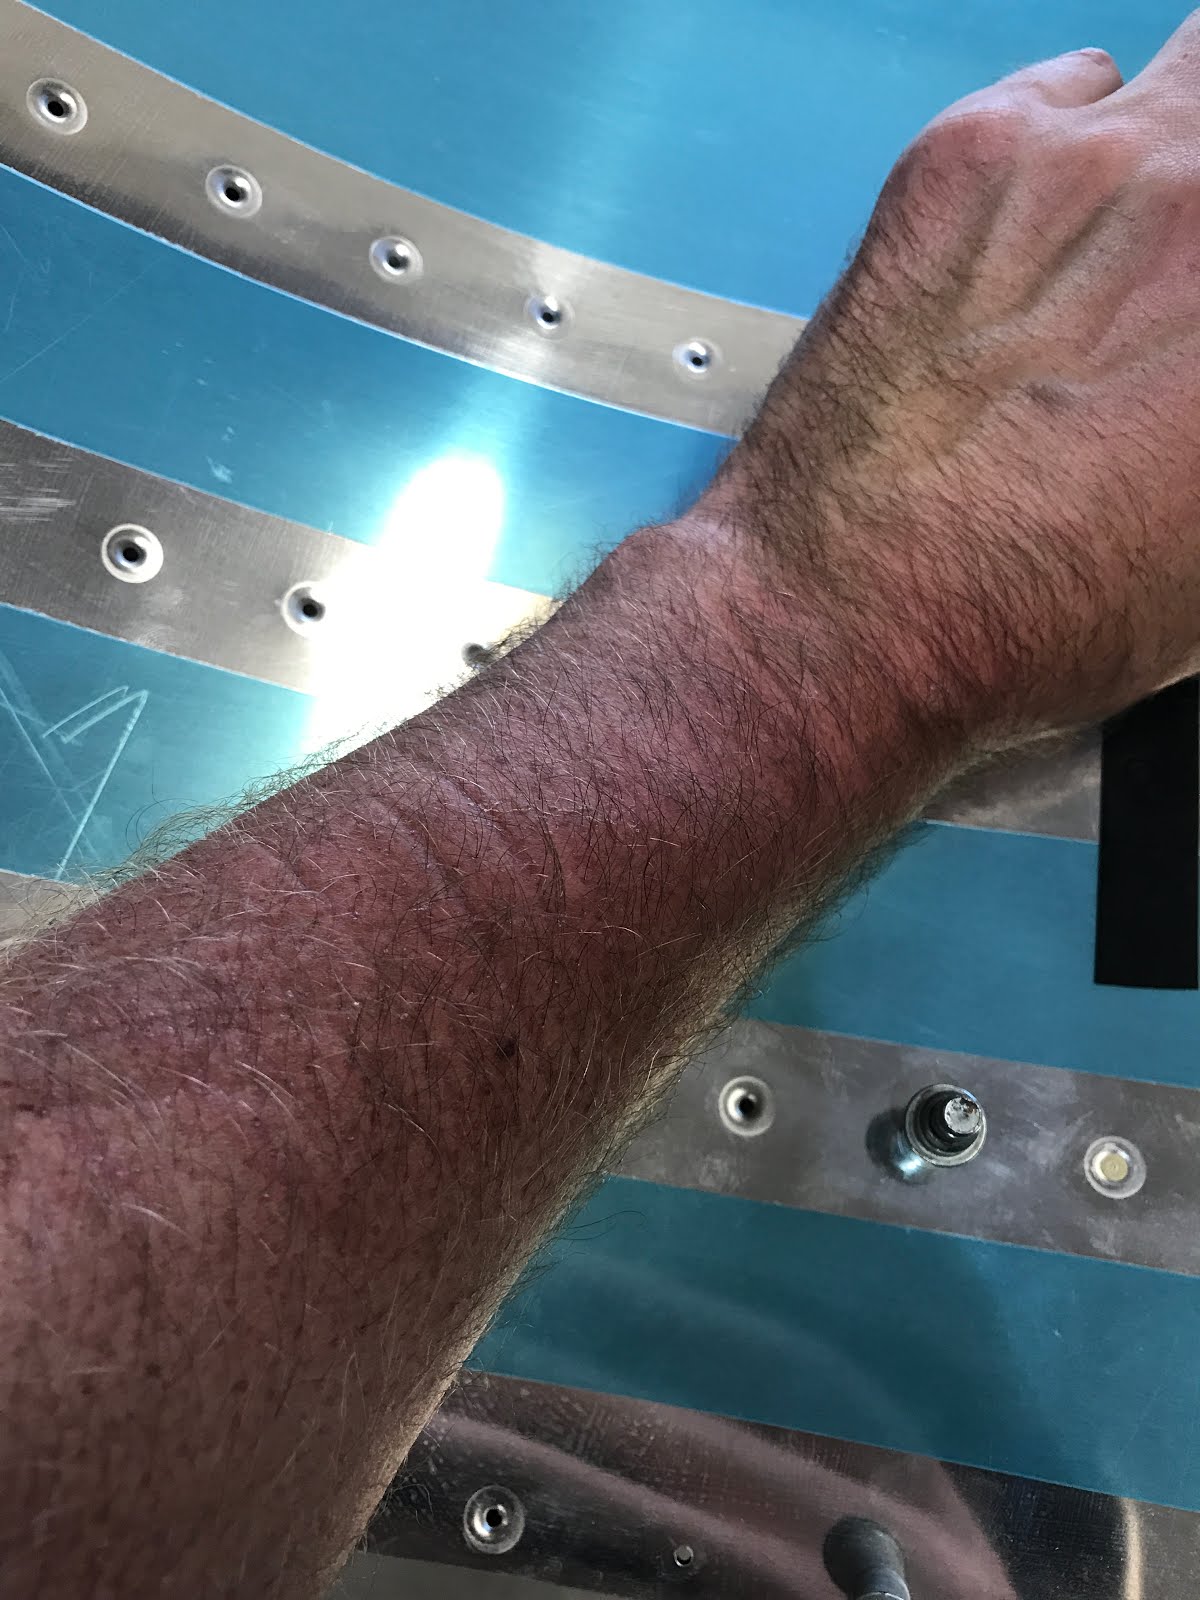
The trademark arm torture....everyone must join this club.
I don't look very flattering....But it works. An LED headlamp works so good for viewing rivets with the inspection mirror. I figured out later that taking pictures with the iphone and then reviewing them makes for an extremely effective way of viewing hard to see rivets.

I slowly riveted the wing skin along each rib #1 thru #3 working forward from the rear spar to the front spar. I am trying to work in that "L" shape pattern that the manual describes. Once I got enough rivets in...I laid the wing skin down completely on the wing and celco'd. I then continued riveting ribs #1 thru #3 all from the root access holes. Its a little tricky to get the bar in there....its slow progress, but going way better than I thought it was going to be.
