Sunday, July 30, 2017

Installing aileron gap fairing - 2 hours

I decided to switch over to the wings as I had my fill of proseal. The aileron gap fairing need to be installed so I made short work of the riveting. However I notice that the last rivet next to the inboard aileron cannot be bucked/installed since there is such tight clearance to the aileron service bulletin reinforcement brace. 


I decided to use a cherry max rivet in this location. I used a Cherry Max rivet gauge to figure out that in need a CR3213-4-2 pull rivet. Of course I don't have those so I will have to put in an order for it.


Saturday, July 29, 2017

Closed up the right fuel tank - 6 hours

I gave all parts a good cleaning with wax and grease remover and MEK. Mixed up proseal and went to work. I was careful not to keep the proseal light on the back of the ribs and the z-brackets as noted in the manual.  


After all was done, I cleaned up the tank and put a proseal cap on every rivet head.


Friday, July 28, 2017

Preping the fuel tanks to close - 3.5 hours

Its time to start closing up the fuel tanks. I've been dreading this a bit since i'm not a fan of proseal or  MEK. I needed to prep the rear baffle of the fuel tanks so I went to work with my nylon brush and scored the mating surfaces of both baffles.

Next I cleaned the tank to get it ready.

After giving some thought to the process. I felt it wise to clean the primer off the z-brackets to allow a good clean surface for the MEK to adhere to. Also made sure that the holes where nicely deburred.

Saturday, July 15, 2017

Closed the flaps and started closing the ailerons - 4 hours

Eager to get things finished now that the pre-close is complete. I started closing up the flaps as I thought they would be the easiest. 

Of course they go together fairly quick, there is still a bit of tricky off angle riveting to do. Fortunately nothing really flexes to the standard riveting with a bucking bar works well. You just need to make sure the bar angle is set up properly.

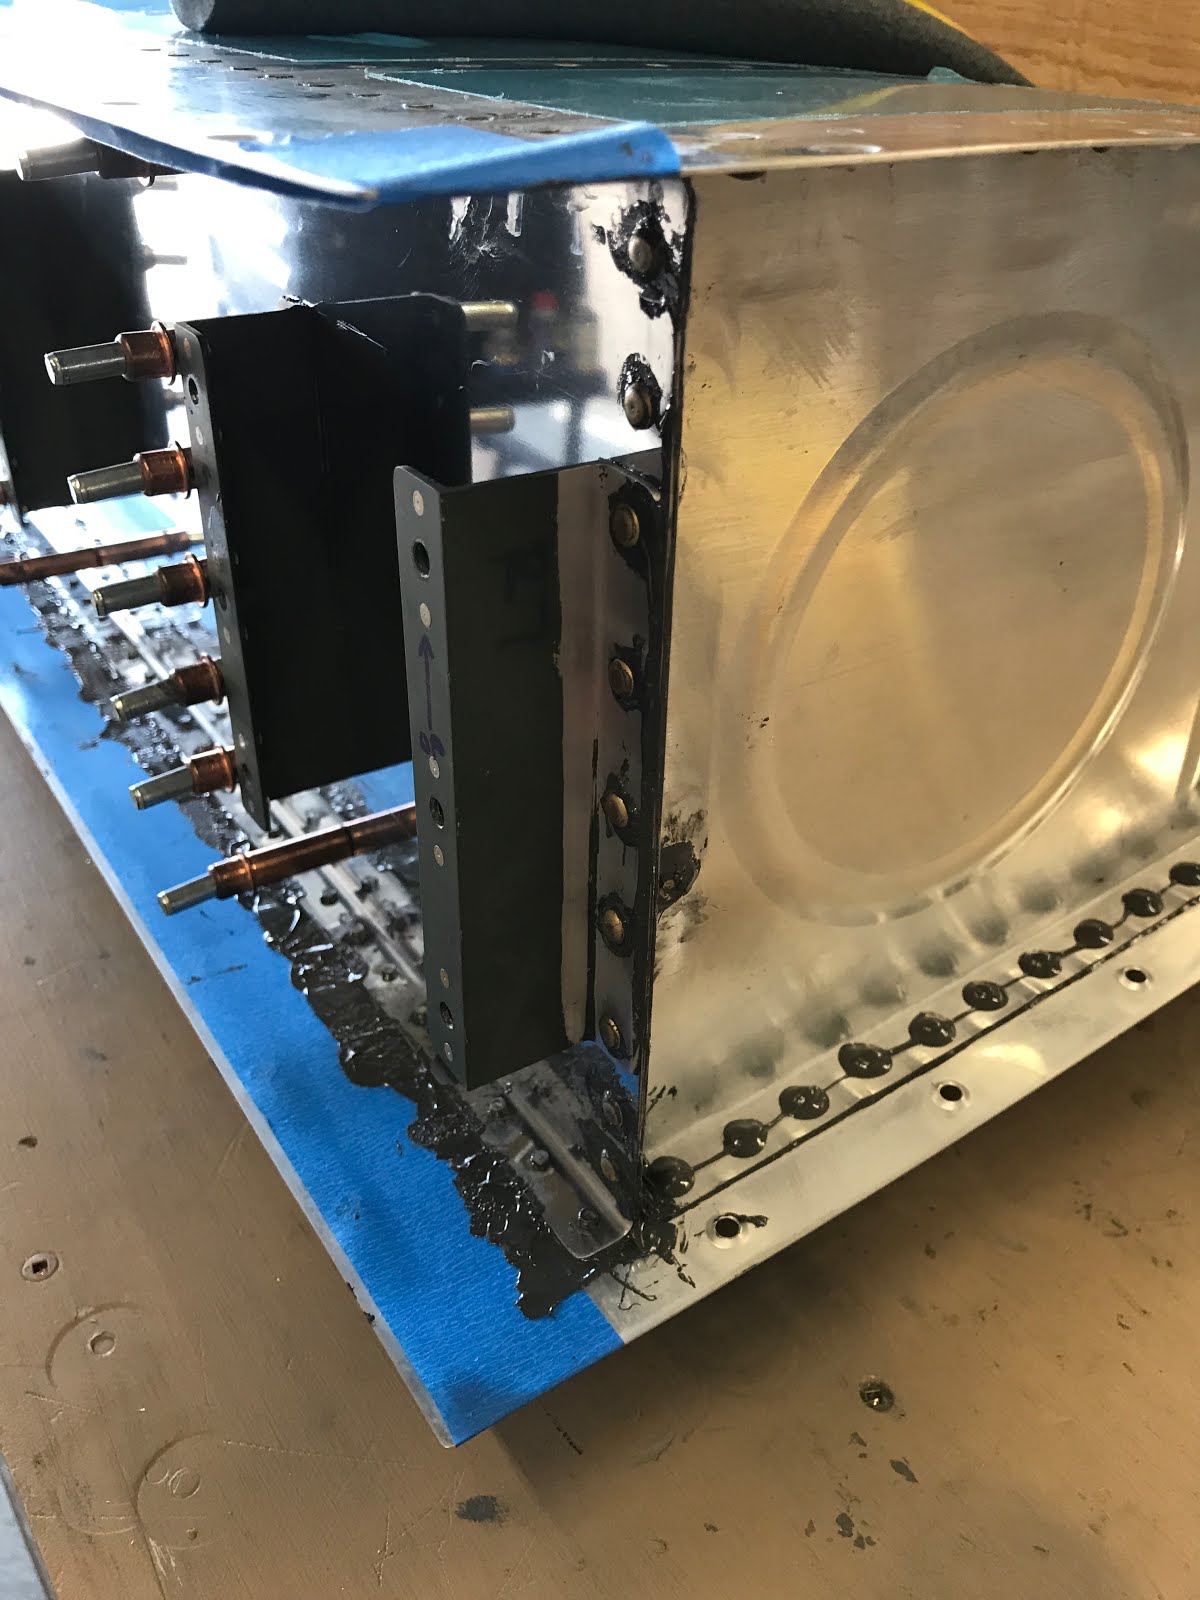
Once I had the flaps buttoned up, I didn't want to stop so I started in on the aileron. Following the procedure in the manual I riveted the leading edge skin to the to the nose rivets. Then I weighted the aileron down on a very flat surface. I started with the pull rivets on the leading edge/counterbalance pipe. One of the tricks I use is to poke electrical tape onto the pulled rivet mandrel. That way when the rivet is pulled, when the mandrel snaps, the work piece is protected reducing the chance of scratches from the mandrel.


I staggered the installation of the pull rivets similar to the method used for the rudder trailing edge in efforts to get a straight aileron. The result is an extremely straight piece!!!

Friday, July 14, 2017

Pre-close inspection for the wings is complete


The pre-close inspection by the MD-RA inspector is complete. Nothing to do other than close-up.