Sunday, January 30, 2022

Fabricating the remaining front deck attach angles - 3 hours

I need to get the F-721C and & D attach angles fabricated and fit to the canopy deck. So I spent a little time fabricating the 4 angles. To fit them to the canopy deck properly will take a little bit of time. I will need the instrument panel sent into place and then this will dictate the proper placement of the attach angles.

I installed the F-7103B angles onto the instrument panel and then installed the instrument panel into place. Now...Next is the important part. I then clecoes the entire top skin back on the front deck, this sets the instrument panel in the correct location. I can then carefully mark out reference lines on the tape.


Removing the top skin...I now can working from the reference lines with good access. I then can set and drill the F-721C & D angles to the canopy deck. I am very happy with the result. 


Saturday, January 29, 2022

Fabricating front deck attach angles - 4 hours

 I need to start fabricating and fitting all the various attach angles that are needed for the front deck. The first is the F-7108C angle. I rough cut the angle, trimmed it. Drilled all the required holes in the plans.


 Now, I need to fit it into place to drill the remaining holes. This is the tricky part. I want to ensure the ribs and bulkheads are in the correct place, but fitting the top deck skin make access horrible. To fix this, I used a piece of scrap aluminum that I have from the practice airfoil kit and I match drilled the top skin to that. Now I have a small top skin template to fit to the structure. This will allow me to install the F-7108C angle and drill the remaining holes with confidence everything is fitting correctly.


I upsized the #40 hole in the forward end of the F-7108B angle to #30. 


 Next I worked on the F-7103C attach angles. These turned out to be more tricky than I would have originally thought. The plans call for the angles to be "Flutted" however the illustration leans more toward this to be a relief opening that is cut into the flange. I opted to go with simply flutting, but soon found the amount of fluting required to get the proper bend is quite extreme. 


I managed to fit the attach angles into place and drill them. But at the end of the day, I am not pleased with the flutting as it distorts the angle just a bit too much for my liking. I should have opted to cut reliefs in the angles rather than flutting.


Sunday, January 23, 2022

Fitting the front deck - 4.5 hours

 In order to get a good fit on the skins, its important to remove the vinyl for the mating surfaces. So digging out the soldering iron, I went to work and de-vinyled the top skin.

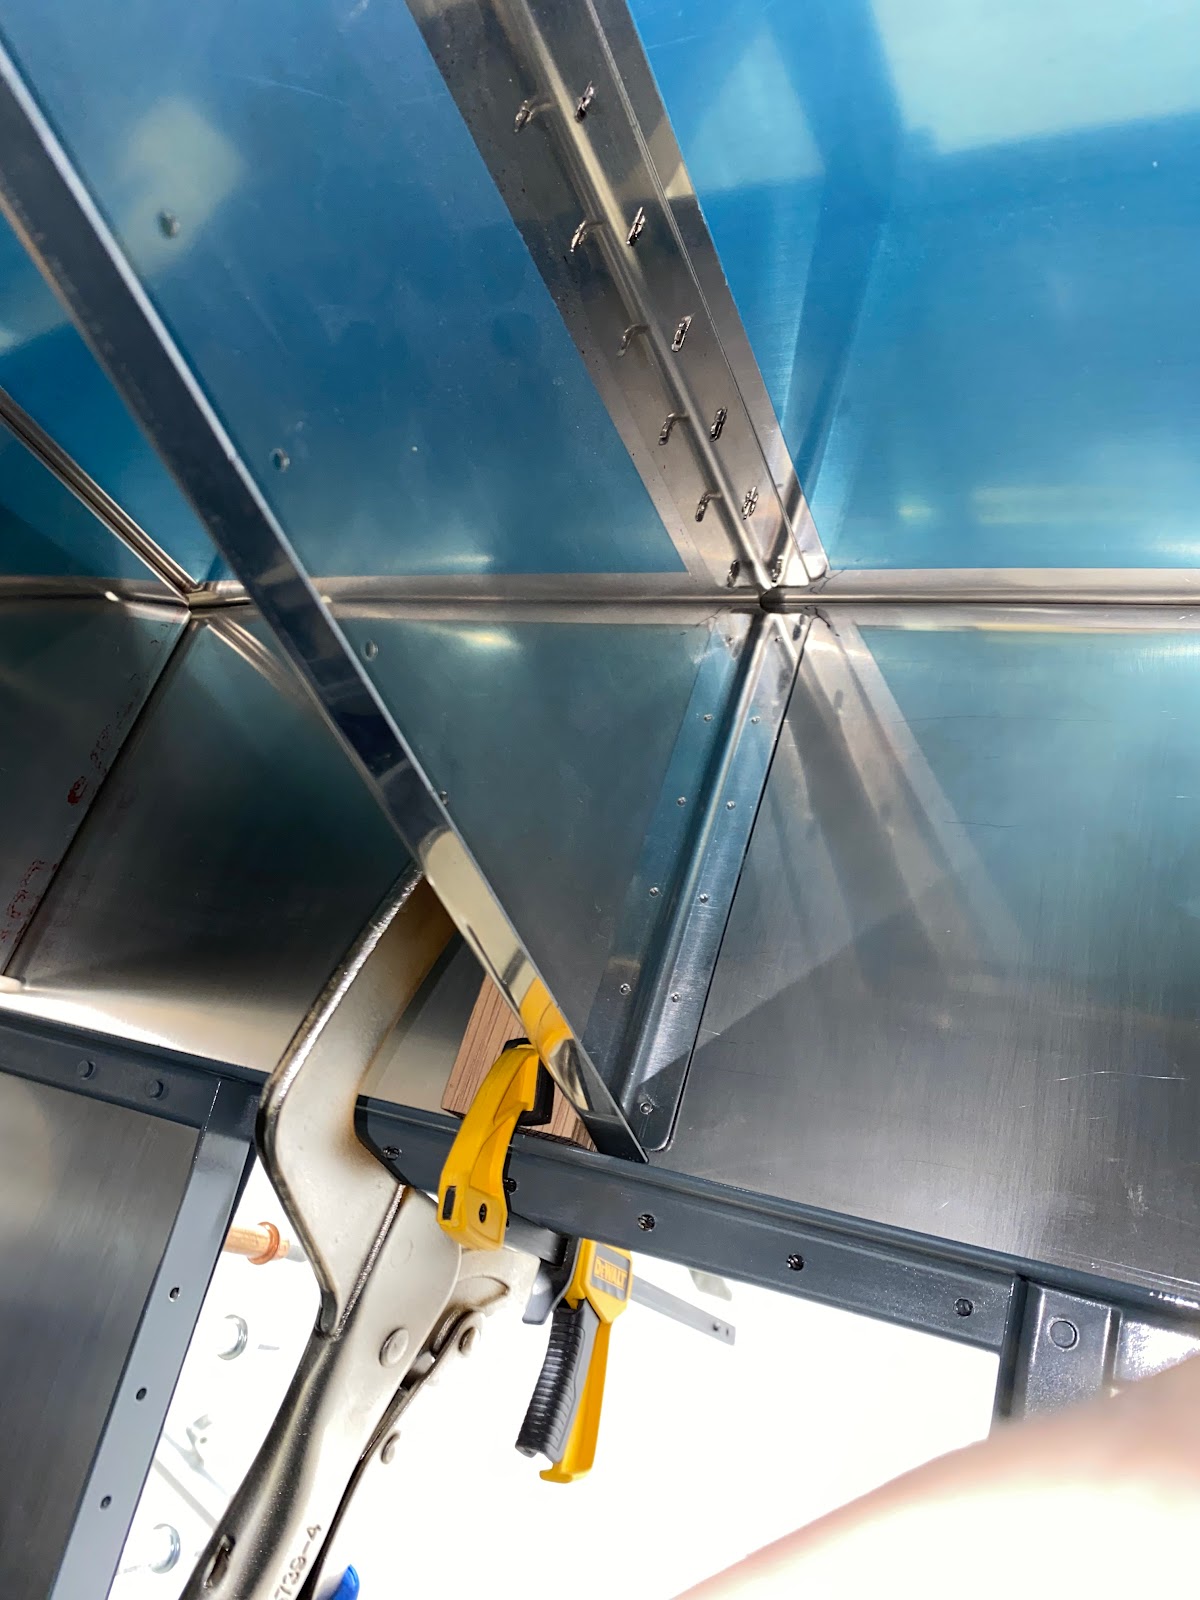
Previously in fitting attempts I carefully marked out guidelines on the bulkhead for the center rib. I then installed an alignment guide (scrap oak block) for the rib to sit against. This will ensure that I have the rib perfectly vertical during final fitting.


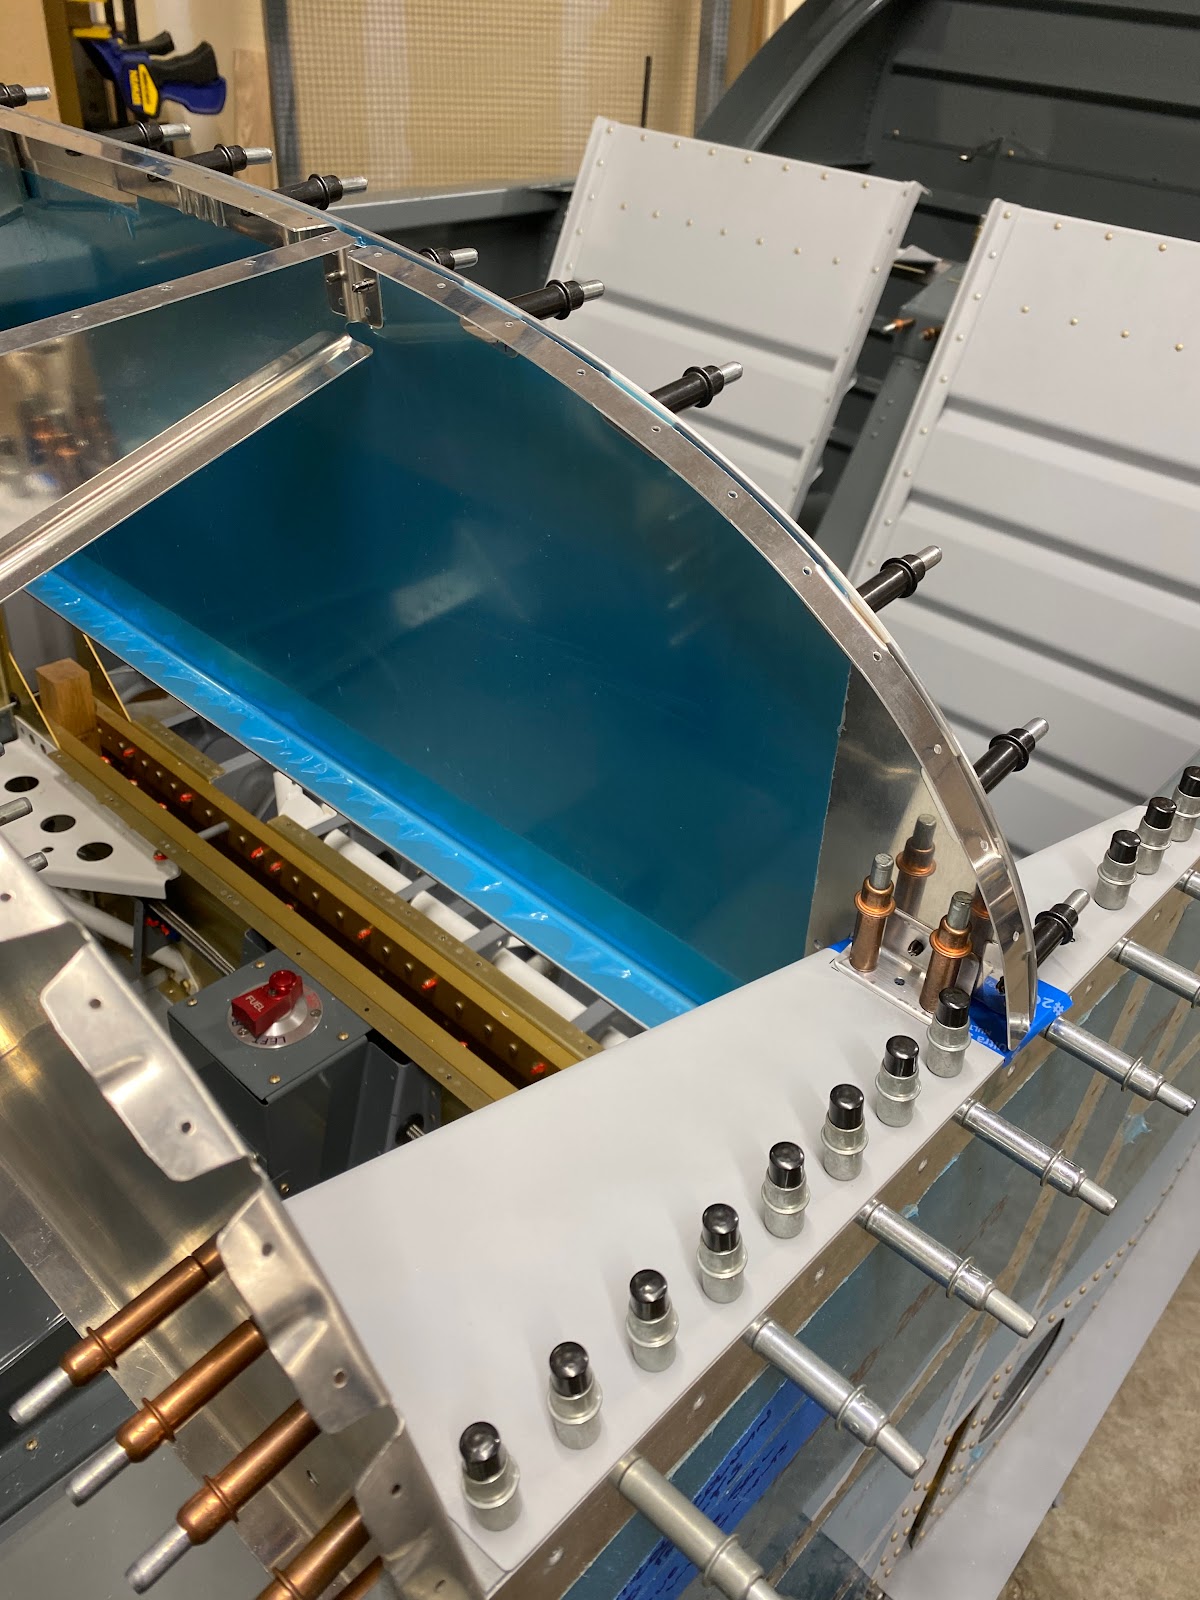
Then installed the top skin on the fuselage, concentrating on the center potion of the skin, and center rib.

Now comes the fun part, I need to check the alignment of all the parts with lots of contorting in the fuselage and through the firewall opening. 


Once I was happy with how things were fitting. I clamped everything down and drilled the first hole. Now…Drilling in this area is very difficult as the 
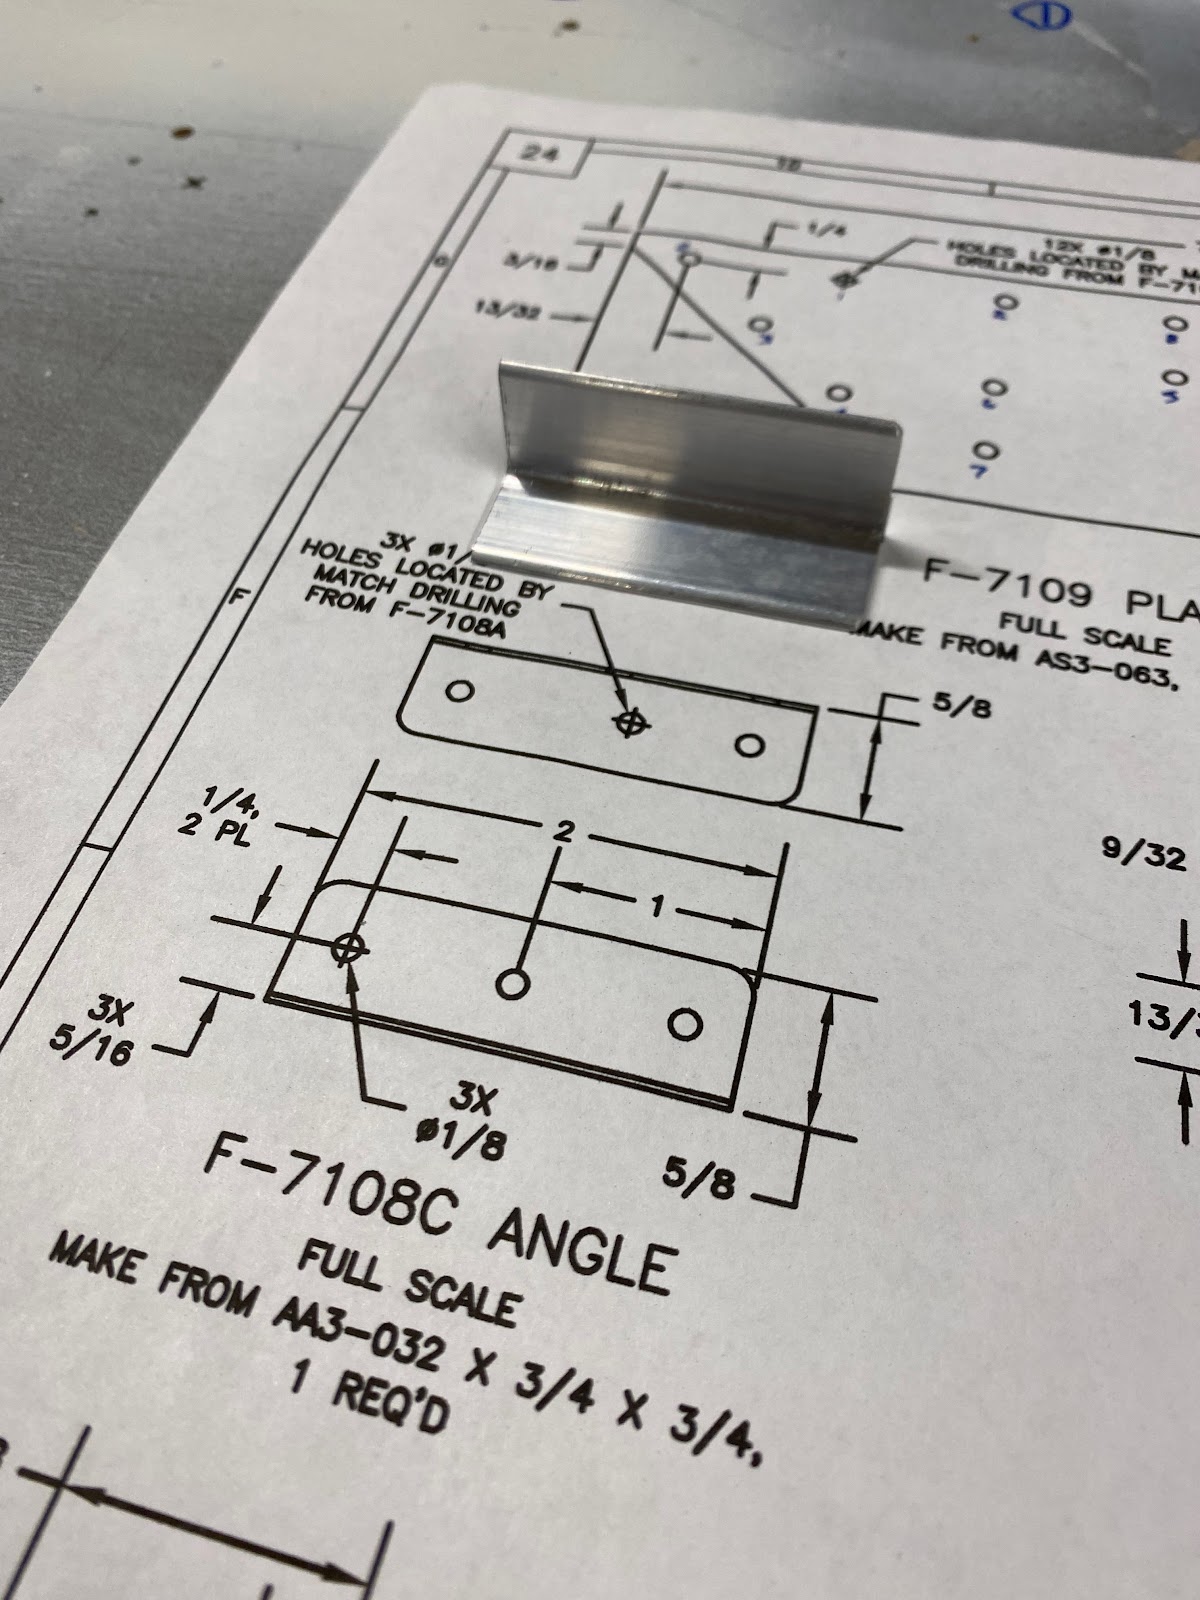
access is awful. The solution to help make drilling easier and more precise was to then use a scrap piece of angle as a drill guide after the first hole was drilled. I drilled all of the holes from the center rib into the scrap angle and now I have a drill guide. This allows me to remove all of the top skin and ribs. All that is needed is to insert a cleco in the one pre-drilled hole, check vertical, clamp and drill all remaining holes.


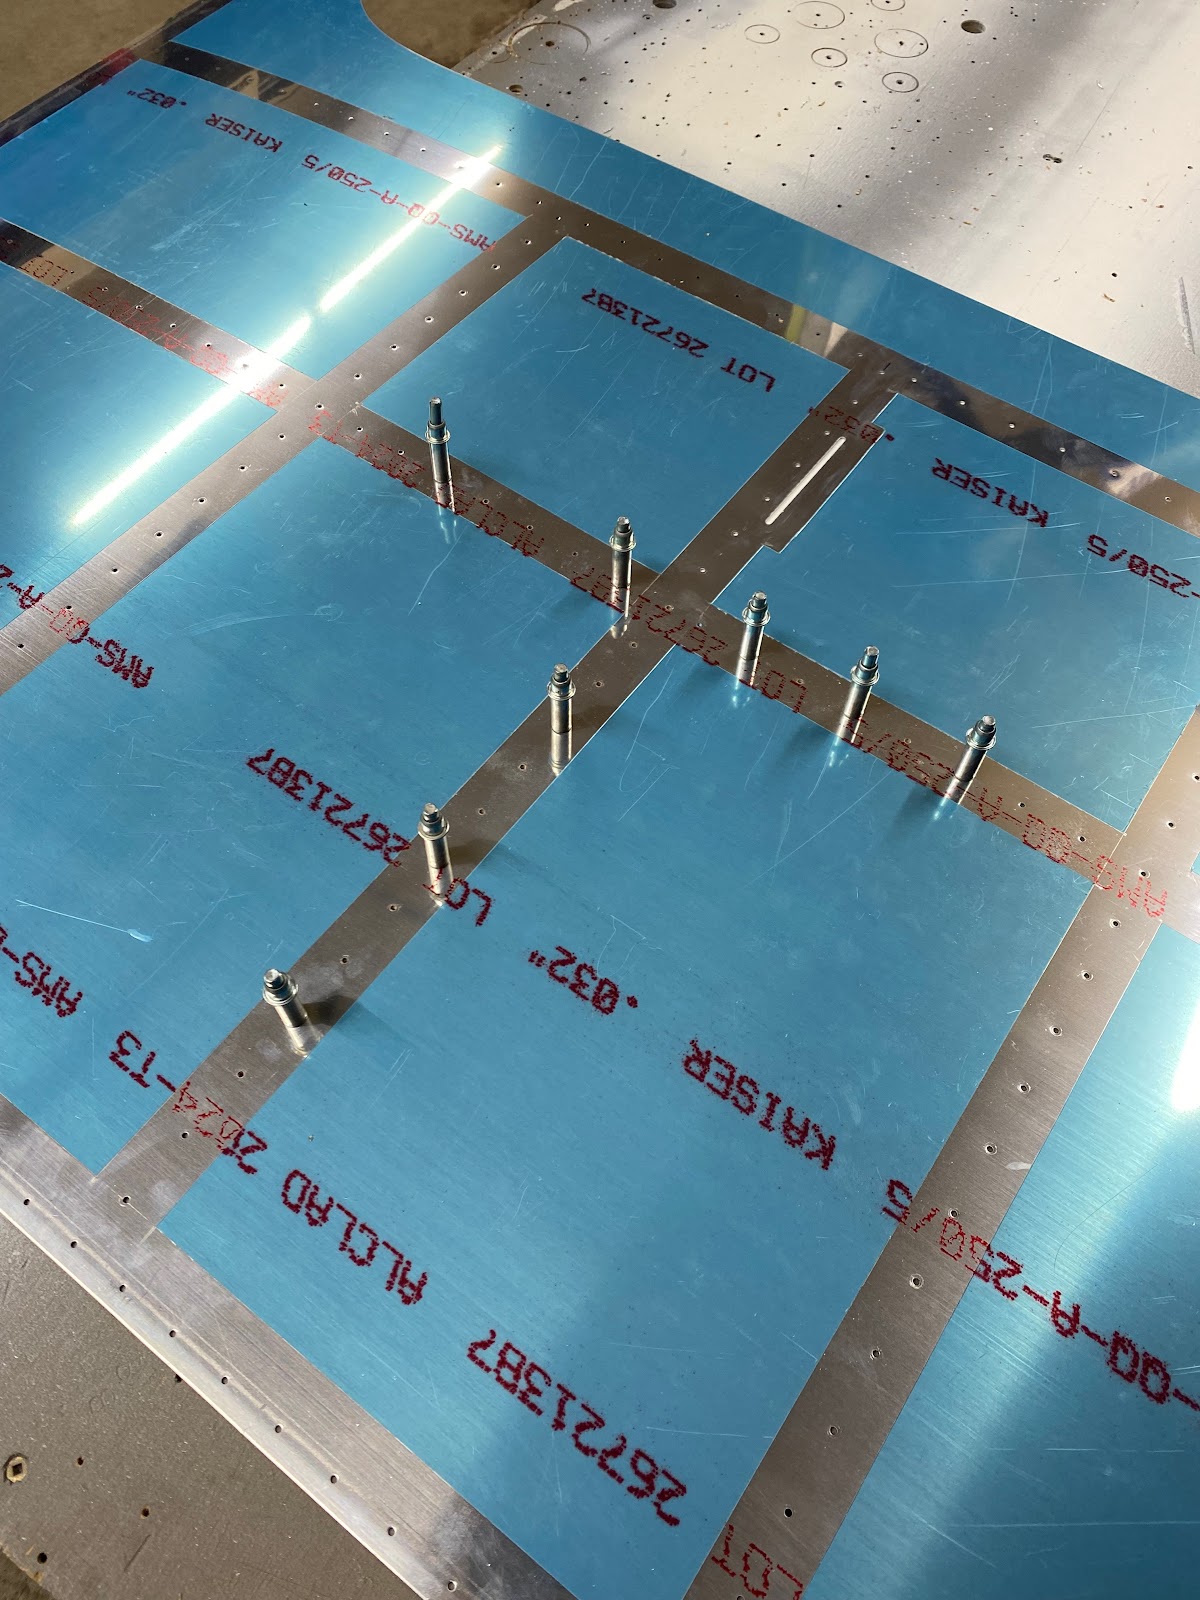
Now that all holes are pre-drilled to #40. Next step is to upside each hole from #40 to #30. 

Now that the center rib is firmly and correctly in place, I can now drill the forward end of the F-710B angle into the top firewall angle. 


The fitment of the entire structure of the forward deck is very good.


Saturday, January 22, 2022

Installed the top brake line spacers and fitted the forward fuselage - 4.5 hours

OMG. Work this week was insane and I don’t think it’s going to let up. Today I have some time to work on the build…So lets do this.

The proseal used on the bottom fuel line spacers took some time to set up but seems to be good now. I then used Dow 3145 RVT in the inside of the spacers to cushion the lines. Then installed the top halves of the spacers. 


Next I installed the center tunnel cover and then the fuel pump. The fit is excellent.


The fuel pump cover was installed…looking good.


I really need to get the front instrument panel installed. This is something that I really have been dragging my heels on. On my initial fitting things the fit wasn’t great but admittedly I haven’t really spent much time on it. 


First I need to concentrate on getting the F-7108A Forward Fuselage Rib installed and drilled to the firewall. This sounds much easier than it is. The holes in the rib and the bulkhead are not prepunched from the factory. This means a bit of head scratching and drawing many reference lines.  I can go ahead and set the rivet holes in the Rib. I used the adjacent ribs as a guide for the top and bottom holes. Then used the fan spacer to set the remaining holes. (I used the drawings to drill a total of 6 holes in the rib)


Next I need to get the fitment of the F-7105A/B Sub-panel right. This area really doesn’t fit well as it currently sits. I noticed that the drawings show a line and when I’ve checked with other build logs, I see a bend on these pieces which I obviously not on the factory pieces. Sure enough….These pieces need to be bent 


So, draw a line. Use a piece of oak and bend. Getting the right amount of angle takes some head scratching but I figured out. (Don’t ask the amount….I didn’t write it down). I drew up a guide in AutoCAD and printed it out.  Bend made!


Now the fitment of the parts is so much better. Now its time to prep to drill the final holes from the center rib through to the firewall. 


Sunday, January 16, 2022

Installed brake line spacers and the flap actuator - 3.5 hours

 I started to install the brake line spacers that I had 3D printed. It takes some time to lay things out. I need to ensure that the spacers do not interfere with any of the many nutplates and screws. Lots of head scratching on this task.


I also need to use the drill press and drill mounting screw holes to clamp the lines. Originally, I was going to just proseal the lines on. But I do want the ability to change lines out easily if needed, so small screws are the way to go. I raided my pinball parts stash and found very small machine screws that will work well! A little bit proseal is mixed and the bottom half of the spacers are installed.

While I wait on that, I decided to move on to the cabin area flap actuator. I just want to get the cabin put together. Easy enough I put the mounting bolt in to the assembly. And the cotter pin is set. 


 A few more screws and the flap actuator are installed. 


Work is getting soo busy I am going to have to put the build on hold for a while. It’s bitter-sweet as it’s good to be busy, but I really need to keep building.