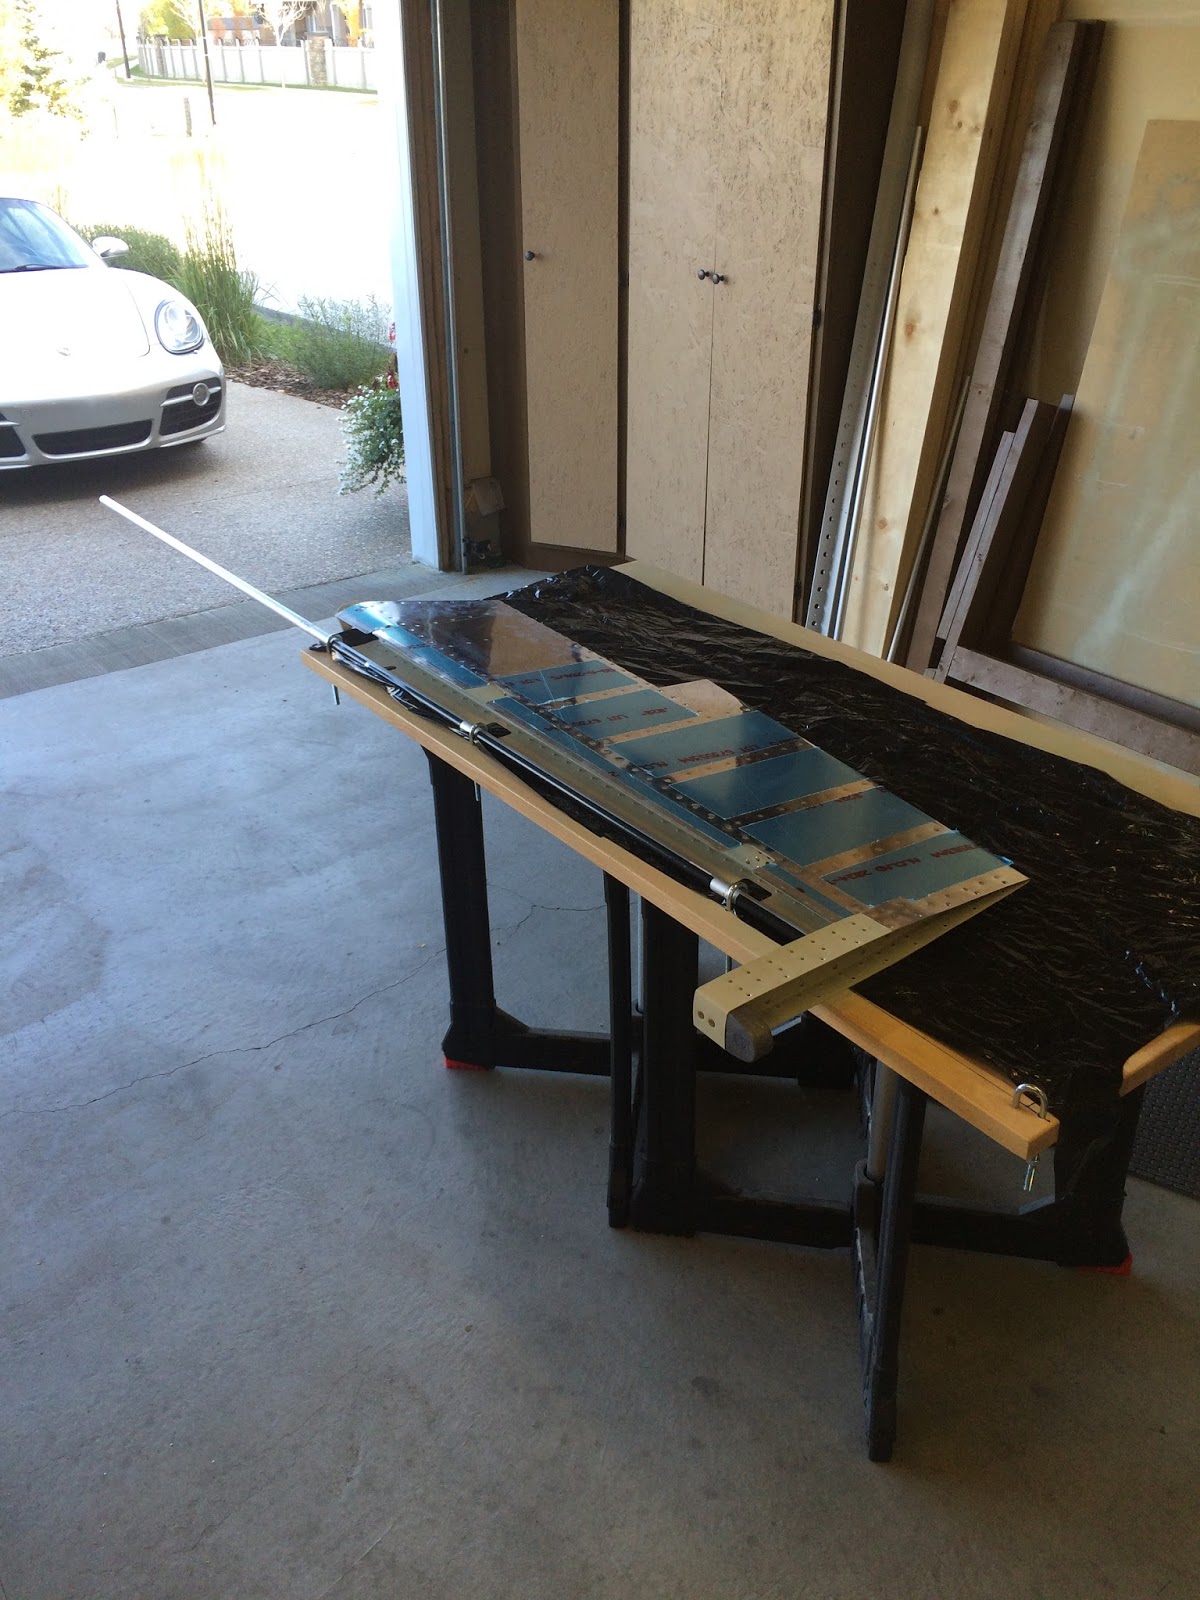
Another huge day on the project. I really wanted to get the
rudder closed up. I had an idea to use a block of wood as a jig to countersink
the trailing edge wedge. I cut an angled groove in the center of a piece of oak
with the table saw. It took a few scraps and a few adjustments but I dialed it
in so that the wedge sat perfectly level in the wood block. This allows the
countersink cage to be properly supported when countersinking the holes. I
drilled a #40 hold in the center of the piece to allow the pilot of the counter
sink bit to go through. It worked better than I imagined! Hole came out
perfect! I cleaned and primed the trailing edge.
I then attached a piece of 2 1/2" x 2 1/2" angle
to the table ensuring everything was straight. I then began to match drill the
lower rudder skin into the angle, clecoing holes as I went. I drilled the end
first, then the middle, doing my best to keep it straight.
Once all the holes were drilled. I used a unibit to enlarge
every second hole to fit the squeezer.
I was ready to start the trailing edge. I cleaned the parts
with a light wipe of acetone (It does not remove the epoxy primer, but cleans
it very well). I then used the 3M double sided tape that you can buy from Van's
and applied the first layer and let it sit.
I removed the protective paper and
laid the Wedge down. Cleco'd it and let it sit for another 15min.
Then I repeated
the 3M tape. I then dabbed RTV on the stiffeners and laid the top rudder skin
on and cleco'd it along the spar.
I removed the cleco's on the trailing edge,
removed the paper off the 3M tape and pressed the top skin down and re-cleco'd
the trailing edge. I let it sit for another 15min.
While I waited for it to set, I began to rivet the elevator
closed. I riveted all along the spar, along the bottom and top.
Once it was all closed, I removed every second cleco on the
trailing edge (where I placed the holes with the unibit). Starting at center, I
dropped in a rivet and used the squeezer to half set the rivet. Counted 10 hole
over and repeated. Again, working up, then down, skipped a few holes, then
moved to the other side.
Eventually every hole was half set with the squeezer.
The results were the rudder trailing edge was darn near perfect!! I then placed
my back rivet plate under the rudder, and used the back rivet set on low low
pressure to further advance the rivets Just as the manual suggests. Working in
the similar fashion, skipping 10, each way, then go back, etc, etc. All the rivets
where nearly set, I used the mushroom head set and finished it. Perfect!!!