Friday, July 26, 2019

Misc centre section work - 5 hours

Finally a decent day on the build. I managed to get my neighbour to give me a hand to flip the center section.


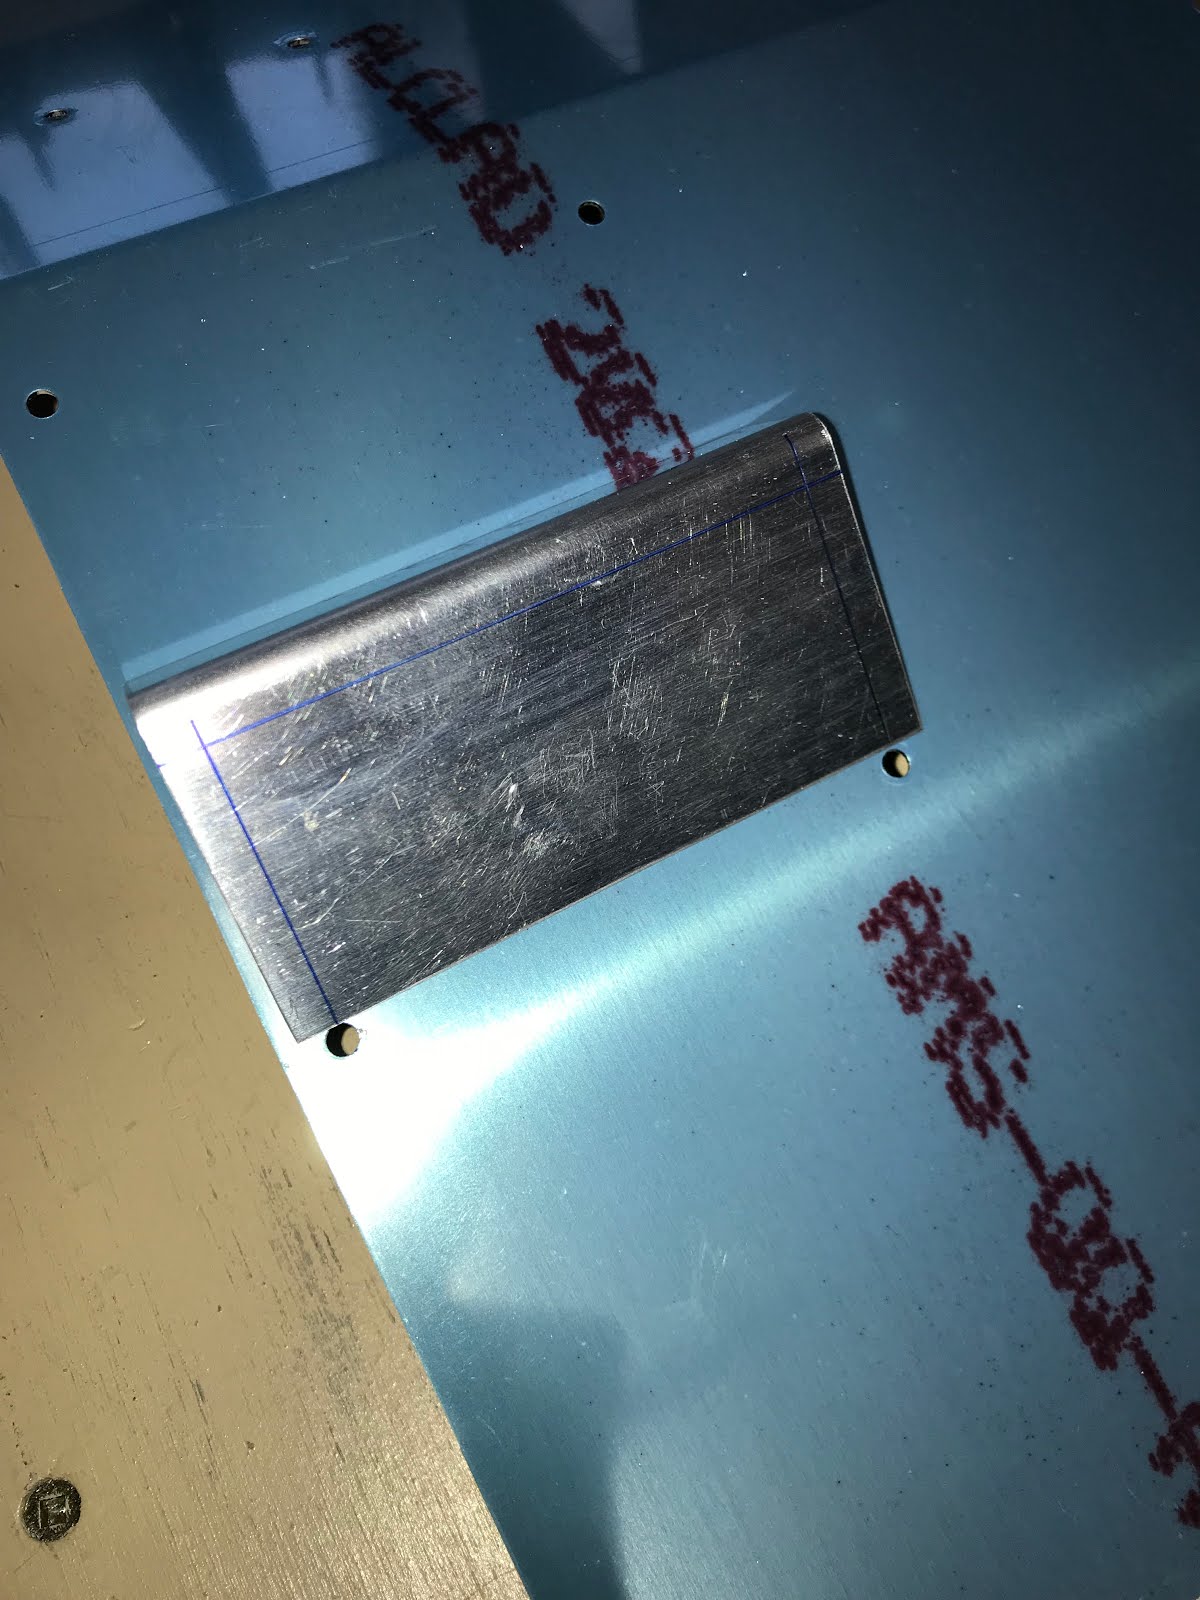
Now I need to countersink the holes along the front of the F-776/F-704 spar as per the Drawings and Vans Construction FAQ. Of course I really took my time with this. A person really doesn’t want to screw this up so I really wanted to be sure which holes needed countersunk.

As I am building a RV-7A I need to countersink the first five holes on each side, then after that only the 11, 19, 27, 35 review holes get countersunk. My plan is to go with Vans Option #1 and to dimple all the other holes.


One of my big questions is what to countersink the rivets to. According to the AutoCAD drawings that I’ve done on countersink depth. A countersink diameter of 0.208” is ideal for accepting a dimple in 0.040” thick material. However I’m extremely reluctant to go that depth...also I have to counter sink the topside of the main spar on the outermost 5 rivets. Makes me a bit nervous. I settled on slightly under countersinking with a diameter of 0.194”. I don’t think it will be too big a deal is not...Better safe than sorry right???


Once I was done that, I got some help flipping the centre section back around and began disassembling.

I had a good look at all the front webs of the F-716 seat ribs to determine the edge distances on the AN3 bolt holes. Most of the holes look good however a few are boarder-line with good edge distance so I plan on building doublers for most of the flanges as per Van's tech support suggestion (See the July 7-19 blog). This will make for a solid and uniform installation. Here's a good look at all the ribs.


Thursday, July 25, 2019

Drilled the F-704H panels - 1 hour

Again...Just a small day on the build. My garage has been taken over by the timberhawk so I have little space to work with, so I’m not very motivated to build lately. I started by getting the seat pans/floors removed. A bit of cleanup and then I managed to get the F-704H panels drilled.

Sunday, July 21, 2019

Fitting seat pans/floors - 2 hours


Again, not much work being done on the project lately. I’ve been concentrating some time and effort getting the Timberhawk Kids plane that I’ve been working on ready for the air show.

I managed to get a few hours of work in on the RV as I fitted the seat pans/floors to the centre section assembly. I need to get to match drilling the floors to the centre section ribs.
After everything was fit up, I managed to drill the mounting holes for the seat belt crotch strap to #40. 

I wasn’t very happy with the alignment...The top most holes weren't aligned as well as I would like. The top of the crotch strap brackets have a little give to them. A little head scratching and I decided to move the hole so that it would be better aligned to the adjacent hole. I was only about 1/16” or so out, enough that it bugged me, but it was easily moved As I used a very small round file and began enlarging the hole in the direction I wanted. Took a little time but eventually it was centred and I could ream it to #19.

That’s enough for the day.

Friday, July 12, 2019

Mounted the aileron trim arm - 2 hours

Not much work on the project today. I booked the plane this afternoon to do some flying, but it wasn’t quite ready to fly from its annual that was completed yesterday. We ended up installing the front cowl and I learned how to do an engine run-up. I wrote up a report and turned it in. No flying today....but still a good plane day!

When I got home. I dove into mounting the aileron trim onto the plastic mounting block. First item that the plans have you do is to angle the arm 10 degrees down.


Next, I fit the assembly and marked the cotter pin hole and drilled to 1/16”.


Once that was done... The shaft of the trim arm could be trimmed down. That steel is really tough....took me a while to cut on the band saw. Once the rough cut was done....I trimmed it down on the sanding station. I then installed the large washer and cotter pin. As I want to prime before assemble...one of the items I need to do before priming is countersink the #10 mounting screw. Not a quick process....But it’s done. I’m now ready to prime.

Thursday, July 11, 2019

More aileron trim bracket work - 4 hours

One thing that has been on my mind was how to ensure the F-716 rib would be straight so that I could be accurate drilling with me template. What I came up with was to make a second template, but this time made from the seat pan. At least this way I could ensure that the ribs were the right distance apart.


This wood template ends up being placed on the underside of the ribs, and I cleco’d on the pilot seat pan..and began match drilling. First the co-pilot side. Then the pilot side.


When setting the seat pans on the assembly. I didn’t quite like the fit. I need the F-716 ribs to sit tighter to the spar. Took me some time to find it on the plans, but I figured out I need to countersink the spar for the AN426 rivets that eventually attach the F-716 seat ribs. I’ll just insert the rivets for now to help hold things in alignment.


I then moved over to drilling the 1 1/2” hole in the replacement F-725R luggage rib that I received from Vans earlier today. Then I recleco’d the assembly as I will need to re-install the center section bottom skin so I can match drill it.

I cant flip the assembly by myself, so I have to wait for help....

Wanting to keep building, I moved back over to the aileron trim. I dimpled the rear mounting holes for the countersunk screws. Then, I set up the sanding station with the table at 45deg to chamfer the edge of the plastic to allow figment to the mounting bracket.

I could then mark out the final placement of the block, clamped the assembly and match drilled the two mounting holes.

Next I laid out the nutplates and drilled the mounting holes to #40.

Tuesday, July 9, 2019

Drilling the aileron trim bracket - 2 hours


Next I need to drill the mounting bracket to the F-716 ribs. In my initial fit, I had aligned the mounting bracket to the edge of the seat pan. Not good. After double checking, the holes would not be centered in the bracket. So I went to work on figuring out centering the trim bracket between the two mounting holes in the seat pan.

Once I was satisfied that I would have equal edge distance on both ends. I drilled one hole...Aligned it and clamped it.

Match drilled the second hole...Looking good. The lower two holes of are easily drilled from dimensions.
 
Now...getting these match drilled to the F-716 ribs took a bit of effort. Since I want this to be exact. The best I could figure was to make an exact template and this can be cleco’d on top of the ribs, allowing me to drill from the top. Worked like a charm.

Monday, July 8, 2019

Started the Electric Aileron Trim - 2 hours


I was a bit reluctant to forge ahead on the centre section until I hear back from Van’s so I decided to move onto the electric aileron trim assembly.

The first step is to drill a couple of holes in the plastic to #10 for mounting holes. This seems relatively straight forward however experience in drilling the flap mounting blocks has taught me to go slow and be certain that everything is square.

Next the plans have you notch the top of the plastic. Turns out this isn’t exactly easy. I ended up figuring out by a lot of trial and error that 120 grit sandpaper wrapped around a drill bit on the drill press would allow me to “sand” a perfect notch into the plastic. The trick was to clamp a guide on the drill press base that would allow the drill bit to stay in one place and not have the piece wander.

It took some time but the result was nice.