Friday, February 8, 2019

New parts arrived, remaking the F-706 bulkhead - 3 hours

Today all of the new parts arrived from Vans, All new F-706 bulkhead parts (Since the bell crank axis hole is not perpendicular to the longitudinal axis of the plane), New horizontal stab attach bars, flap bearings, and new tie down.

I drove straight away into drilling the bushing holes in the F-706B lower bulkhead. Again like last time I opted for smaller bushings than the plans call for to help preserve edge distance. I went with 7/16" diameter as I just need to worry about wiring and not a manual trim cable. The holes cutting came out extremely nice again with excellent edge distance.

I managed to cut both the web flanges and the F-730 reinforcing plate before I went to far, again turned out fantastic.


I set up the assembly to check the perpendicular alignment of the bellcrank axis and it looks to be more favorable than the first F-706 I built. But it is a bit difficult to tell because I haven't drilled the angles yet for those holes.

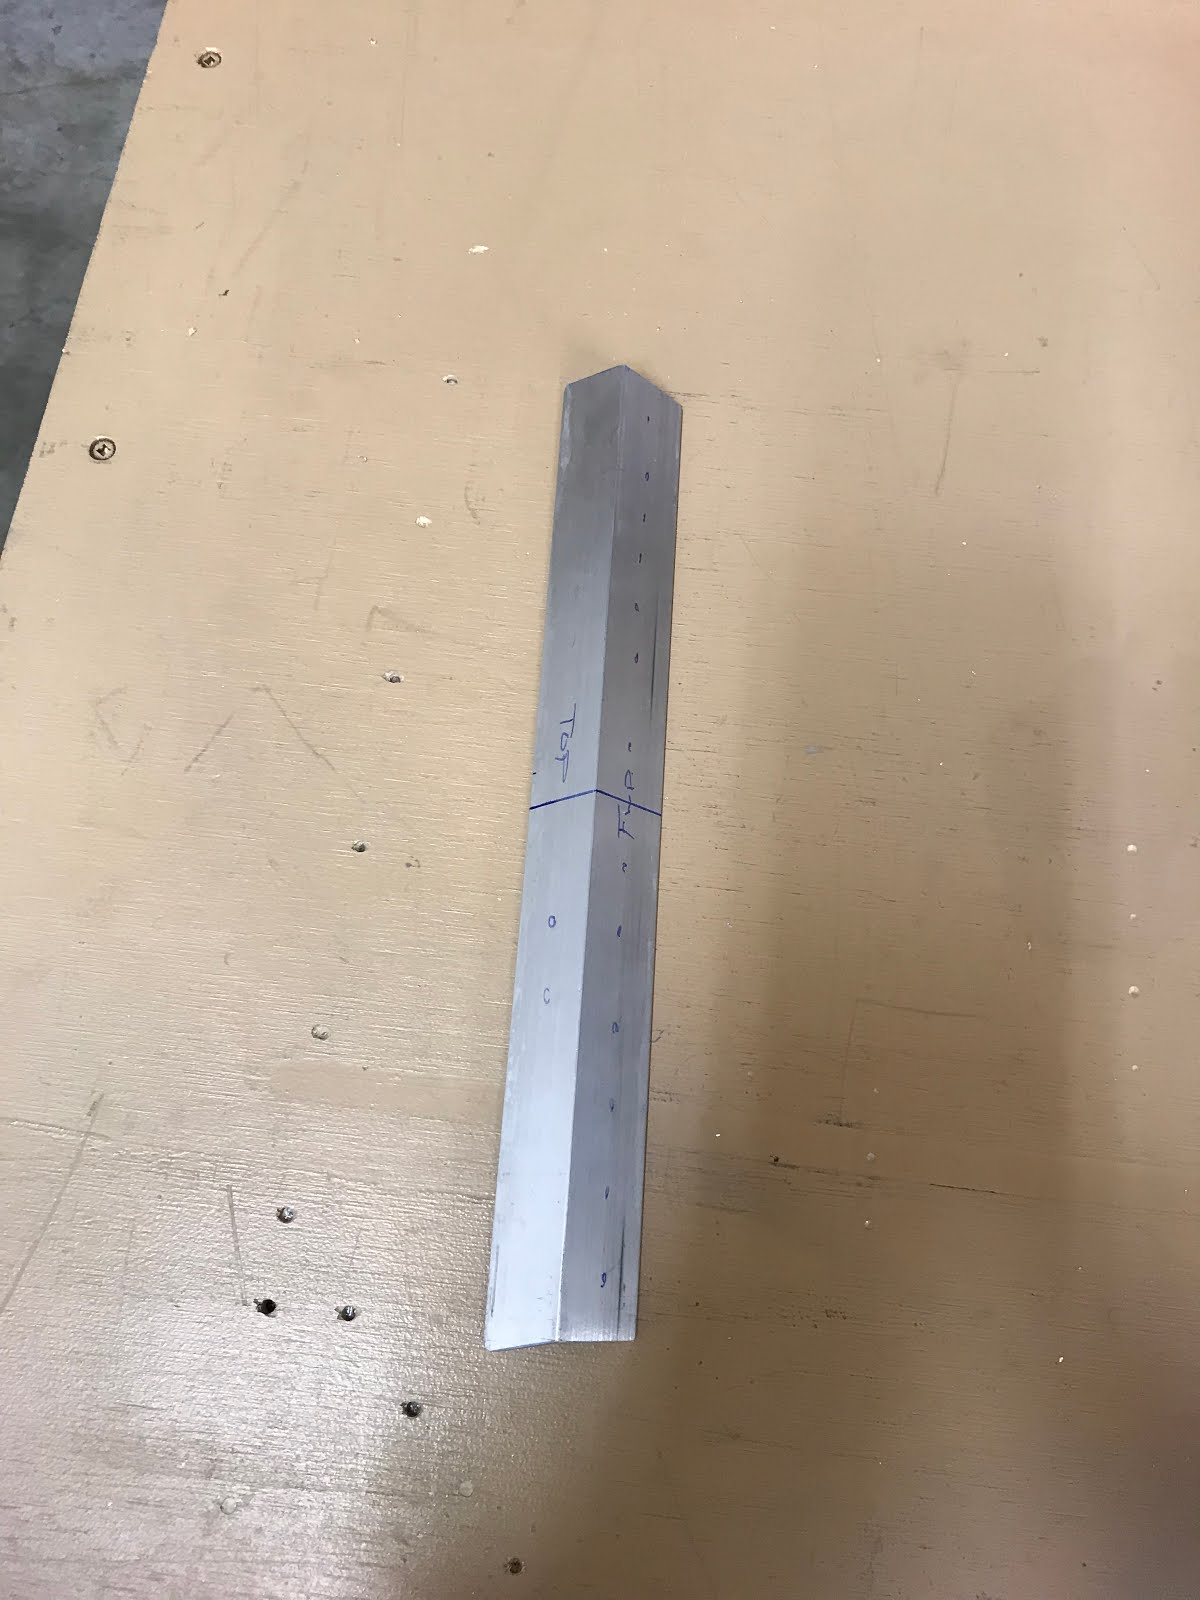
I cut and drilled the F-729B but this time the 1/8" diameter hole that I drilled per the plans was used to locate the forward most cleco in the F-729A rib as once could reason this is what the plans intend. (Why do you drill that same hole in F-728B, as the only hole it can be is for the lower most cleco in the F-728A rib).

This is where things get a bit dumb and a "Gotcha". If you follow Vans dimension for angle length on F-729B and use the 1/8" hole for the top of the angle where it meets F-729C, you will have edge distance issues on the aft most cleco hole on the F-729B angle...the angle won't be long enough. I had this happen on my first attempt.

If you follow Vans dimension for angle length on F-729B and use the 1/8" hole for the forward most cleco hole to attach you will have proper edge distance on the aft most cleco hole on the F-729B angle, however you will have edge distance issues for the rivet on top of the F-729B angle where it meets F-729C. This is what happened on today's attempt.

I clamped on the F-729C angle and drew a hole before I drilled to make sure all was ok, and sure enough....edge distance issue.


I looked at re-doing the F-729C angle but repositioning the hole that connects F-729C/F-729B. Its tricky, But I could make it work as I can center the hole between the 17/32" distance I have to work with as a centered hole will give good edge distance. I'll think about this for a bit. I'm likely going to just re-do the F-729B angle as per my recommendation below.

I realize now that the best method to ensure proper edge distances is to cut F-729 long enough to fin inside the F-729A rib, and round the ends of the angle to fit the curves on the rib flange. Do not drill a 1/8" hole at this time. clamp the angle to the rib in its entirety and mark the forward most and aft most cleco holes, Then cleco the assembly together, clamp the F-729C angle on and mark that hole.
You know can disassemble and you have all critical holes marked and can identify the minimum required edge distances. Drill the holes needed to attach the angle to the rib. Then vert last step....trim the excess material on each end of the angle, careful to not exceed good edge distances on all three end most holes.

Sunday, February 3, 2019

Started the F-712 Bulkhead - 2 hours

A while ago I threaded and cut the AEX tie down when I had the bandsaw out cutting other things.

All I needed to do was mark center on the F-712 bulkhead, dimension it and fit it for drilling. Quite straight forward. Or so I thought.
I marked the holes and drilled them on the drill press.

Drew a center line on the bulkhead.
 
Lined up the piece and clamped it.


UPDATE - Just a heads up that the plans/manual don't actually have you install the tie down bar to the F-712 bulkhead at this point. The instructions actually have you install this part much later when you install the vertical stabilizer to the fuselage. I figured this out after priming and riveting the tie-down bar onto the F-712 bulkhead and spent much time researching if it was going to cause problems. I finally came to the conclusion after talking to a local builder friend (and also noticed that this was done on a few other build logs - John's RV7A project, Bruce Swayze's RV7A project) that this was totally ok to leave riveted on and did not cause issues later. An angle drill is used to start the #1/8" holes into the vertical stabilizer, and of course I plan on using the drill press anyway to finish the job. 

Started drilling the holes to 1/8" and clecoing. Last hole that needed to be drilled, the drill bit in the drill press grabbed the assembly and sucked it up, resulting in the hole becoming oblong and destroying the piece.

I think I've come to a brick wall. I've screwed up almost every bulkhead. Of course I realize now that my 1/8" drillbit was the culprit. It has a different twist than the other cobalt # bits that I have. It must be only for wood and me using it on aluminum is causing it to ruin holes when it grabs. I'm so frustrated at this point.


Saturday, February 2, 2019

Started F-711C hoz stab bars - 4 hours

I started the day with a renewed sense of desire to get building. Even though The F-706 bulkhead didn't turn out the way I had hoped. I ordered the new parts and I will try again. It can only get better right?


I started off with re-making the F-729C angle as I have lots of 0.063 x 3/4x 3/4" angle now. I quickly turned that one out.

Next I started on the F-711C horizontal stabilizer bars. I drew the line down the center, and then marked half so I could cut two equal length pieces.

 
I then began drawing out all the measurements and started drilling the required holes at #40. I took the assembly apart and rechecked all dimensions and cleaned up ends on the sanding station. Once I was happy with everything I re-cleco'd the pieces together and started to open up the holes to 1/8". Then it all fell apart. The drillbit sucked the material up into the drill press and ruined the holes in both pieces. I am numb.....and in shock. I just can't seem to do anything right.


I decided to take a break and have lunch, No sense jumping into another piece being rattled. After a couple of hours, I decided to work a little bit more, a "get back up on the horse". I fabricated the F-710B angle.  

I managed to get it back drilled to the F-710 bulkhead. Looks like I will need to fine tune the angle to get it radius'd to fit the tabs on the 710 bulkhead.
 
 One item of note, the part quality from vans on the F-710 bulkhead isn't that great. Looks as if the punch press almost took another round out of the piece and put some gouges on the metal. Being this area takes some structural load, I'm not so comfortable using the piece.


Wednesday, January 30, 2019

Finished the F-706 Bulkhead....Or so I thought - 4 hours

Yesterday I had cleaned and primed the pieces and tonight I will assemble them.

I started riveting the F-730 plate to the F-706B bulkhead using the back rivet method for the flush rivets, then used a squeezer for the innermost rivets. Then I fitted the F-729 rib.


Then I riveted the F-729C angle thinking it would be easier to set the innermost rivet now.

Then I was ready to squeeze all the rest of the rivets. I was thinking more about aesthetics than I was about placing the shop heads on the thicker material. Slight curling of the webs...not horrible, but not great.


I then squared up the F-729C and final drilled it to the F-729B angle. Then I squeezed the rivet.

I finished the evening by riveting the F-706B bulkheads to the F-706A bulkheads halves. Once everything was together I double checked square on everything and noticed that the holes for the Elevator Bellcrank bolt, were not perpendicular to the webs. Something looked off. So I started in on figuring out why the holes were not aligned. I cleco'd the assembly to the bottom fuselage skin and things started to look better. However I was still out. I disassembled it and measured the holes for the mounting bolt and sure enough they measured 1/8" different from the aft side of the web flange to the hole. I was floored. I was so careful to open up the factory punched holes to 1/4" and it really seems like they were not aligned from the factory. 

I'll send an email to Van's to see what's up and go from there.

Update - I received an email back from Van's and in a nut shell they gave instructions on how to install doublers and re-drill the holes so they are perpendicular. I wasn't too keen on doing that at this stage (pre-fuse assembly). I checked the prices for a new F-706 bulkhead assembly and its only $110 so i'll just bit the bullet and do the piece over again. This time making absolutely sure that the holes from the factory are aligned and not the 1/8" out. I sat and stared and measured, and scratched my head for an hour trying to figure out where things went wrong, and All I can come up with is one of the F-728/729 ribs must have had a hole in the wrong spot? Well, If I rebuild it I can double check everything.


Sunday, January 27, 2019

And some more work on the F-706 Bulkhead - 4 hours

Managed a decent day in the garage today. One of the tasks needed to be done was to open up the 7/16" diameter holes in the F-730 plate, the F-728 and F-729 webs. A little bit tricky to do, but best way I though was to mark it and then slowly chip away at them. Fist step I cleco'd the F-730 plate and marked it.

Next I cleco'd the F-728 and F-729 ribs and marked those.
 
 I pulled out the dremmel tool and with a very small diameter sanding drum I started in on removing material.

I then used very small round chainsaw files and sneaked up to the line. It took a few tries but I managed to get things close.

Once I was happy with the pieces, I cleco'd the assembly back together and used the dremmel one last time to even the holes out. After that, everything was debur'd and edges were files down.


Saturday, January 26, 2019

More work on the F-706 bulkhead - 3 hours

I haven't been feeling well lately so I've not been very motivated to get in the garage a work away. I managed to put in some hours today and advance the F-706 bulkhead. I completed drilling the F-728B angle to the 728A rib. All that was left was to drill the 1/4" holes for the bellcrank assembly. This was a head scratcher for me as how best to do this. 1/4" hole is fairly large to get centered with only the hole in the rib skin as a guide.
 
I decided to make a jig with a piece of oak. this will allow me to start a centered hole with a hand drill and then I can finish it on the drill press.

I used the 1/4" drill bit to ensure center of the holes. 


I then clamped the oak to the web and double checked hole alignment.


I clecoed on the angles to the web and then used the hand drill to start the 1/4" hole.

I double checked centering of the pilot and it was looking great. So I finished the 1/4" hole in the drill press.

Both holes turned out perfect.

I then completed the match drilling of F-705B/F-730/F-728/F-729. All I need to do now is debur, break edges, 3M, clean and prime. I'll save that for another day when I'm feeling better.  

Wednesday, January 23, 2019

Working away on the F-706 Bulkhead - 3.5 hours

I received new 0.63" 3/4" x 3/4" angle a few days ago so I can recut the F-729B angle and make the F-728B angle. I was really stumped by the 1/8" diameter hole callout on the F-728B piece and then it occurred to me that this was the initial hole for the first cleco to attach the angles to the webs. When working on the F-729B and F-729C pieces I thought that he 1/8" holes were to match up. And technically that's half true. Turns out that the 1/8" hole is a pilot hole for F-729C to attach to F-728B. However the 1/8" hole in F-728B is for the first cleco to the 728A rib. This is why I was having edge distance issues when using the Van's Dimension given for the overall length (24-5/32"). Silly me. Of course I figured this out after I drilled the 1/8" hole for my new F-729B angle, so I just have to roll with it. In the end, I recut the F-729B angle and managed to get all those pieces fit together and holes perfectly aligned with excellent edge distance. It just took me way longer than necessary.

I began assembling the pieces as per Drawing 26. however, I noticed that the webs and pieces weren't sitting parallel. I was unsure about the final fitment at this point.

I disassembled the pieces and drilled the F-729A and B pieces together. Next, to ensure the most correct alignment, I clecoed the assembly/ribs to the bottom fuselage skin to ensure all piece where in the correct position. Once I was happy with fitment I then drilled the F-730/F-729C.


I have the 1/8" holes aligned. I will final drill these to #30 when I am ready to rivet.

I have excellent edge distances on the F-729A angle.