Sunday, January 16, 2022

Installed brake line spacers and the flap actuator - 3.5 hours

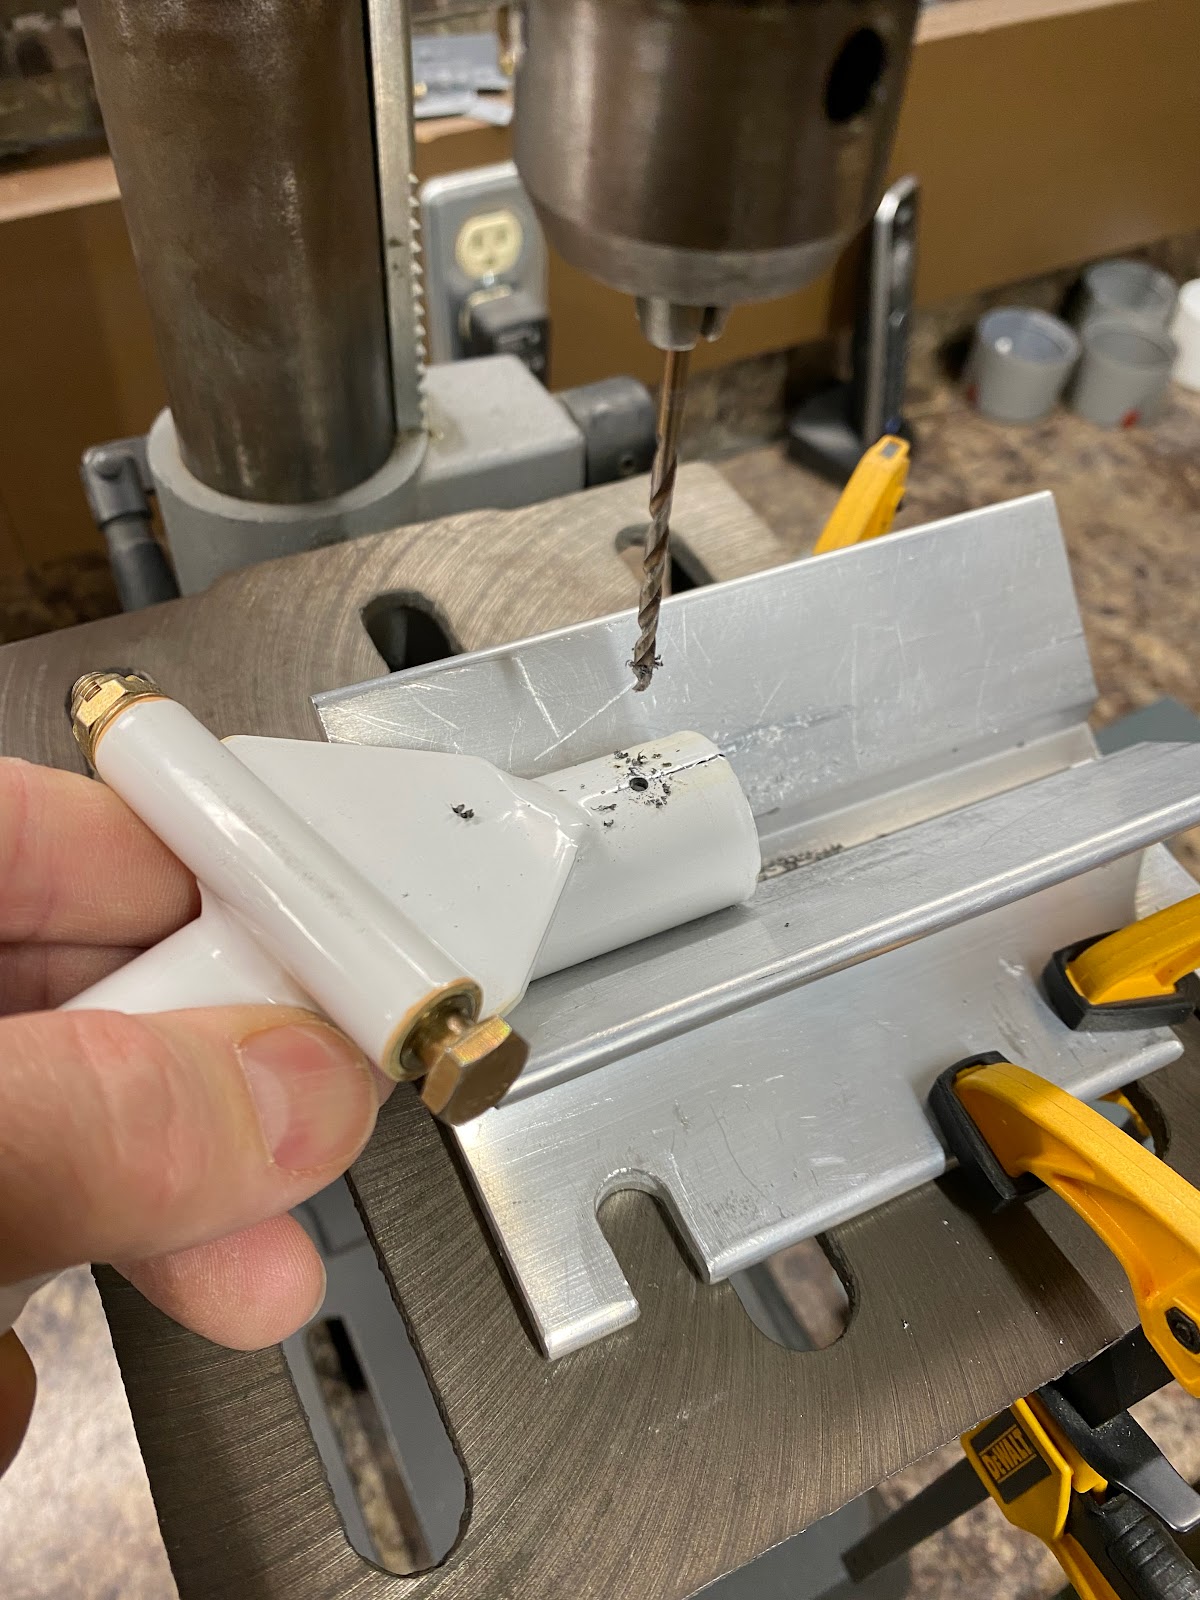
 I started to install the brake line spacers that I had 3D printed. It takes some time to lay things out. I need to ensure that the spacers do not interfere with any of the many nutplates and screws. Lots of head scratching on this task.


I also need to use the drill press and drill mounting screw holes to clamp the lines. Originally, I was going to just proseal the lines on. But I do want the ability to change lines out easily if needed, so small screws are the way to go. I raided my pinball parts stash and found very small machine screws that will work well! A little bit proseal is mixed and the bottom half of the spacers are installed.

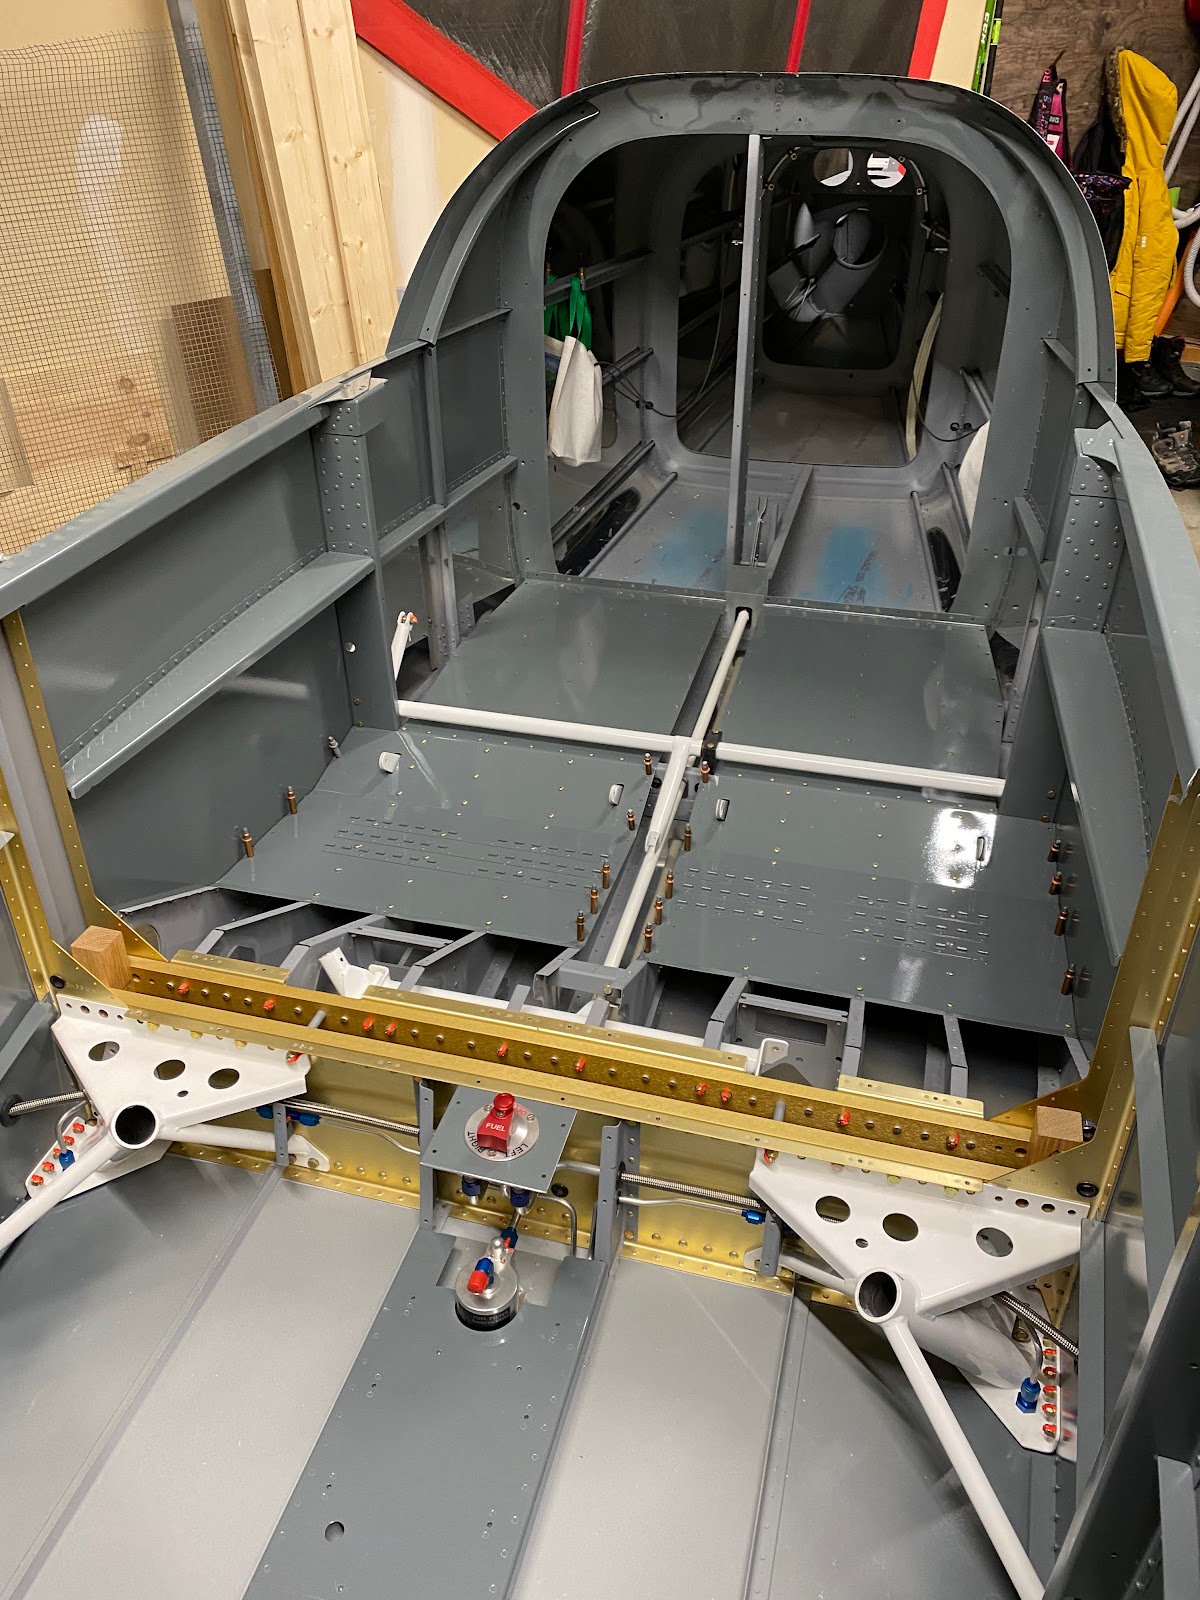
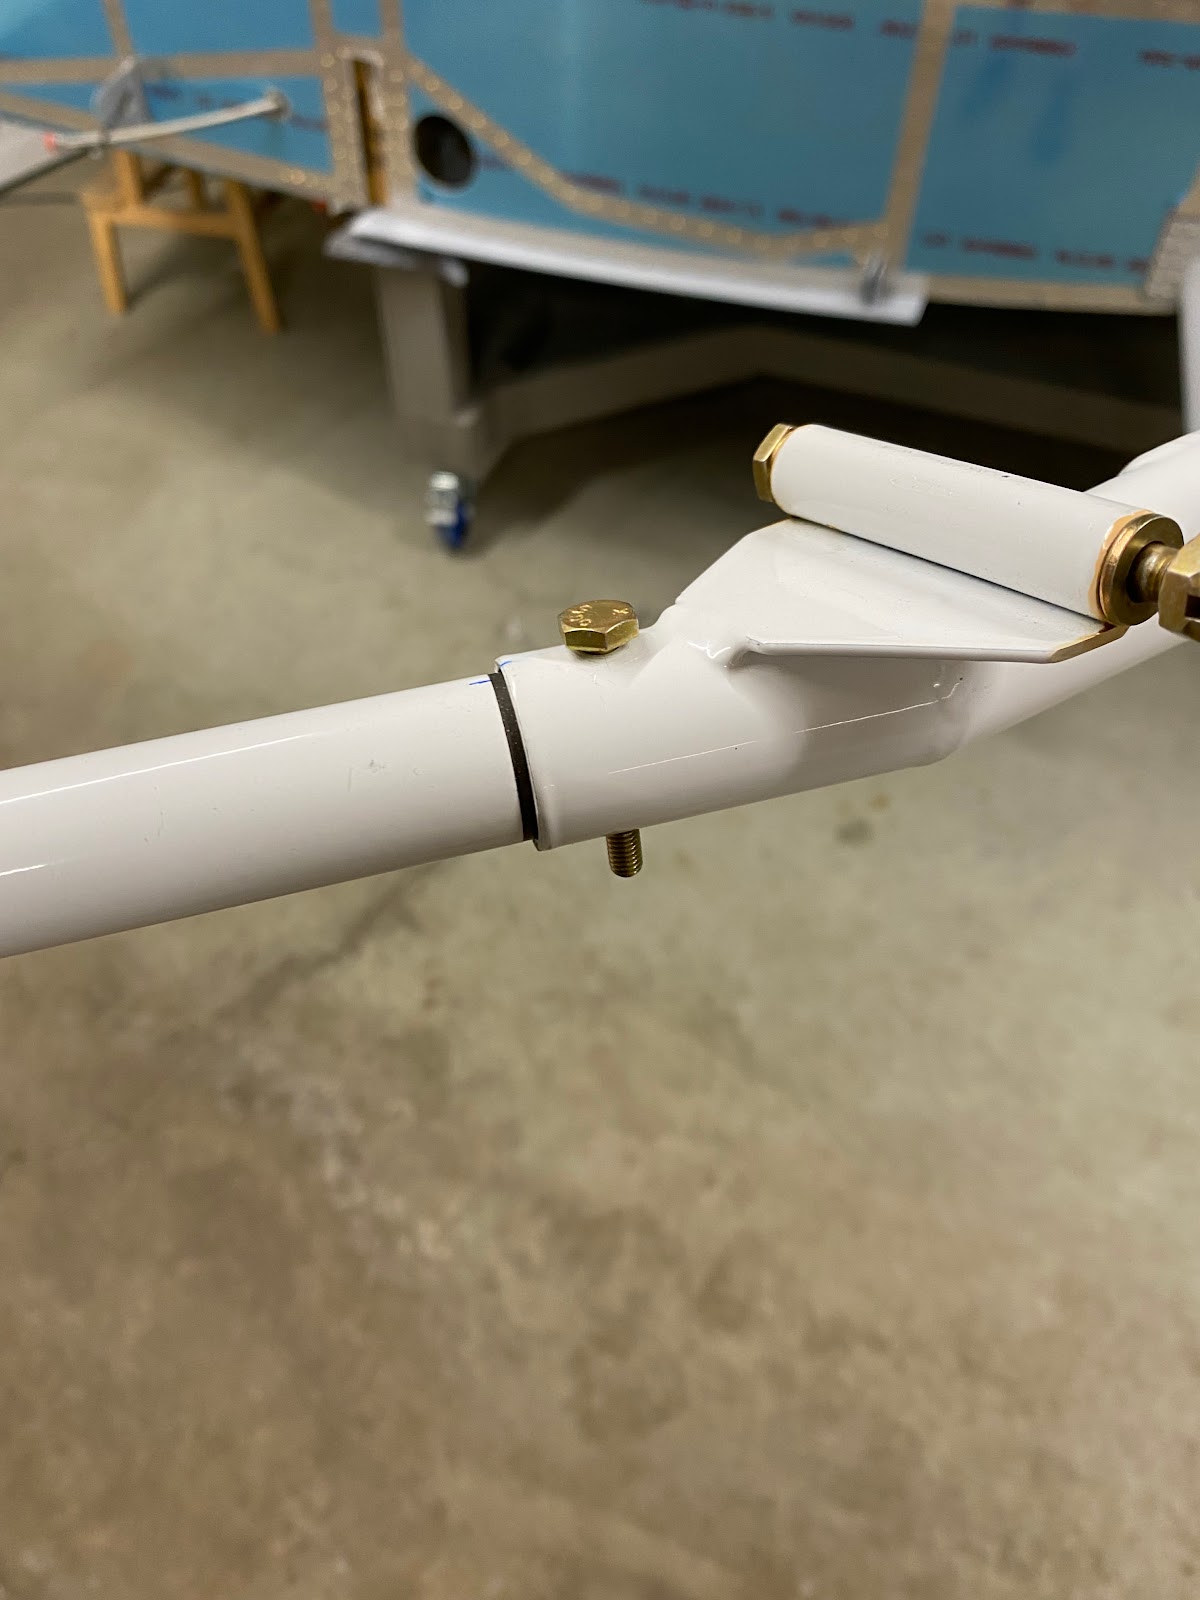
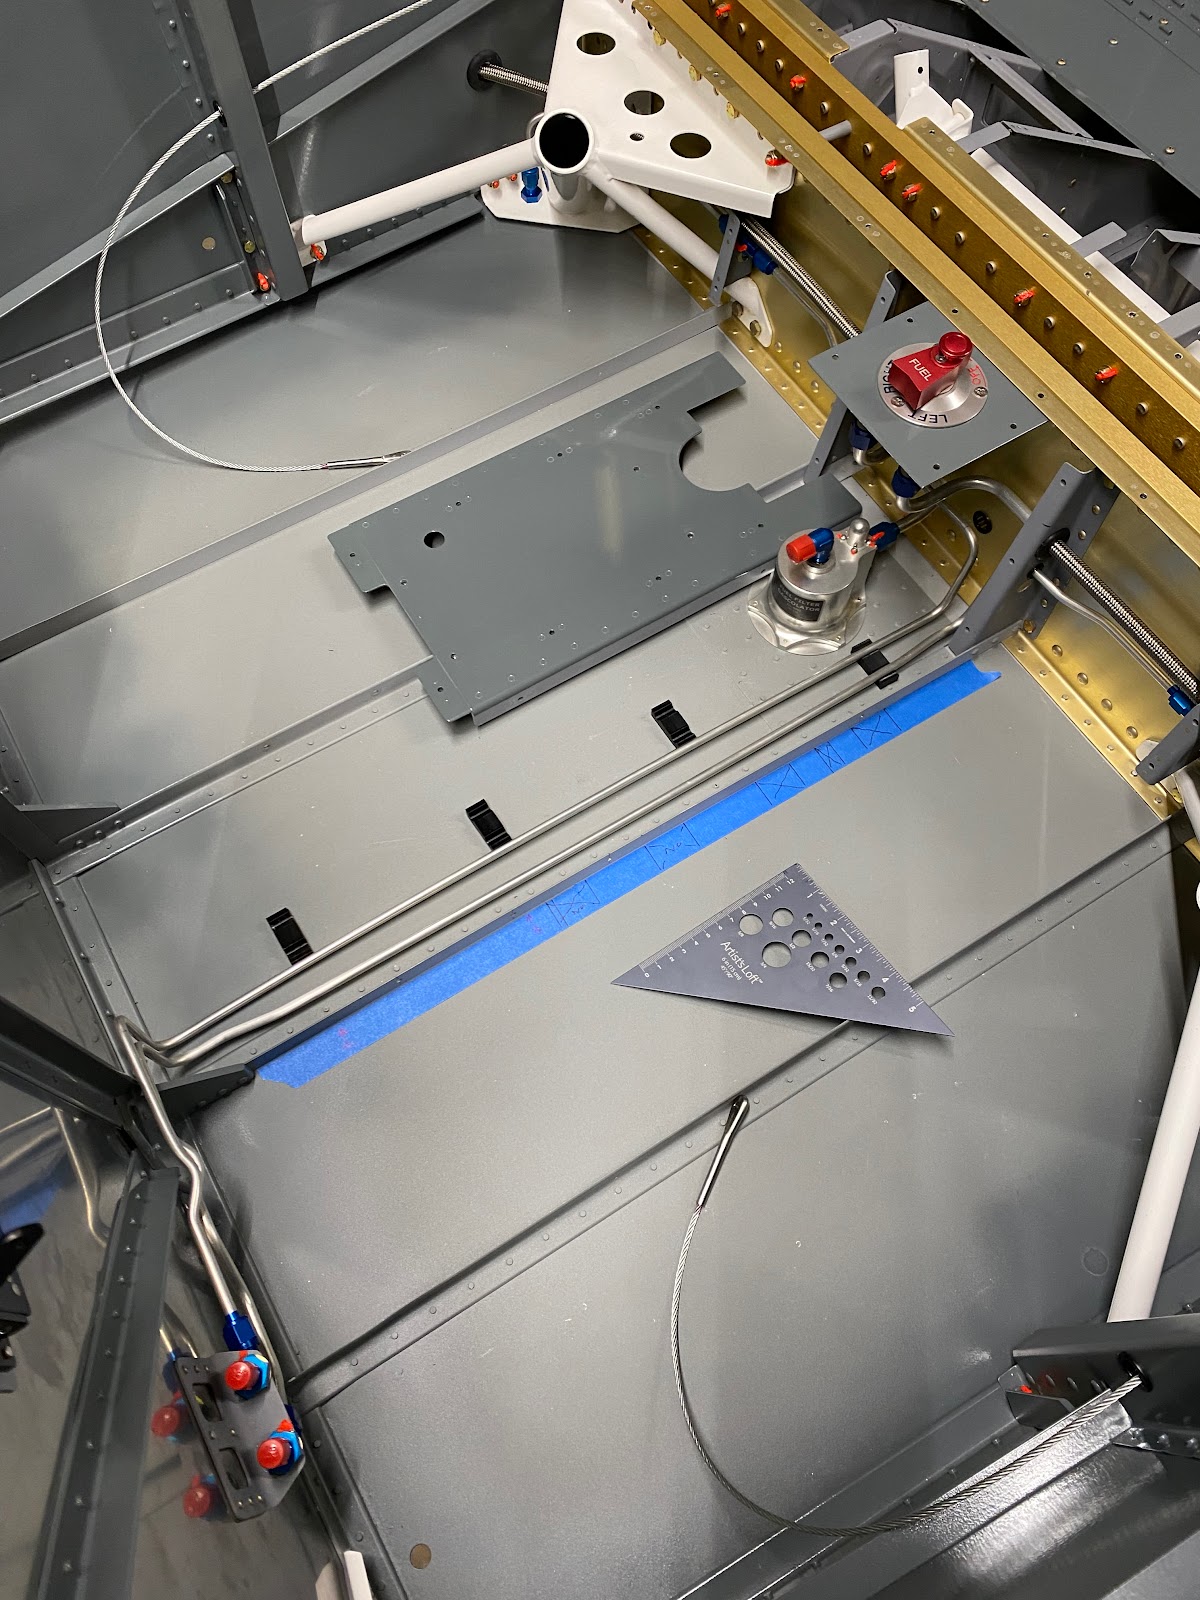
While I wait on that, I decided to move on to the cabin area flap actuator. I just want to get the cabin put together. Easy enough I put the mounting bolt in to the assembly. And the cotter pin is set. 


 A few more screws and the flap actuator are installed. 


Work is getting soo busy I am going to have to put the build on hold for a while. It’s bitter-sweet as it’s good to be busy, but I really need to keep building. 

Saturday, January 15, 2022

Installed the weldment….The second one - 2 hours

 I finally managed to get to the second flap weldment in the winter after messing up the first one. I ordered one back in around March/April '21 but didn't receive one until September '21. Through a mistake in ordering I actually received (and paid) for two. Good lord. Well, lets get this thing in there.

I carefully opened up the holes in the weldment  with the drill and finally with a reamer, with much better results then my first attempt. The holes for the bolts are very snug with no play. Much more acceptable. 


 In it goes into the cabin area. Looks great.


Wednesday, January 12, 2022

Fitting the forward elevator pushrod - 4 hours

 Tonight was a bit of a grind…No pun intended. The pushrod connecting the control sticks to the bellcrank  interferes with the F-705 Bulkhead. More particularly the F-705B center section bar. Although this seems to be a very common issue with other builds, I called Vans just to make sure I was ok. Yup…I need to shave the stiffener enough to clear the pushrod. 

So now the tricky part. How to remove just enough material? Well slow and steady wins the race, I installed the pushrod and then was able to mark out the extents of the pushrod. Then I sketched a scallop. Using a dremel with a sanding drum, I carefully removed material. Then I used a rough grit sandpaper wrapped around the pushrod and moved the piece back and forth through the range of motion. The rough grit clearly marks the remaining interference. I then can work on the required area. It’s a bit time consuming, but the process worked very well and in the end….I have a perfect amount of clearance. Nice and tight….only a little material is removed. 


Monday, January 10, 2022

Test fit brake line spacers - 1 hour

 I need to support the brake lines running down the center tunnel. I've seen various methods used, but none looked all that great to me. I wanted something that looks a bit more purpose built. Why not 3D print something? My co-worker Dave at the office bought a 3D printer so I designed some parts to cradle the brake lines. These are a two-piece unit that will clamp down the lines and hold them straight and tight. They also have a slight grove to allow them to next into the floor stiffener angle.


The fit is excellent!

Sunday, January 9, 2022

Finishing the brake master cylinder install and fixed center tunnel cover - 4 hours

 I moved onto finishing the installation of the Grove Brake master cylinders now that I have all the right size mounting hardware. Here is a view of the washer arrangement at the top. Took a couple of tries to get the right combination but I am really please with it. Overall the alignment is really good.


 So I installed cotter pins and called it done for now. I want to finish the final fitting of the front fuselage before I permanently install the brakes/rudder pedals. 

 With more time available to work I decided to strip the paint down on the sides of the centre tunnel since the fit is so tight with the final paint on the sides. I marked the edges where the center cover contacts the floor stiffeners. I masked off the part and ground down the metal/paint. With a couple wipes of acetone, I primed the bare metal with self-etch primer. The fit is so much better and not so tight.


Installing the F-789 Elevator Pushrod - 2 hours

 In order to install the F-789 elevator pushrod. The threaded ends are not installed and it slips in easily when inserted first through the F-705 bulkhead. 

Unfortunately many report that the control rod interferes with the F-705/F-705B bulkhead and center section bar and mine is no different. The interference is relatively slight…Maybe a 1/16” at most. Before I start sanding and filing I’ll give Vans Tech Support a call in the week and double check that I’m ok to trim the bulkhead down. 


Saturday, January 8, 2022

Drilled the passenger control stick and fitted fuel pump - 4 hours

 Lots of little tasks to work on today in the cabin area. One item on the list is to complete Vans Service Bulletin SB-07-2-6 that permanently attaches the passenger side control stick by means of an AN3 bolt. It’s always a tricky task to drill a round tube cleanly and accurately. I drew out the measurements on AutoCAD and created a template. Using the template, carefully transferred the drill points onto the control stick. Closed my eyes and drilled each side to #40. Then I drilled again all the way through with #40. 


Now that I have perfect alignment. I clamped the assembly in the drill press and then upsized to #30, #19, and eventually a 3/16” reamer. 


 The passenger control stick is now ready to be installed in the Fuselage


Next…I might as well see how the fuel pump fits. The center tunnel cover is a bit tough to slide into place with the final paint taking away some clearance. Eventually I got everything into place and it sure looks good.