Sunday, May 22, 2022

Setting the roll bar into position - 4 hours

 The plans have the rear of the roll bar set at a specific position. I used tape to mark out the 7/32” offset to the inside. Using a piece of aluminum angle I then set the forward/aft position of the roll bar. After checking correct positioning a number of times…I was ready to drill.


Using the 90deg pneumatic drill…I back drilled the #40 pilot hole on the pilots side to mark the roll bar. Done and Done.

Now…The roll bar is slightly wider than the required dimension. I need to squeeze it in about 1/4” to get the fit right. Well I leaned on it. Nothing. More and more leaning. Get my belly/weight right into it. Nothing. Now this is concerning….I’m a solid 220 right now. Not even a budge. I decided that I will have to use a ratchet strap on it. 


It’s very easy to start squeezing it together. I started at 1” and then basically went up at 1/4” increments checking at various milestones. Think I squeezed up to 2 1/2” and absolutely no change. I finally threw in the towel. I think I am going to have to get more aggressive with it. 


Sunday, May 15, 2022

Drilling the roll bar spacers - 3 hours

 Well, it has been quite a long time since I have worked on the build. Work has been quite busy in January/February. Then in march I had to start designing and drafting our new office. I’ve never produced a set of architectural drawings for a Commercial Office before. Well for the month of March and April….I do now. With that out of the way. Back on the build. 

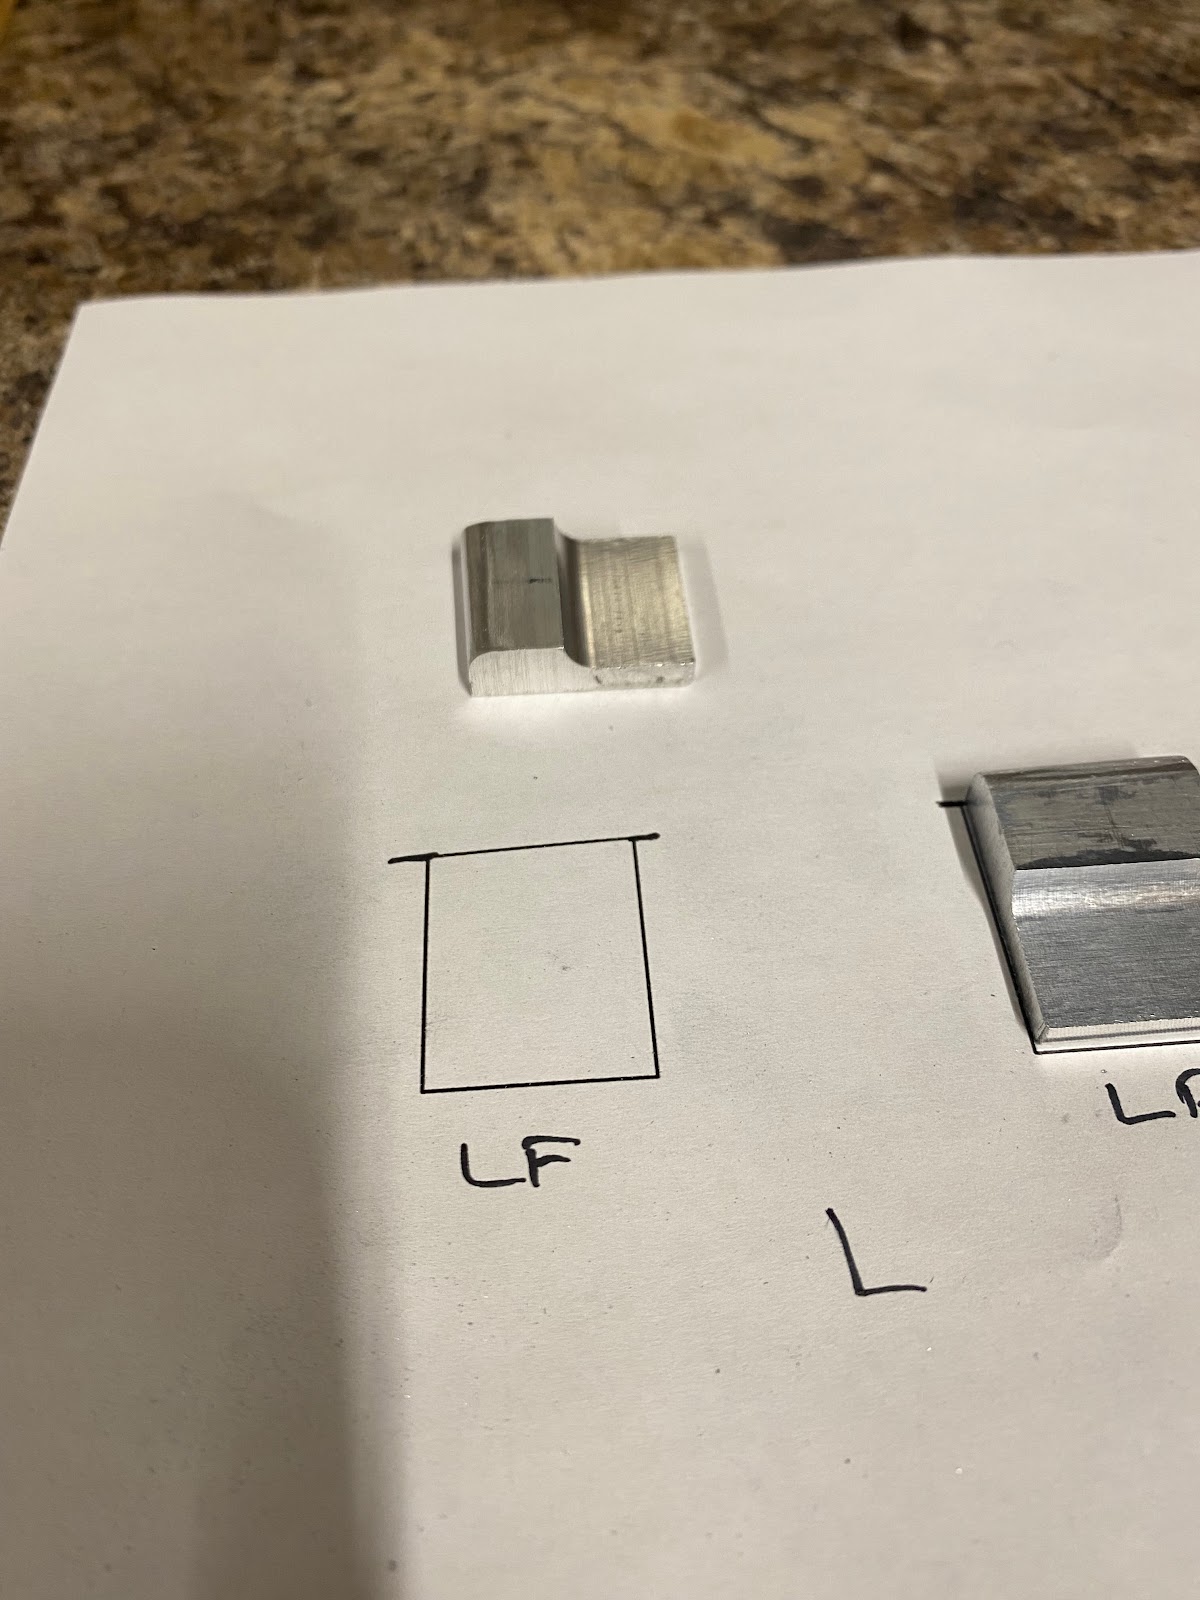
I continued on with the fitting of the roll bar spacers. A decent amount of work is needed to file the fillet/radius better so they nest properly into the longeron. This is close, but it needs more work. Both the inside radius and outside radius need work so that the spacer sits properly.


  I have the first one in really good shape. I marked the #40 pilot hole and used the drill press to open up the hole for an AN3 bolt. Got the next one done…But the third one I messed up a bit. I will need to redo that one. I will need to order a new spacer piece. Good grief. 


Sunday, February 6, 2022

Started positioning the roll bar - 4 hours

 The placement of the mounting holes on the roll bar is fairly critical. You want to locate the forward AN3 bolt, and aft AN4 bolt as close to the longeron as possible without biting into the longeron material. There is also distances based on the existing canopy deck rivets. 

It took me a little time to figure how best I was going to get this work done accurately. Ultimately I thought is best to 1 - Drawing out all the positioning on AutoCad. Then 2 - Use the AutoCad design to make a drilling template.  

With the template made and #40 pilot holes drilled, I compared that with the Autocad template and found everything appears to be good. 


 Now its time to clamp the drilling template to the actual canopy deck. You will note how I made a #30 reference hole on the most forward part of the Template. This allows me to locate that hole directly above the center of the required rivet on canopy deck. 


 Now, After careful positioning and checking. I drilled the two pilot holes for the mounting bolts to #40. Before I go too far I want to ensure that the holes are in the correct location. I have the ability to "Walk" the pilot hole over if needed. Prior to drilling, there is not an easy way to check this. Once the pilot holes are drilled I can then access the underside and see exactly where we are.To do this...I made two center guides that I can slip underneath the canopy deck and see with easy how centered the pilot hole is. 


We are in really good shape! I am very happy with the location of these holes. Now I need to begin fitting the mounting spacers. These are a bit of a pain as they need quite an amount of work to fit properly. To make things more difficult, accessibility for the trial fit is terrible. Before any pilot holes are made. We need to make sure the spacers are cut down and that the inside edge has a fillet for proper nesting in the canopy deck. 


Friday, February 4, 2022

Designing panel vents - 4 hours

 I’ve been giving a lot of thought to how I need to plan out the fresh air vents and the headset jacks. Out of all the various examples if searched out on the net. I tend to like the headset jacks being adjacent or just below the air vent. 

So I spent a bunch of time taking measurements of the plane and then drafting a few different options in AutoCAD. I finally worked out the design and printed it out on paper. Using this as a template, I can mock it up in the cockpit. One item I was concerned with is if the design would interfere with my knees… After all, I am 6’-3”. Leg and Knee space will be very important.

Well…As far as fitment. Things are looking good. Oh my the SteinAir vents look big though. Lots of fresh air will be coming my way eventually. 

Now the real test….How does it fit with my knee? Well I call it a win....for now! Hopefully with the upholstery/seats in place things stay about the same.


Sunday, January 30, 2022

Fabricating the remaining front deck attach angles - 3 hours

I need to get the F-721C and & D attach angles fabricated and fit to the canopy deck. So I spent a little time fabricating the 4 angles. To fit them to the canopy deck properly will take a little bit of time. I will need the instrument panel sent into place and then this will dictate the proper placement of the attach angles.

I installed the F-7103B angles onto the instrument panel and then installed the instrument panel into place. Now...Next is the important part. I then clecoes the entire top skin back on the front deck, this sets the instrument panel in the correct location. I can then carefully mark out reference lines on the tape.


Removing the top skin...I now can working from the reference lines with good access. I then can set and drill the F-721C & D angles to the canopy deck. I am very happy with the result. 


Saturday, January 29, 2022

Fabricating front deck attach angles - 4 hours

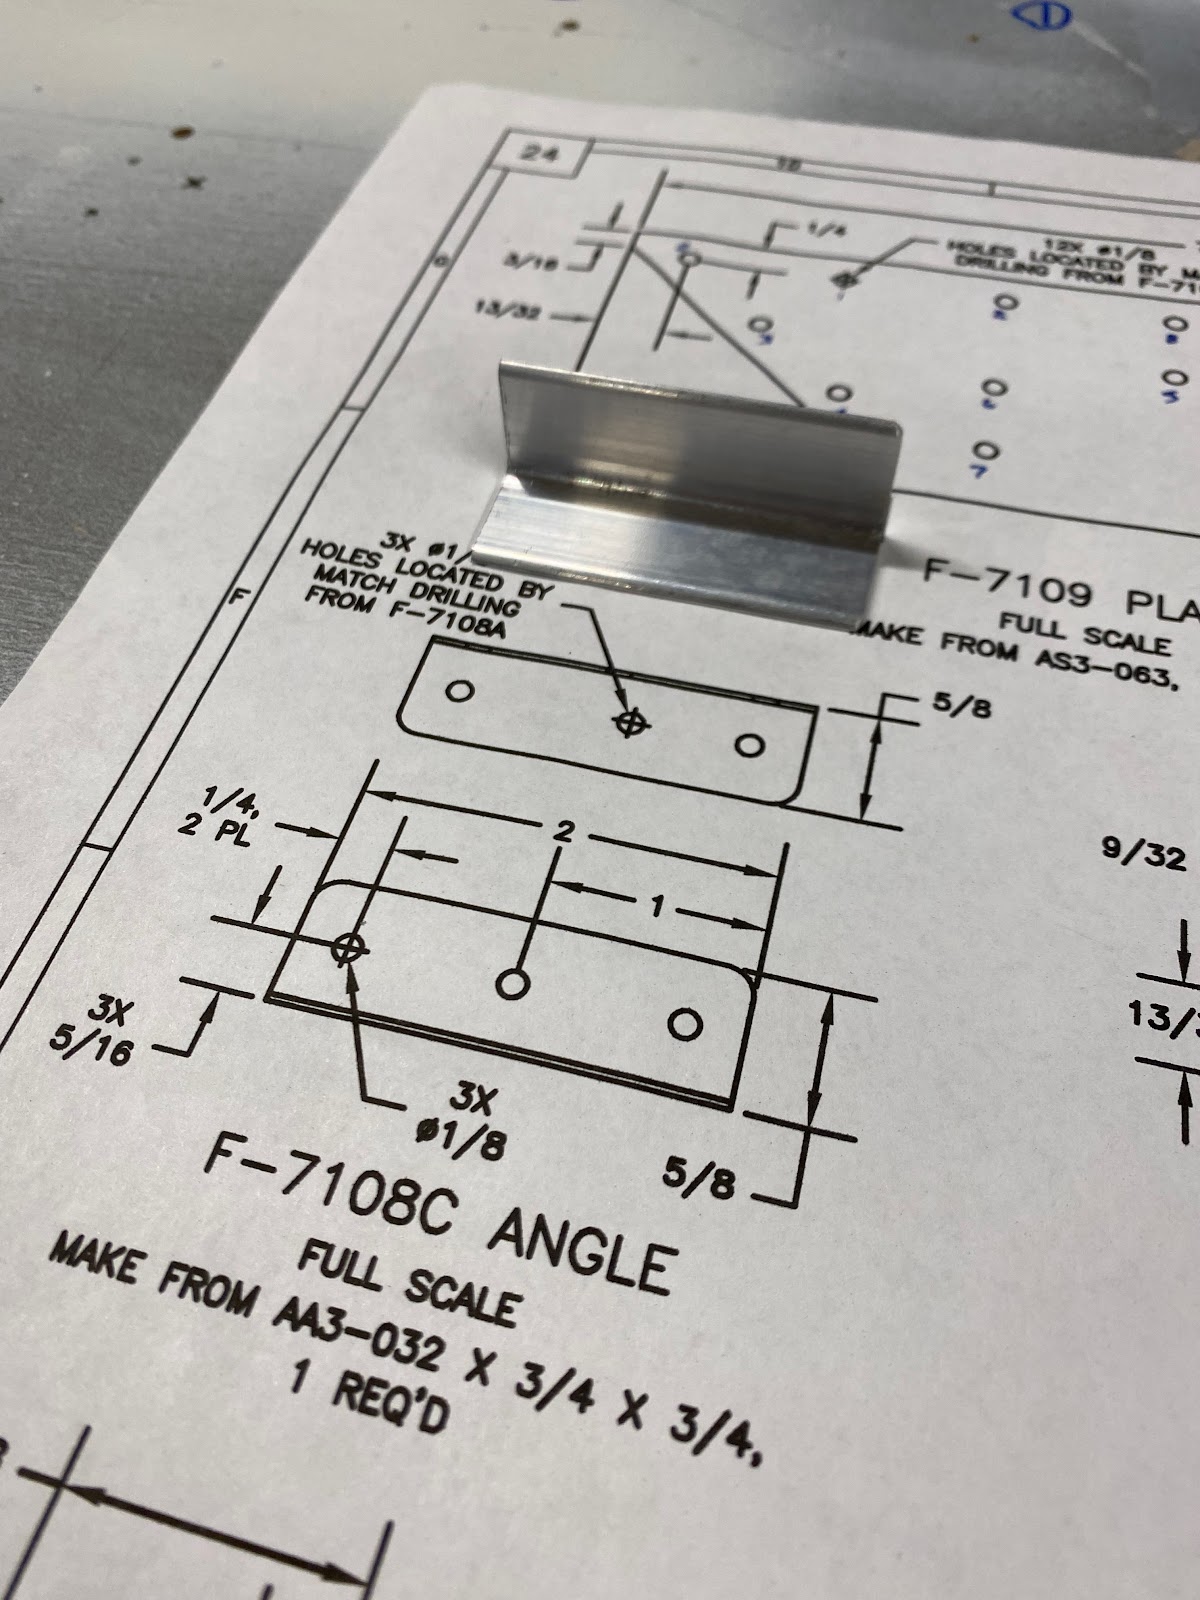
 I need to start fabricating and fitting all the various attach angles that are needed for the front deck. The first is the F-7108C angle. I rough cut the angle, trimmed it. Drilled all the required holes in the plans.


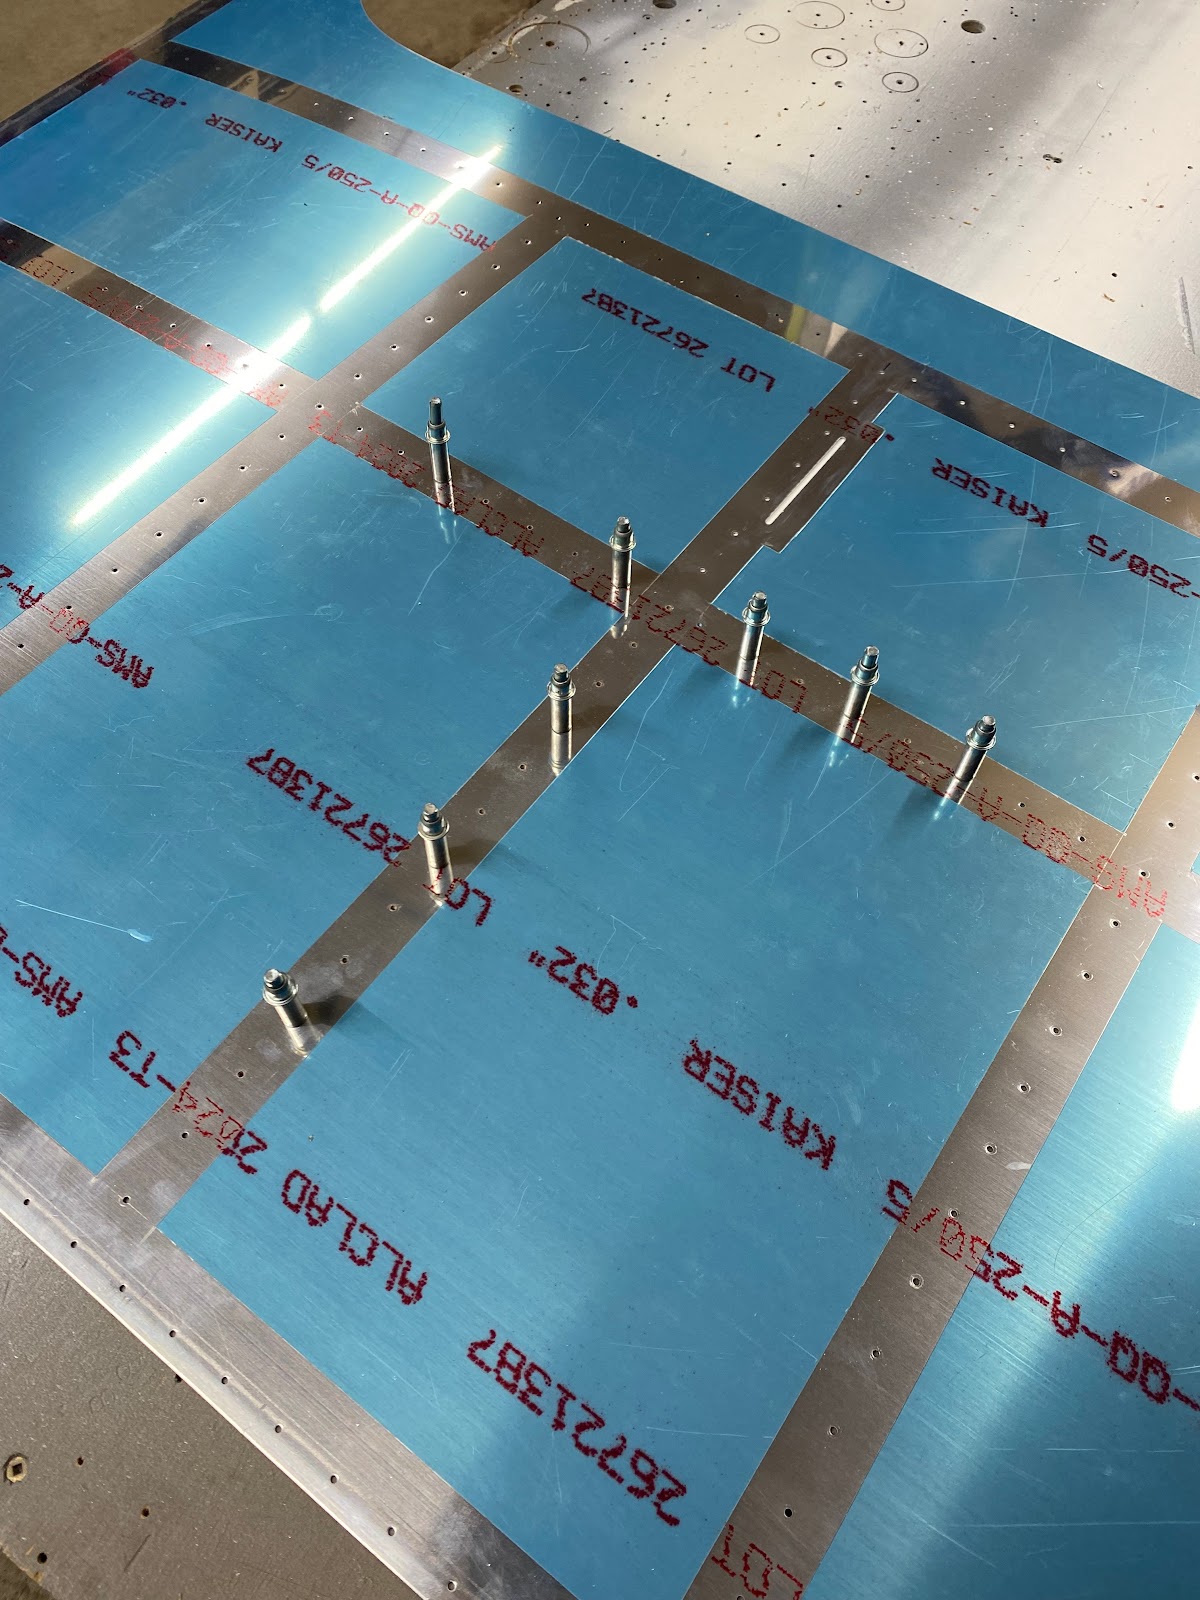
 Now, I need to fit it into place to drill the remaining holes. This is the tricky part. I want to ensure the ribs and bulkheads are in the correct place, but fitting the top deck skin make access horrible. To fix this, I used a piece of scrap aluminum that I have from the practice airfoil kit and I match drilled the top skin to that. Now I have a small top skin template to fit to the structure. This will allow me to install the F-7108C angle and drill the remaining holes with confidence everything is fitting correctly.


I upsized the #40 hole in the forward end of the F-7108B angle to #30. 


 Next I worked on the F-7103C attach angles. These turned out to be more tricky than I would have originally thought. The plans call for the angles to be "Flutted" however the illustration leans more toward this to be a relief opening that is cut into the flange. I opted to go with simply flutting, but soon found the amount of fluting required to get the proper bend is quite extreme. 


I managed to fit the attach angles into place and drill them. But at the end of the day, I am not pleased with the flutting as it distorts the angle just a bit too much for my liking. I should have opted to cut reliefs in the angles rather than flutting.


Sunday, January 23, 2022

Fitting the front deck - 4.5 hours

 In order to get a good fit on the skins, its important to remove the vinyl for the mating surfaces. So digging out the soldering iron, I went to work and de-vinyled the top skin.

Previously in fitting attempts I carefully marked out guidelines on the bulkhead for the center rib. I then installed an alignment guide (scrap oak block) for the rib to sit against. This will ensure that I have the rib perfectly vertical during final fitting.


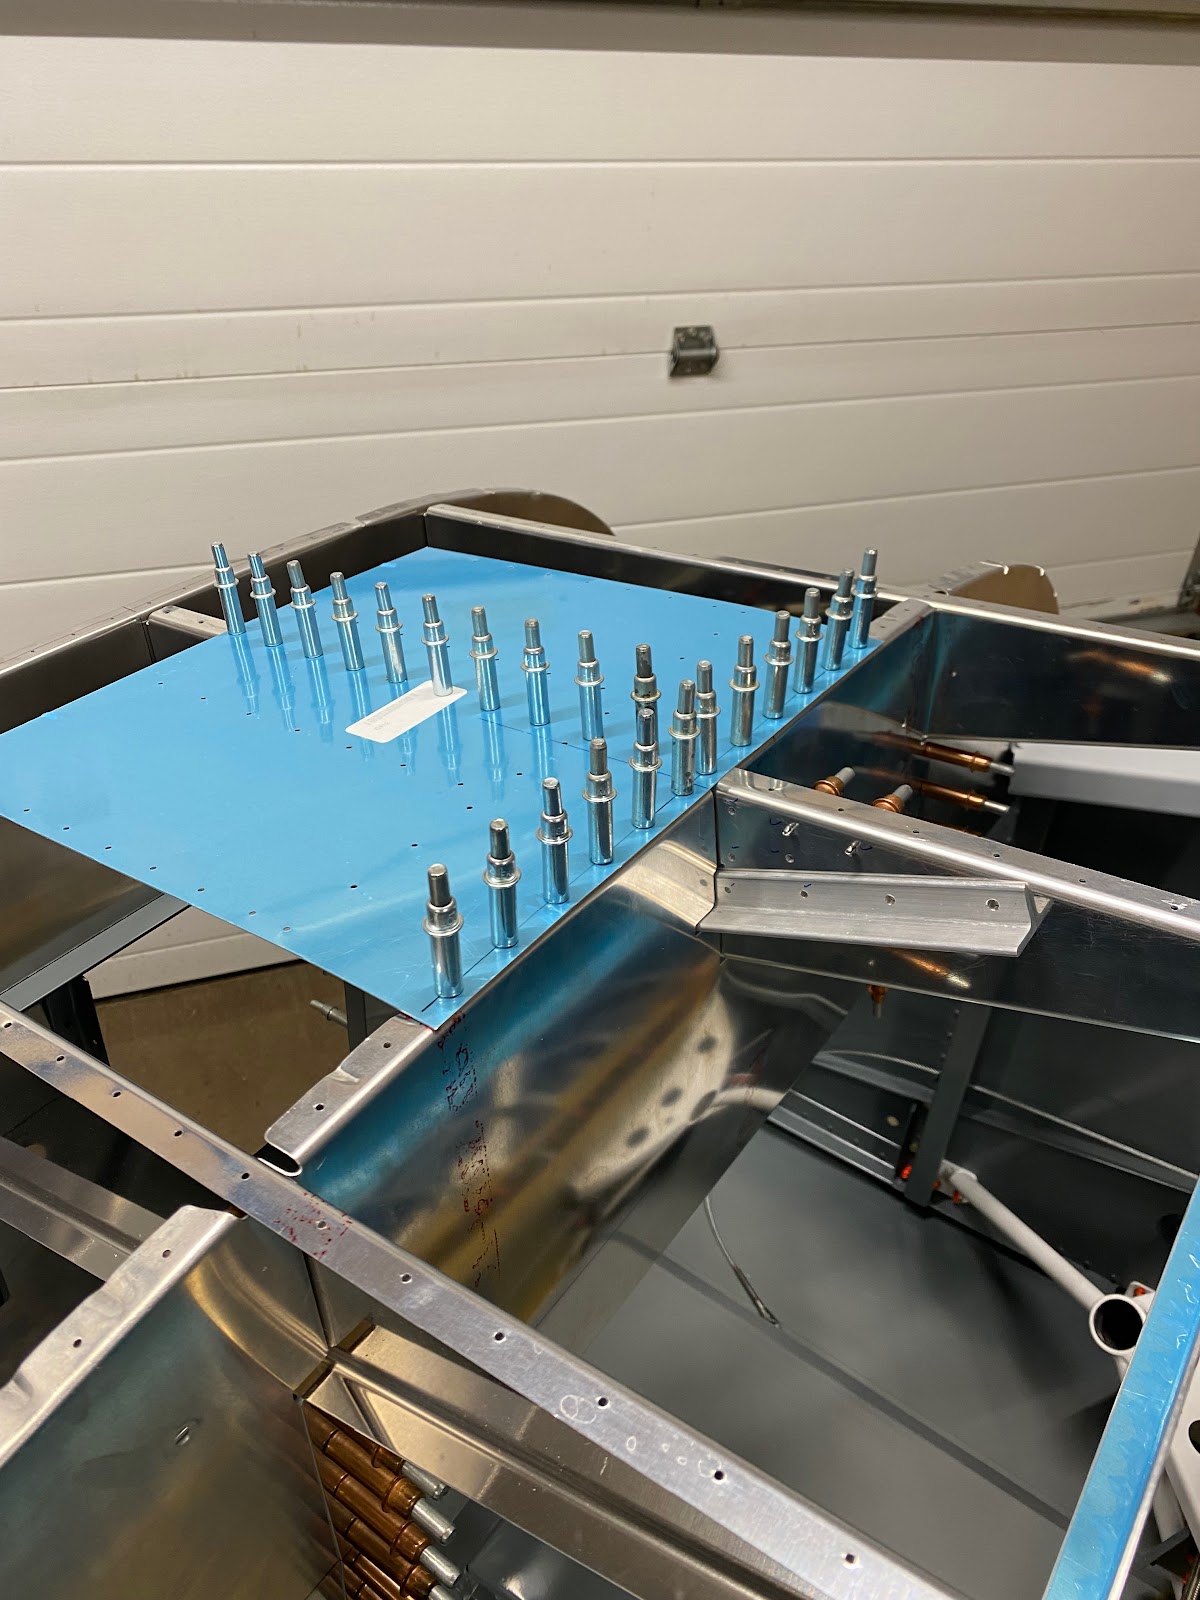
Then installed the top skin on the fuselage, concentrating on the center potion of the skin, and center rib.

Now comes the fun part, I need to check the alignment of all the parts with lots of contorting in the fuselage and through the firewall opening. 


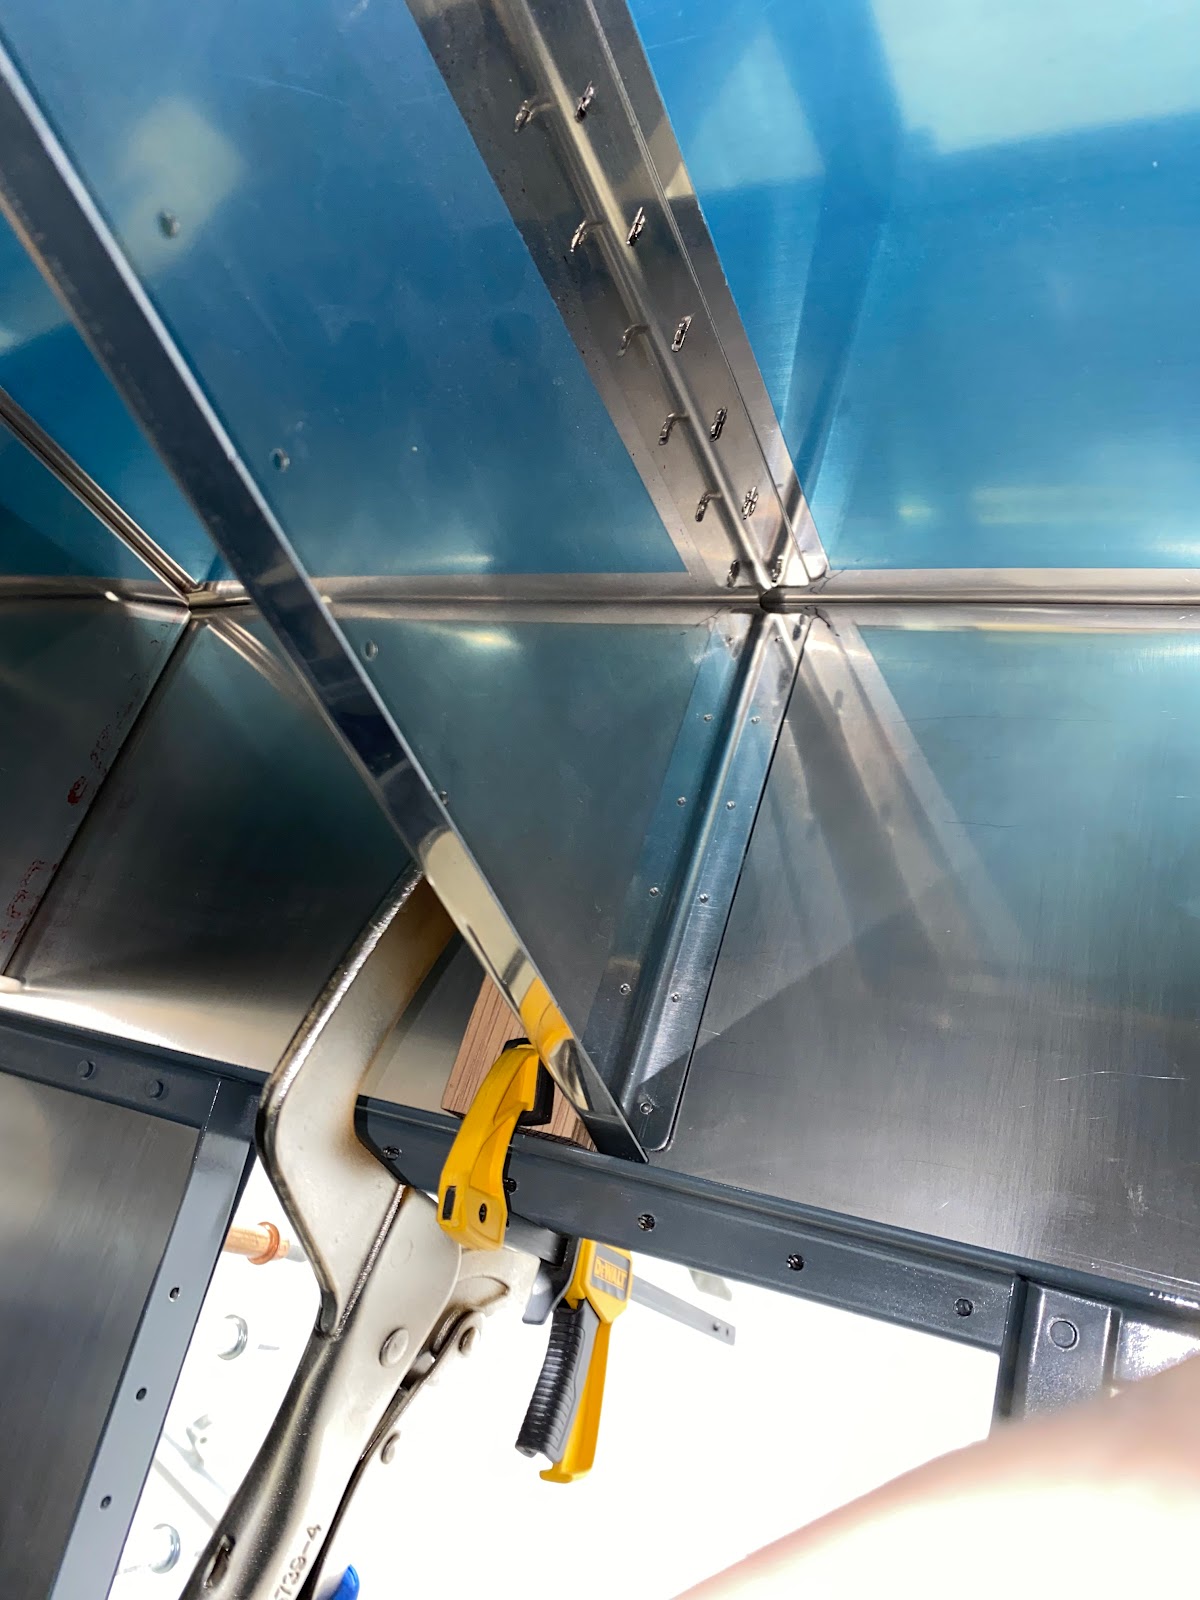
Once I was happy with how things were fitting. I clamped everything down and drilled the first hole. Now…Drilling in this area is very difficult as the access is awful. The solution to help make drilling easier and more precise was to then use a scrap piece of angle as a drill guide after the first hole was drilled. I drilled all of the holes from the center rib into the scrap angle and now I have a drill guide. This allows me to remove all of the top skin and ribs. All that is needed is to insert a cleco in the one pre-drilled hole, check vertical, clamp and drill all remaining holes.


Now that all holes are pre-drilled to #40. Next step is to upside each hole from #40 to #30. 

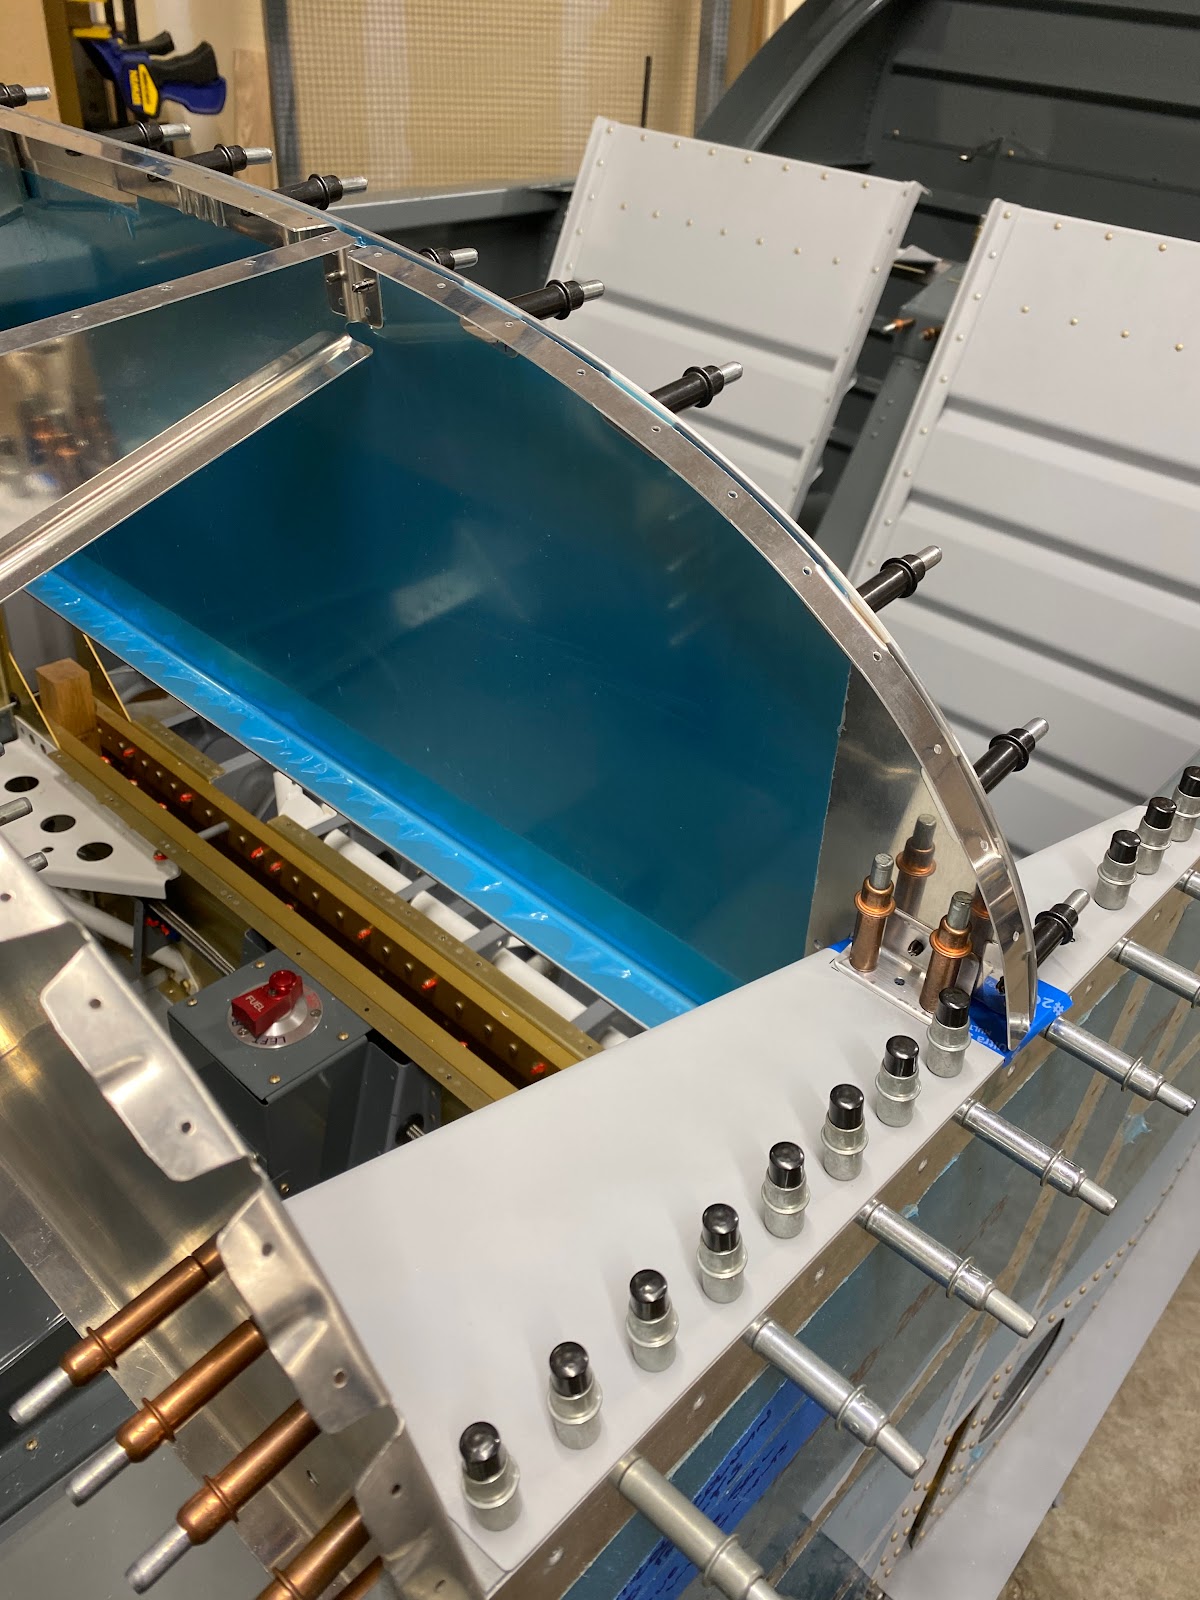
Now that the center rib is firmly and correctly in place, I can now drill the forward end of the F-710B angle into the top firewall angle. 


The fitment of the entire structure of the forward deck is very good.