Showing posts with label Aft Deck. Show all posts

Saturday, January 15, 2022

Installed the weldment….The second one - 2 hours

 I finally managed to get to the second flap weldment in the winter after messing up the first one. I ordered one back in around March/April '21 but didn't receive one until September '21. Through a mistake in ordering I actually received (and paid) for two. Good lord. Well, lets get this thing in there.

I carefully opened up the holes in the weldment  with the drill and finally with a reamer, with much better results then my first attempt. The holes for the bolts are very snug with no play. Much more acceptable. 


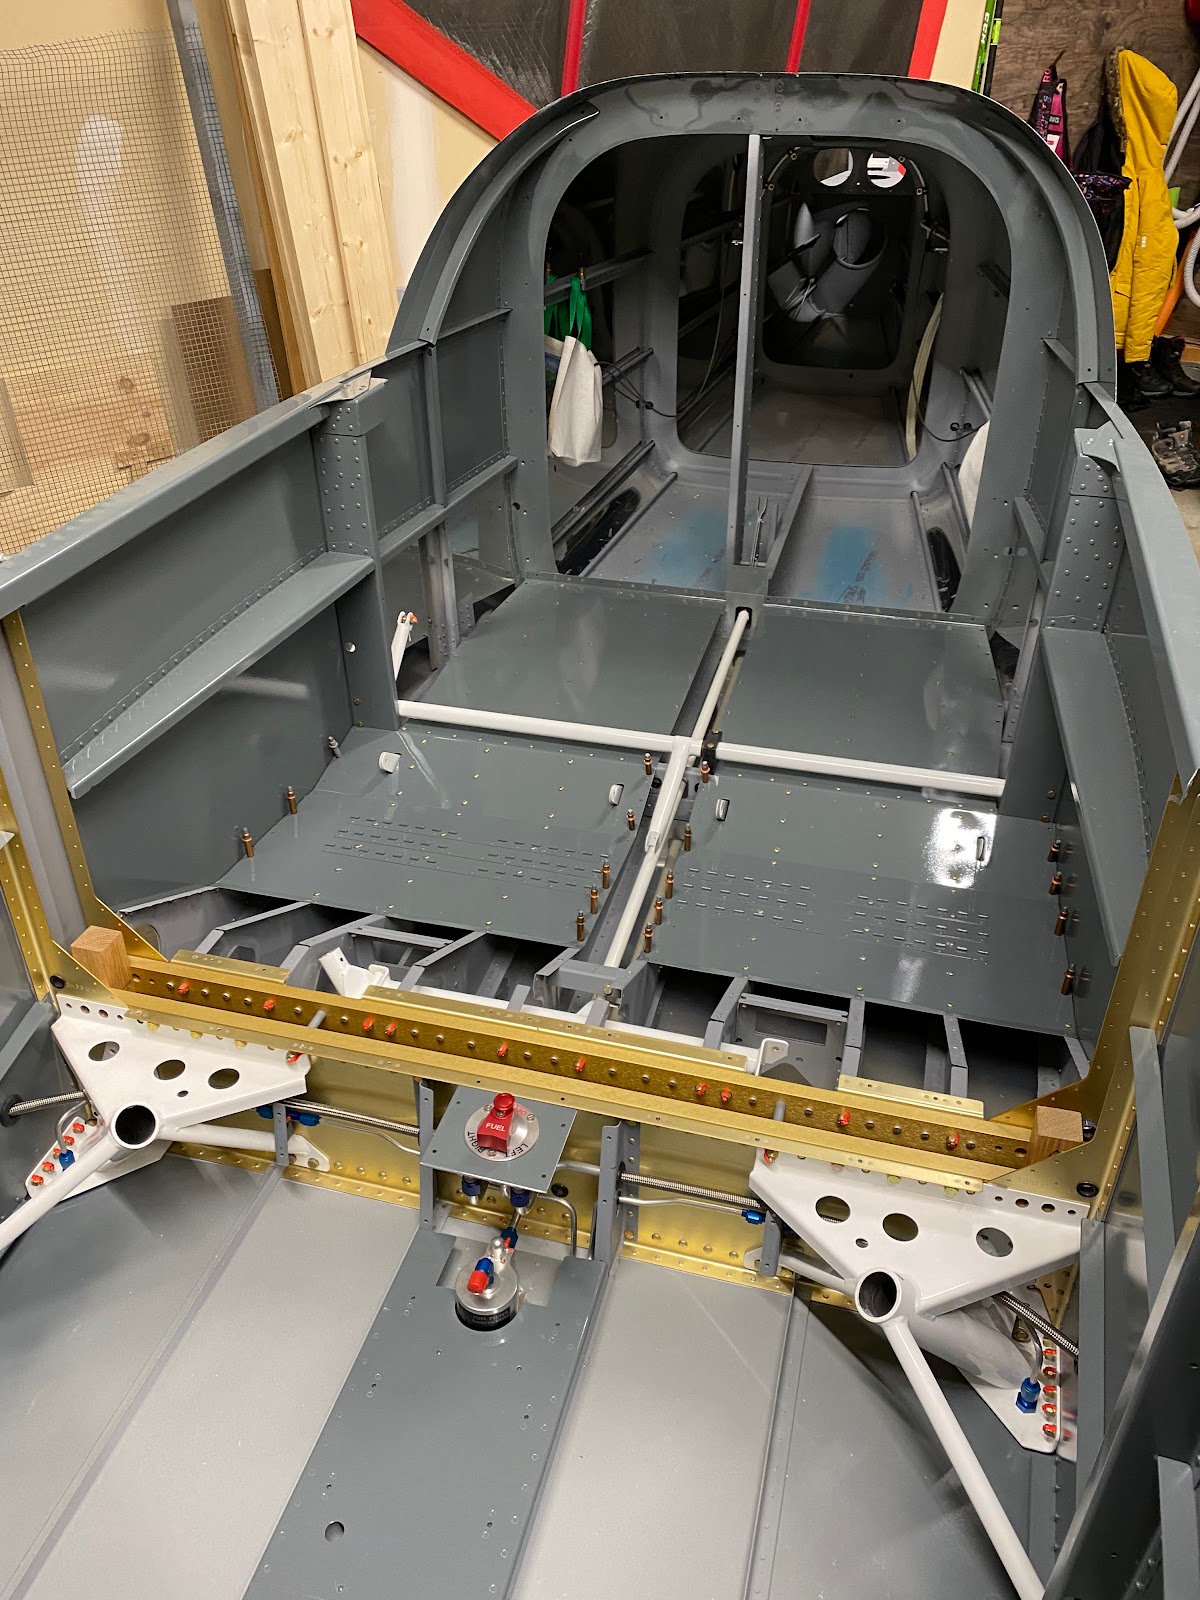
 In it goes into the cabin area. Looks great.


Saturday, October 16, 2021

Installing the F-781attach plate and finished drilling the VS - 4 hours

 Started in this morning by preping and priming the F-781 attach plate. After about 3-4 hours of dry time, I decided it was good enough to rivet onto the VS. 


I started to open up the two upper #40 pilot holes in the VS rear spar. Now, here is the part that sucks. Unfortunately I cannot use a drill jig to drill these. Rather than completely disassemble and drill in the press or on the table with a drill jig. I choose to drill them by hand and ream to 3/16" in place. And the bolts are a tiny bit loose. Especially the right one. Crap


So talking to Vans Technical support, we determined that the best course of action is to use an NAS6603-4X bolt for this right hole. Its an 1/64" oversize and will allow me to hand ream the bolt for a perfect and snug fit. We also discussed using NAS close tolerance bolts for the left hole in lieu of the AN3 bolt as the NAS bolts are consistently just a couple thousandths larger in diameter than AN3 bolts and have a tenancy to snug up some of these areas where bolts easily slip into holes.

Moving onto the elevators, I need to start drilling the elevator horns. Fortunately I have not cut the ends of the HS stabilizer allowing for a prefect alignment of the elevators 


One item that I want to do is install nutplates in the elevator tips which will allow me the ability to install extra weight in the elevator tips if needed in future balancing. The existing tooling holes are perfect for an AN3 bolt.

Next I temporarily installed an elevator in the HS and now started to scratch my head on how best to drill the pivot hole. I need a 1/4" bushing to protect the bearing. A trip to home depot was a bust, however I stopped in at Hobby Wholesale and they have a whole selection of various brass tubes. Sure enough they have a 1/4" brass tube that will allow me to drill a pilot hole. 


Sunday, October 10, 2021

Fabricating and fitting the F-712D elevator stop - 4 hours

Looking around for the angle material for the F-712D and I just cant find AA6-125X1X1 1/4. However I have the same thickness material in a larger size. AA6-125X1 1/2X2 (Something like that) which was scrap from an early part of the fuselage build.  The angle will work just great as I can cut it down. The inside radius is a bit thicker, so in order to make it work I just need to increase the dimensions very slightly. 

I did a rough cut of the angle with exaggerated dimensions.  I will trim it down after I have drilled the mounting holes.

After marking and measuring everything. It was time to start drilling #40 pilot holes. 

Next I started opening up the holes for AN3 bolts. Stepping each one up #40 to #30, to #21 (Which allows a #8 screw for perfect alignment and "clecoing") and finally reamed to 3/16"


 Now its time to set the 1/4" offset on the vertical stab. Using lines I had previously drawn when setting the horizontal stabilizer. I can easily set the offset. But I just was hit with a huge crap. When trimming the VS-702 I set the proper height according to a straight VS. However...those measurements change when you begin the offset. I had good edge distance on the  F-781Vert. Stab attach plate, but as soon as I moved the 1/4" offset....nope. 

I dug out some 0.063" material that I have and cut out a new F-781Vert. Stab attach plate. I then moved all the rivet holes up about 3/16". Bent the plate between two pieces of oak and bingo bango. Done. 


 The drilling of the attach plate to the VS-702 is fairly easy after this. The front of the VS is aligned with the 1/4" left offset. A straight edge held to the hinges at the VS rear spar to set the proper height of the front of the VS. Clamp it all down and drill with the 90deg pneumatic drill.  

After that's done, I removed everything allowing good access to use a drill jig and upsize the attach plate/HS mounting holes to 3/16"


 In case you are wondering....I use a ton of washers during preliminary assembly so I don't use/abuse the nylon locknuts. I want to reuse the nuts for final installation and I feel much better about it when I know the nylon is "new and untouched"


Saturday, October 9, 2021

Started mounting the Vertical Stabilizer - 10 hours

 Well…Just in case you think mounting the HS is tricky and frustrating. The vertical stabilizer is every bit as much so. 

Reading ahead on other build logs, it seems many choose to fit the F-781Vert. Stab attach plate to the horizontal stabilizer. And frankly why not... trying to get all the clamps in that area is a bit of a pain. So why not do it now, If anything just drill it to #30 and cleco. 

I drew out the centering lines on the attach plate and then clamped the plate to the HS. Sure enough... the center lines were running straight through the pilot holes in the HS spar. 


Once happy with the fit, I carefully made small drill marks in the plate. 


Drilling one hole in the drill press. Re-fitting, checking, removing, drill the second. Repeat the process and eventually I had all 4 holes drilled to #30 and cleco'd into place. 


At this point I need to get the proper height of the VS set. The plans have a dimension from the top of the bottom hinge to the top of the longeron (7 11/32"). After some careful measuring and marking. I have the reference lines drawn on the VS rear spar. I also drew a center line on the inside VS spar itself to help with aligning with the Aft deck center.


Now to clamp the VS to the fuselage. It becomes really apparent that the VS interferes with the HS, so I will need to trim down the VS-702 spar. The plans indicate 5/8" however many people report to remove much less....van's technical support being another one to advise me not to trim too much on an earlier tech support call.  I started to remove 1/4" and fit the VS temporarily.  Still to much interference with the HS so I trimmed a little more just under 1/2" I was getting the VS to just touch the top of the HS spar while getting a straight edge to alight all three hinges on the VS. Perfect!!!

Critical - Do not make the mistake I did...When you fit and trim the VS you do so with the VS aligned with the centerline of the aircraft. So it seems like you know the correct amount of the spar to trim. Be careful....Once you offset the front of the VS over 1/4" left of centerline all of a sudden the VS-702 no longer touches the HS. Magically you've just lost some length on your VS spar. In my case...I went from being on the good side of edge distance on the spar, to now blowing edge distance when I moved the VS over 1/4".

Final fitting the VS is not a fun or easy feat. Also making sure the VS is centered in the F-712 bulkhead makes for some fun. Everything wants to move and getting it solidly clamped is a process and a pain.


 Now, take a tape measure and measure from the top of the VS to the edge of the HS on each side and get it perfectly level. Not a process that is quick. Lots of adjusting, measuring, repeat, again and again. Eventually I ended up with a placement that I feel was the best I was going to get. Now I need to drill the first 4 pilot holes down inside the fuselage. Not easy to do even with a 90deg air drill. I managed to get pilot holes drilled with #30 bit and allowed me to remove the VS and finish the holes with a drill jig. The top holes where drilled. The VS reinstalled and cleco'd. Reclamped, remeasured....then the bottom two holes were marked, removed and then drilled.

All that work to drill 4 holes to #30...but it looks so good.


Monday, October 4, 2021

Finished mounting the horizontal stabilizer - 4 hours

Now that I have the front of the HS set. It’s time to set and drill the rear spar of the HS to the fuselage. 

I placed 3/16” drill bits as spacers under the rear spar. I also placed a level and a laser level on the HS just to make extra certain I was in good shape. 


Next I went to double check the angle of incidence something seemed really off. The manual seems to suggest to reference the tooling holes in the ribs as a guide, so placing a long drill bit in the tooling holes reveals this is not a good reference. The tooling holes of the HS-00005 ribs at the front are just fine, however the tooling ribs at the back is way off. 


So, what to do now…Well, After a series of head scratching moments I decided to draw center lines on the forward spar and the rear spar. Then I can compare these with the distance off of the aft deck. Zero angle of incidence means that the center of these 2 spars will be the exact same. Sure enough the 3/16” spacer at the back is almost spot on, It does need to be increased by a tiny amount (just a tad over 1/64”) Nothing a  layer of masking tape on the aft deck can’t fix. After double and triple checking the measurements….I was ready to start drilling. Access is so good for using a drill jig.


Saturday, October 2, 2021

Began mounting the horizontal stabilizer - 8 hours

Today was the day. I need to mount the horizontal stabilizer. This was a part of the build I was dreading as I know how frustrating it can be getting these holes drilled. I haven’t even started and I’m already stressed out. First things first, I need to make sure everything is level. Working on an uneven concrete floor…Not an easy task. But using a jack and shims….I got everything right.

I measured center on the fuse aft deck using the callipers and drew a black line. I continued the line up the aft bulkhead and center runs through the center of the tooling holes. So far…Perfect.

The firewall and main spar are perfectly level, however the aft end of the fuse is just ever so slightly out. The level bounces between 0.00 deg and 0.05 deg. Despite my best efforts to have it perfectly 0, when riveting there can very slight movement that can eventually get locked in. Honestly its not a huge deal. We are talking about 1/16” out over a distance of 8’. I think I can live with that. 


Next I set up a laser level down the longitudinal axis if the aircraft. Positioning the level from a center point on the firewall, to a center point on the end of the aft deck. The true center of the aircraft is just a tiny bit (1/32" to 1/16") to the line drawn on the aft deck. 


  I am now ready to start final fitting and positioning the horizontal stabilizer. Placing the stabilizer on the aft deck. I fist centered and clamped the rear spar of the HS to the vertical bars WITH the 3/16" spacers (Using 3/16" drill bits). I also placed the F-798 shims under the forward HS spar.
Next I lightly clamped the forward spar to the aft deck. Now came a series of measurements from the firewall to the tips of the HS. This sounds simple enough but I must have measured a million times from a number of different points. Making tiny adjustments to the HS, remeasure. Check measure again. so on and so on. 


I'm now locked in and ready to drill. Very carefully and very slowly I marked the spar flange and started to drill.  


At this point I notice that the mounting hole on the left side of the aircraft will come close to the edge of the spar flange. The edge distance on the longerons and H-710B angle underneath are excellent. 
There's not really much I can do...Twisting the HS for better edge distance on the spar flange will mean that the HS is now out of square. I don't know what Van's Aircraft will say....Its Saturday and tech support is closed. I'm beginning to thing that I will need to add a double of some sort to help. Next I removed the HS from the fuselage and continued on drilling the inboard mounting holes. Once the inboard mounting holes are located, I then placed the shims underneath and marked the new holes.


 While everything is still drilled to #40....Now is a good time to work on those doublers. If they are in fact needed...Then at least everything will be drilled and reamed as an assembly. I hate to think how tricky they would be to do much later. I went to the basement and found that I had some extra 0.187" material. Using the router I created a radius on the doubler material allowing it to nest to the HS spar flange. 

After cutting the doublers to size I then marked holes to them using the #40 drill size. (If your wondering why I made two doublers L and R. It's simply for symmetry). 


 Now I very slowly started opening up each hole from #40 to #30. Then to #21. Getting this precise is a pain as the holes I have good access to are the two outboard mounting holes, not the two inboard. After much work and carefully drilling...It was time to ream the 4 holes to final size (3/16"). And it turned out very well.


So on the left side, the bolt hole is close to the edge...I have an edge distance of 9/32"
So the question of the day is "will it be ok? or will I need the doubler?". Calling Van's tech support on monday morning gave me the answer I was looking for. The answer was both.....It will likely be ok...but having the doubler installed will be a great peace of mind that it will be very strong. 

So that is what I will do. Glad I fabricated it when I did.