Showing posts with label Aileron Trim. Show all posts

Saturday, August 17, 2019

Making doublers and templates for the center section - 7 hours

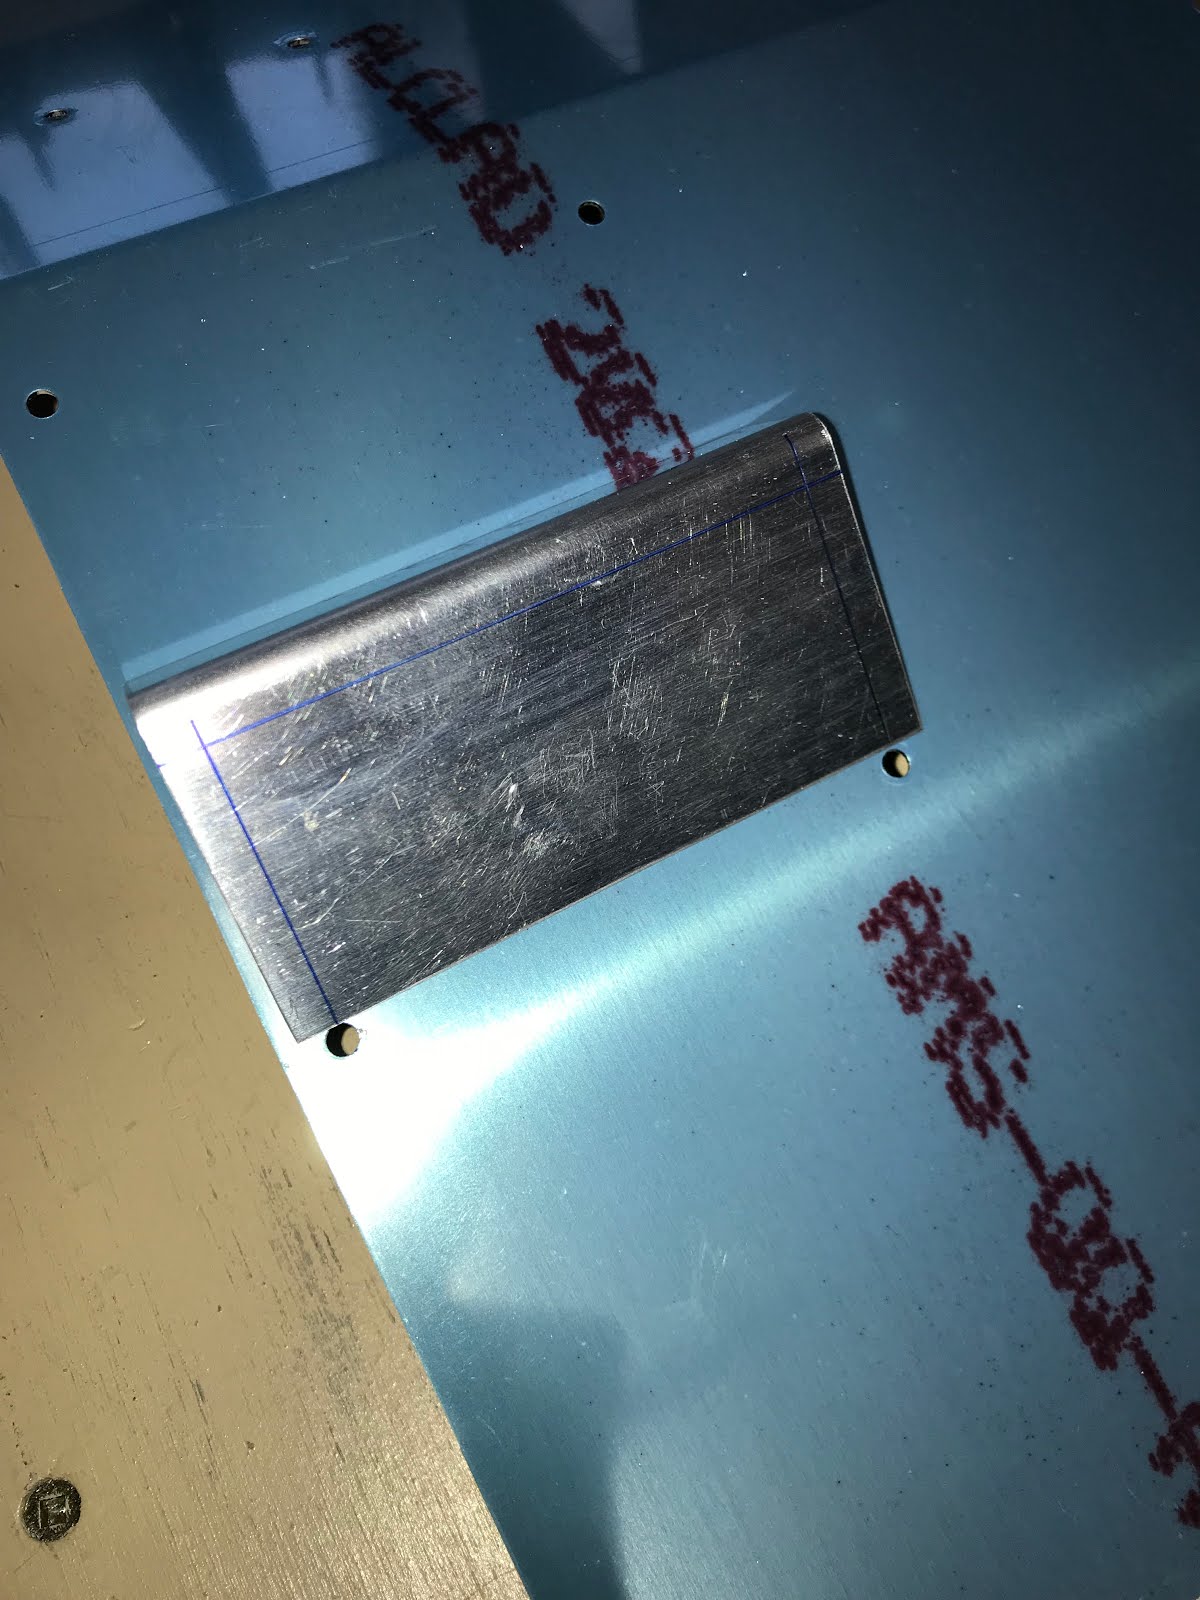
I will need to make a spacer for the aileron trim at some point. Since I don't have 0.063" material I decided to make a template out of scrap. Once I can get some thicker material in I can make the spacer. It takes only a few minutes to make it.


Next, I had cut some strips out of 0.025" scrap to make a doubler for the F-716 seat ribs as per vans suggestion (See the July 7,19 blog for details). Fortunately I have a good bit of 0.025" scrap so I went to work on the strips. I had decided to make full strip doublers for a number of reasons. Not all of the AN3 bolt holes are in the best location so I fell more comfortable making doublers for all the flanges. I don't think it will add a bunch of weight, but it will add safety. Next, a full size doubler will be fairly quick and easy to make.

Lots of time spent making, cutting on the bandsaw, sanding, then edge deburring.

Minimum edge distances are marked on the strips and then numbered to match the ribs. Here is pics of all of them so there is a good record of whats there. The doublers are going to cover up the flanges.


The holes for the AN3 bolts were drilled.

I then marked the overhang on the both the top and bottom of the doublers. Trimmed then and rounded the corners on the 3M wheel.
Next I notched the holes for future wiring.


Monday, August 12, 2019

Aileron Trim Motor and More center section dimpling - 10 hours

I just got back from holidays, so I am eager to get back to the build. Fortunately I don't have to be back to work until tomorrow so I have a full day to myself. I spent the morning unpacking and cleaning, then the rest of the day was a huge build day.

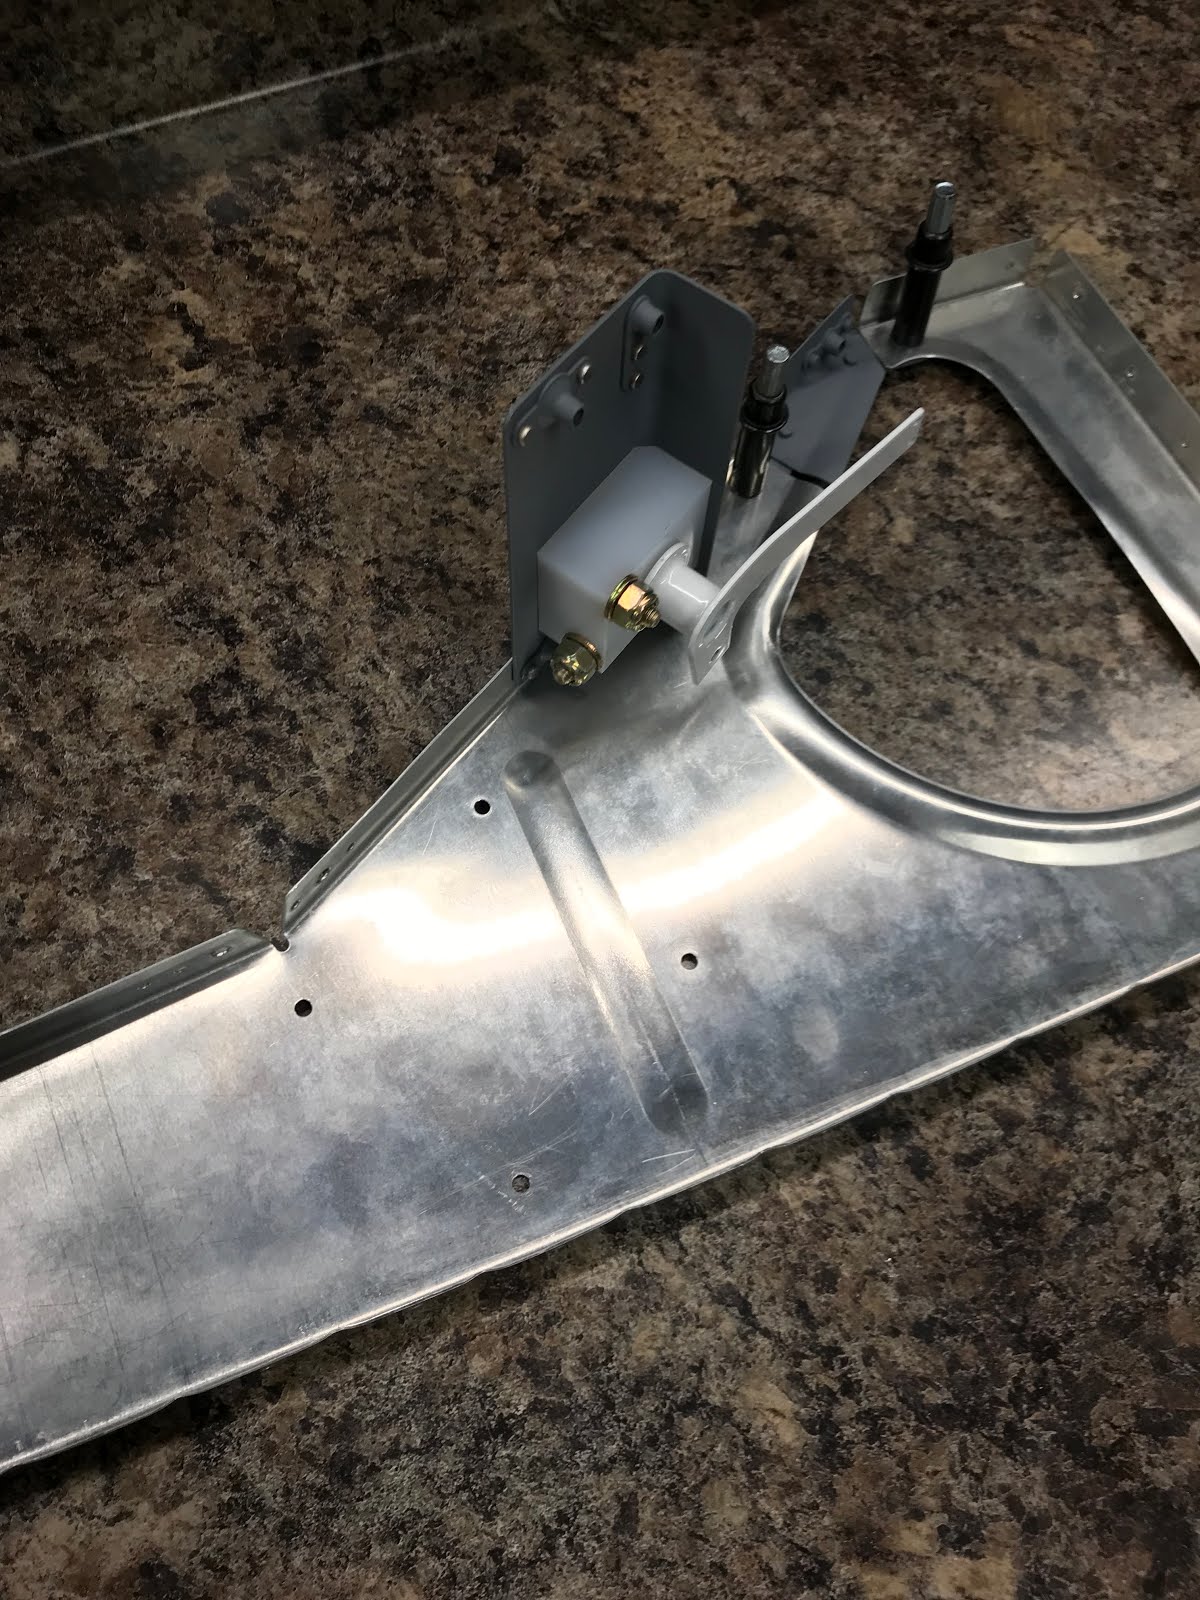
I set up the aileron trim motor and installed the linkages.

I then connected the wiring to allow my to operate the trim motor as per the instructions and found/marked the centre position. I soon found out how poor my wire strippers are on aircraft tefzel wiring, so after some reading I soon found out that I will need to buy some proper (expensive) wire strippers. I will have to wait for payday to order those and I after this, I wont be doing any wiring for some time. So I'll suffer with the poor wire stripper for now.


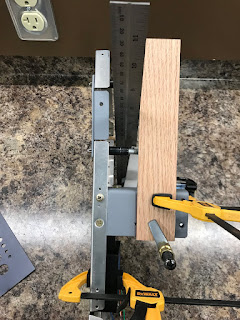
I then set up the assembly to find the centre alignment line. This I took my time on and went back and forth a bit, but I managed to settle on an alignment. I clamped the assembly and drilled the mounting holes.


I have a lot of questions on how that trim motor should sit on the bead in the rib. The instructions say to allow the motor to distort the bead. Which raises more questions then it answers. How much distortion is ok? A bead in the rib is used to increase the rigidness of the rib, so distorting it will reduce that. If I flatten a portion of the bead, is that ok? If i build spacers, will the trim motor interfere with the aileron pushrod? Unfortunately when googling it, there is not a whole lot off build logs that delve into this area. I posted a question on the Van's Facebook group and after a bunch of responses I sort of wished I didn't.

Let's just say, in the end, I think for my build I will make a spacer to allow me to mount the trim motor and not affect the bead. When measuring the depth of the bead, it only is 1/16" so the spacer I make can be from 0.063" material. (I'd prefer to make a proper spacer, rather than use washers). I'll put this on my future order list and make this space at a later time.

Next I dimpled the baggage floors.

Unfortunately on the left baggage floor I forgot to prep the factory/pre-drilled #19 holes on the one side and when I dimpled them, the holes cracked. (If you dive back into when I did the fuel tanks, I figured out how to dimple #8 screws without cracks - garetsrv.blogspot.com/2016/03/)  So I need to replace the left Baggage floor.

I moved on to the F-776 bottom skin. Quite a lot of hole and edge de-burring. But I finished the evening by dimpling the #40 holes on the DRDT. I will dimple the most forward holes (F-704 forward spar) with the pneumatic squeezer. I also choose not to dimple the holes for the F-623 corner ribs as I still have to cleco those pieces for fitting and drilling the side skins. At the end of the night, here's what it all looked like.


Friday, July 12, 2019

Mounted the aileron trim arm - 2 hours

Not much work on the project today. I booked the plane this afternoon to do some flying, but it wasn’t quite ready to fly from its annual that was completed yesterday. We ended up installing the front cowl and I learned how to do an engine run-up. I wrote up a report and turned it in. No flying today....but still a good plane day!

When I got home. I dove into mounting the aileron trim onto the plastic mounting block. First item that the plans have you do is to angle the arm 10 degrees down.


Next, I fit the assembly and marked the cotter pin hole and drilled to 1/16”.


Once that was done... The shaft of the trim arm could be trimmed down. That steel is really tough....took me a while to cut on the band saw. Once the rough cut was done....I trimmed it down on the sanding station. I then installed the large washer and cotter pin. As I want to prime before assemble...one of the items I need to do before priming is countersink the #10 mounting screw. Not a quick process....But it’s done. I’m now ready to prime.

Thursday, July 11, 2019

More aileron trim bracket work - 4 hours

One thing that has been on my mind was how to ensure the F-716 rib would be straight so that I could be accurate drilling with me template. What I came up with was to make a second template, but this time made from the seat pan. At least this way I could ensure that the ribs were the right distance apart.


This wood template ends up being placed on the underside of the ribs, and I cleco’d on the pilot seat pan..and began match drilling. First the co-pilot side. Then the pilot side.


When setting the seat pans on the assembly. I didn’t quite like the fit. I need the F-716 ribs to sit tighter to the spar. Took me some time to find it on the plans, but I figured out I need to countersink the spar for the AN426 rivets that eventually attach the F-716 seat ribs. I’ll just insert the rivets for now to help hold things in alignment.


I then moved over to drilling the 1 1/2” hole in the replacement F-725R luggage rib that I received from Vans earlier today. Then I recleco’d the assembly as I will need to re-install the center section bottom skin so I can match drill it.

I cant flip the assembly by myself, so I have to wait for help....

Wanting to keep building, I moved back over to the aileron trim. I dimpled the rear mounting holes for the countersunk screws. Then, I set up the sanding station with the table at 45deg to chamfer the edge of the plastic to allow figment to the mounting bracket.

I could then mark out the final placement of the block, clamped the assembly and match drilled the two mounting holes.

Next I laid out the nutplates and drilled the mounting holes to #40.

Tuesday, July 9, 2019

Drilling the aileron trim bracket - 2 hours


Next I need to drill the mounting bracket to the F-716 ribs. In my initial fit, I had aligned the mounting bracket to the edge of the seat pan. Not good. After double checking, the holes would not be centered in the bracket. So I went to work on figuring out centering the trim bracket between the two mounting holes in the seat pan.

Once I was satisfied that I would have equal edge distance on both ends. I drilled one hole...Aligned it and clamped it.

Match drilled the second hole...Looking good. The lower two holes of are easily drilled from dimensions.
 
Now...getting these match drilled to the F-716 ribs took a bit of effort. Since I want this to be exact. The best I could figure was to make an exact template and this can be cleco’d on top of the ribs, allowing me to drill from the top. Worked like a charm.

Monday, July 8, 2019

Started the Electric Aileron Trim - 2 hours


I was a bit reluctant to forge ahead on the centre section until I hear back from Van’s so I decided to move onto the electric aileron trim assembly.

The first step is to drill a couple of holes in the plastic to #10 for mounting holes. This seems relatively straight forward however experience in drilling the flap mounting blocks has taught me to go slow and be certain that everything is square.

Next the plans have you notch the top of the plastic. Turns out this isn’t exactly easy. I ended up figuring out by a lot of trial and error that 120 grit sandpaper wrapped around a drill bit on the drill press would allow me to “sand” a perfect notch into the plastic. The trick was to clamp a guide on the drill press base that would allow the drill bit to stay in one place and not have the piece wander.

It took some time but the result was nice.