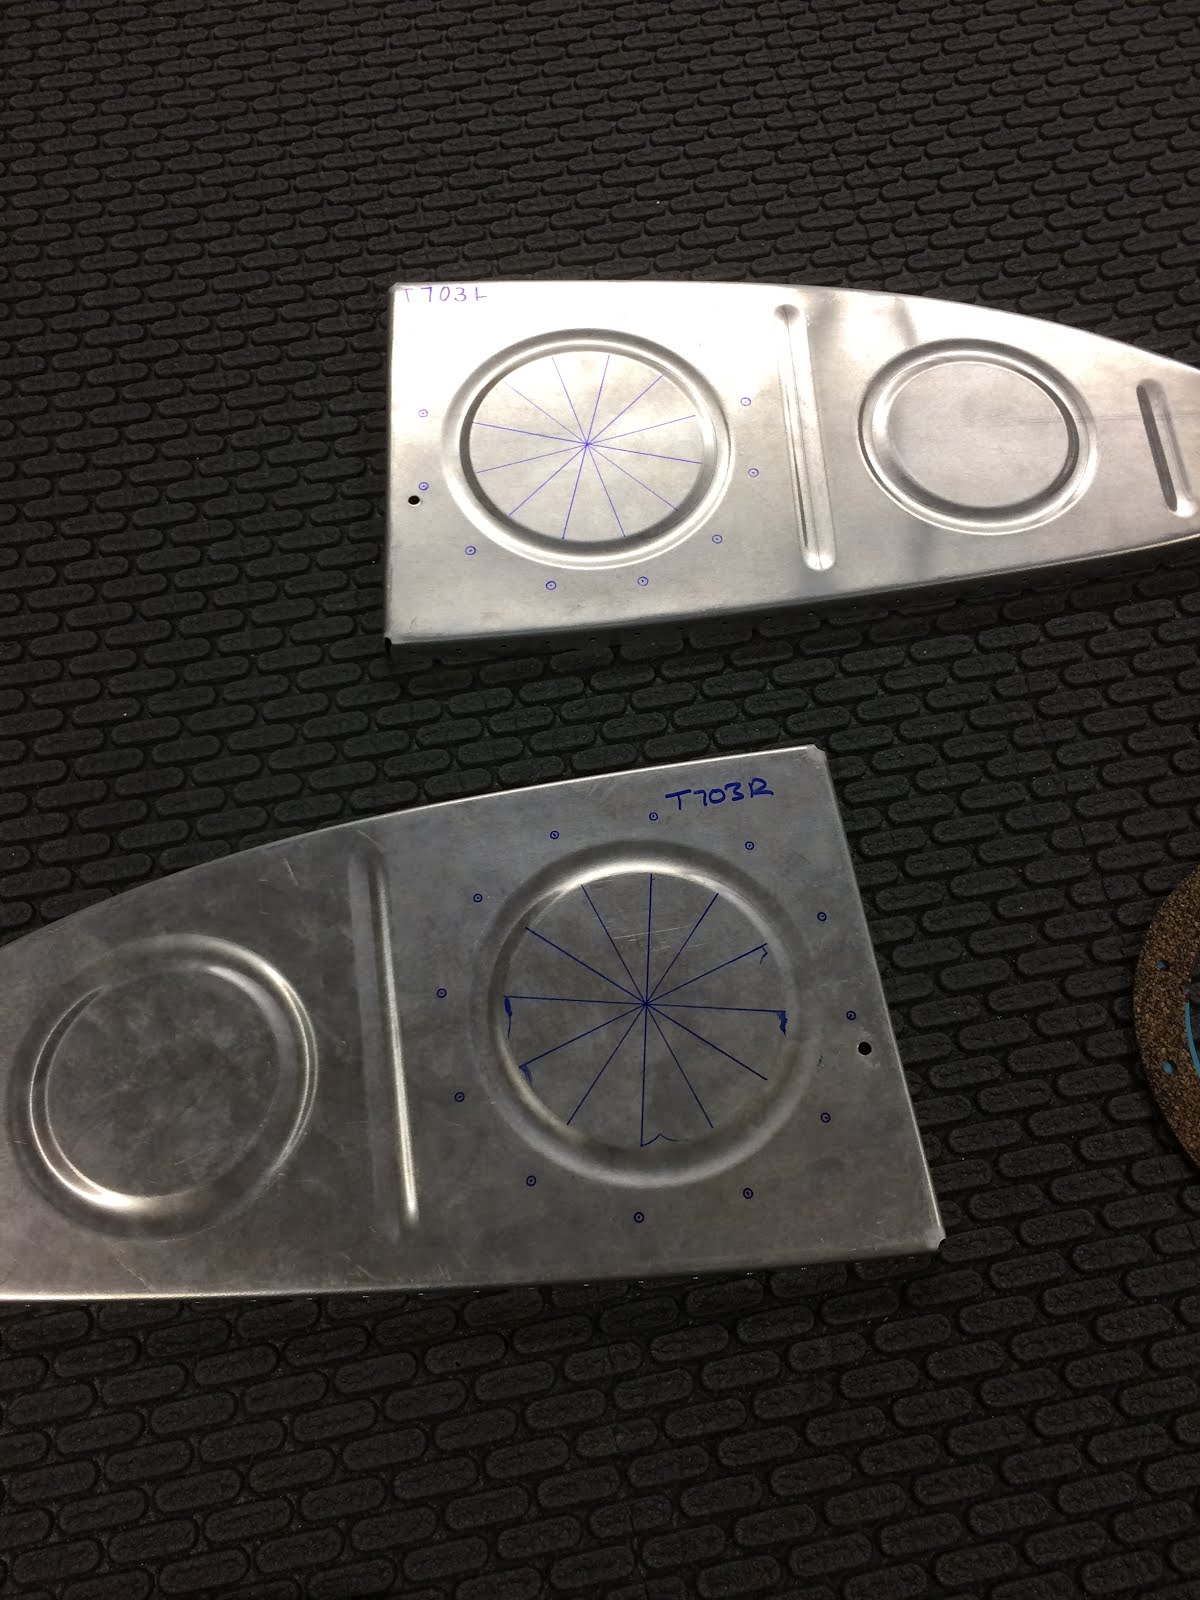
Next I used a punch, marked center, and then drilled a pilot hole to #40. Then opened that to #30. Now I was ready to use the fly cutter. I set it up on the drill press with a piece of scrap wood. Slowly i began to cut the hole. This really was a pain in the bottom as the fly cutter is not easy to use. Very nerve wracking as it is not stable and it seems very dangerous. After a while the holes did finally get cut and it ended up ok. The holes are nice and round, not the smoothest edge so a bunch of time was spent with files to take down the rough edges, then the 3M wheel came out, then scotchbrite.
