
Friday, August 11, 2017
Modifying the aileron stiffner - 1.5 hours
One of the items that I had discovered was that the aileron stiffener Van's provides in a service bulletin interferes with the rivets in two places on the rear spar. I had sent Van's an email asking if it was possible to file down the interfering part to allow access for a MK-319 rivet. In my particular instance they agreed with my workaround. So i went to work with the files to make the necessary space.


Thursday, August 10, 2017
More riveting bottom left inboard wing skin - 4 hours
Slowly i've worked my way riveting. All along the rear spar for one bay, then up one rib towards the spar, then along the spar to the next rib. Then repeat. Ive used a string to hold up the skin to allow me to reach in. By the end of the evening I was done the skin. Took me much longer then it seems to take everyone else, but ultimately I am very happy with the results.


Monday, August 7, 2017
Riveting Bottom Left inboard wing skin - 7 hours
Thankfully its a holiday today so I managed to put in a good day of riveting. As I've worked my way from the trailing edge to the leading edge of the skin on the root end of the wing. I was careful to position the bar so that it allowed me to set the new rivets on the spar flange, but not so far forward that it has interfered with previously set rivets. The trick I used was to tape a large popsicle stick to the bottom of the bucking bar and the stick is cut to length so that it acts like a position stop for the bar. I slide the bar up till the popsicle stick touches the spar...and the bar is set far back enough to set the new rivet.

I continued to rivet in the Vans suggested manner of the "L" shape. Its slow work as I checked each and every rivet.


I managed to set all the rivets in the 4 ribs


I continued to rivet in the Vans suggested manner of the "L" shape. Its slow work as I checked each and every rivet.


I managed to set all the rivets in the 4 ribs

Sunday, August 6, 2017
Started riveting bottom wing skins - 8 hours
I woke up early and prep'd the inboard bottom wings skins for priming. I wiped first with wax/grease remover, then MEK then washed with clean-brite. After I wiped again with clean water, then final MEK wipe. It sounds like a very lengthy process but is sounds worse than it is. It's quite quick and the aluminum is nice and clean. I sprayed both inboard skins with self-etching primer and let them sit out side to dry for a number of hours. Later in the afternoon, I began to install the nutplates on the wing skins. Took a little head scratching to figure out the best method to get the nutplates set. I ended up back riveting them a little bit using my small tungsten bar. That was enough to ensure it set tight to the skin. I went back after and finished each rivet to the appropriate size with the squeezer.


I was now ready to begin riveting. Using the exact technique described in the manual. I laid the right wing upside down on the table and clecoed the entire wing skin onto the wing. Once I was happy with the fit, I removed all clecos with the exception of those on the rear spar. I began to rivet all of the holes along the rear spar working from the 4th rib to the 1st root rib. Accessibility at this point was still ok.

I found an easy way to work in the tight space was to loosely tape the bucking bar to my finger. This would allow me to get my hand in the tight spots without dropping the bucking bar.

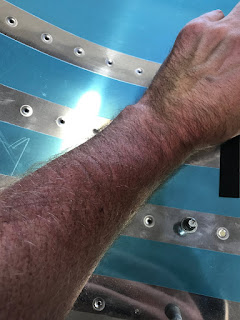
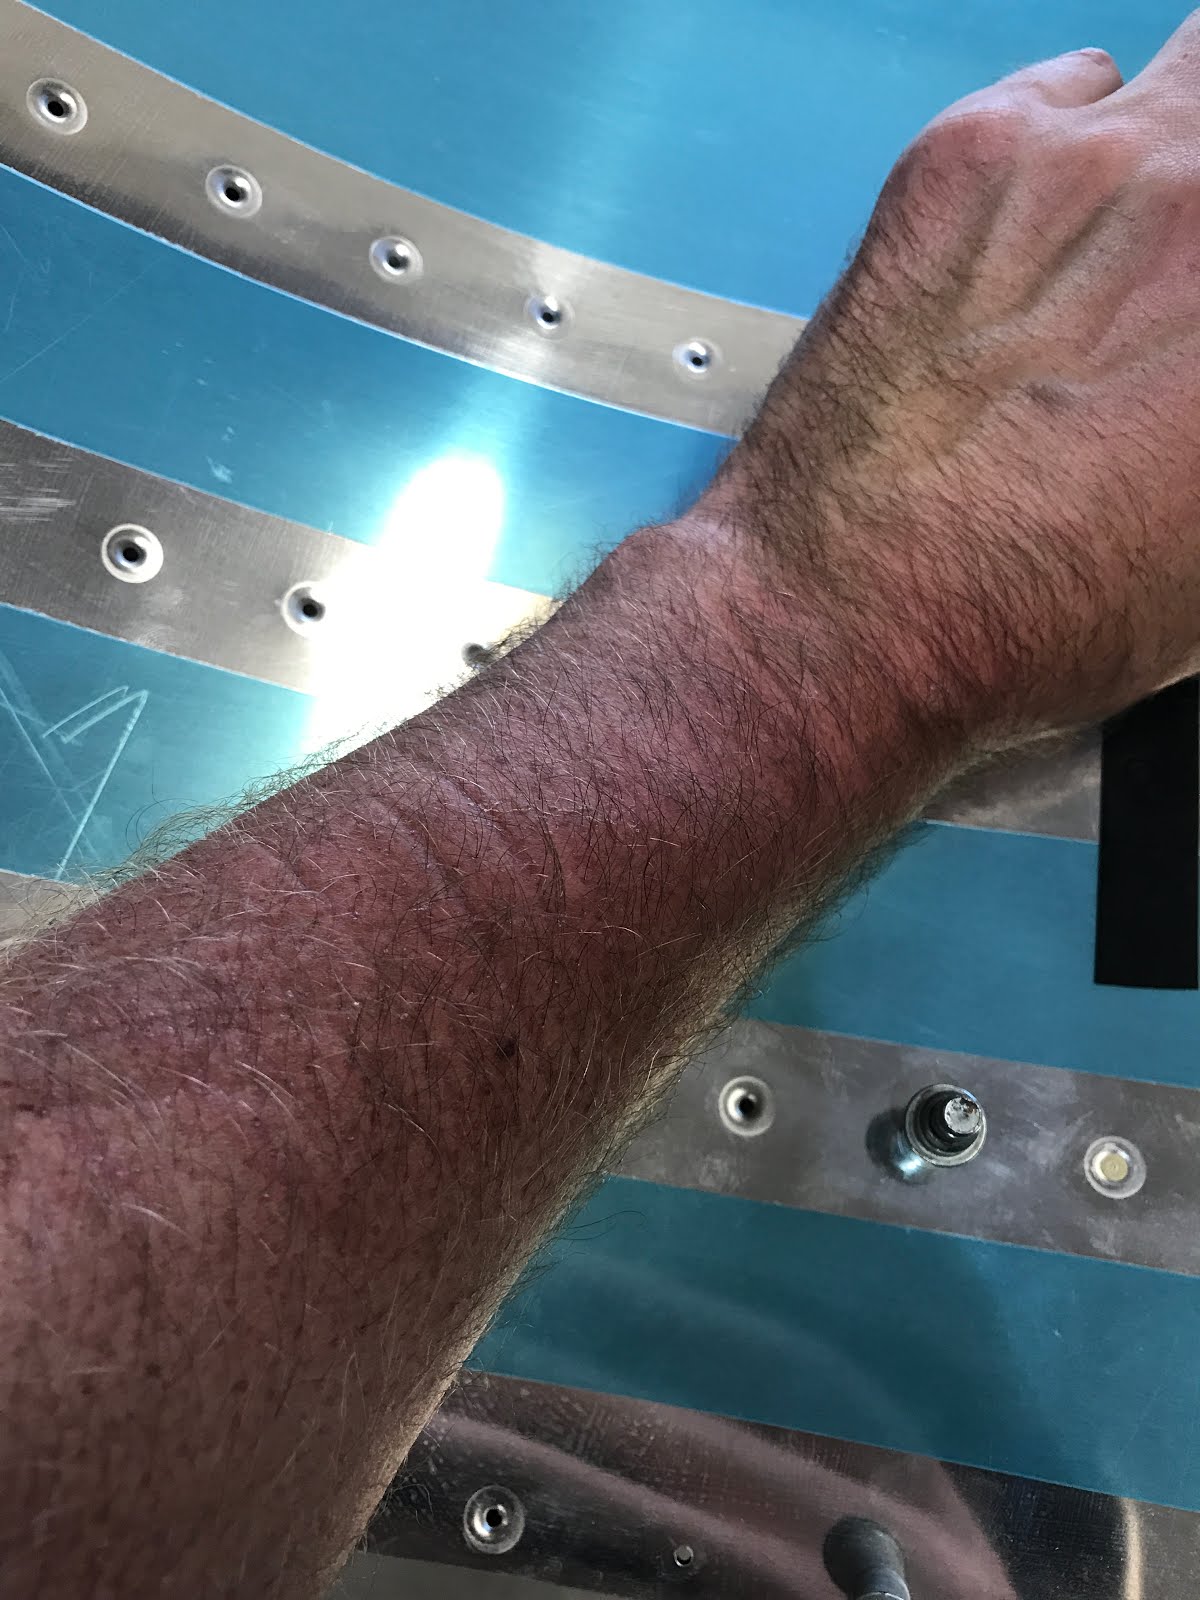
The trademark arm torture....everyone must join this club.
I don't look very flattering....But it works. An LED headlamp works so good for viewing rivets with the inspection mirror. I figured out later that taking pictures with the iphone and then reviewing them makes for an extremely effective way of viewing hard to see rivets.

I slowly riveted the wing skin along each rib #1 thru #3 working forward from the rear spar to the front spar. I am trying to work in that "L" shape pattern that the manual describes. Once I got enough rivets in...I laid the wing skin down completely on the wing and celco'd. I then continued riveting ribs #1 thru #3 all from the root access holes. Its a little tricky to get the bar in there....its slow progress, but going way better than I thought it was going to be.


I was now ready to begin riveting. Using the exact technique described in the manual. I laid the right wing upside down on the table and clecoed the entire wing skin onto the wing. Once I was happy with the fit, I removed all clecos with the exception of those on the rear spar. I began to rivet all of the holes along the rear spar working from the 4th rib to the 1st root rib. Accessibility at this point was still ok.

I found an easy way to work in the tight space was to loosely tape the bucking bar to my finger. This would allow me to get my hand in the tight spots without dropping the bucking bar.

The trademark arm torture....everyone must join this club.
I don't look very flattering....But it works. An LED headlamp works so good for viewing rivets with the inspection mirror. I figured out later that taking pictures with the iphone and then reviewing them makes for an extremely effective way of viewing hard to see rivets.

I slowly riveted the wing skin along each rib #1 thru #3 working forward from the rear spar to the front spar. I am trying to work in that "L" shape pattern that the manual describes. Once I got enough rivets in...I laid the wing skin down completely on the wing and celco'd. I then continued riveting ribs #1 thru #3 all from the root access holes. Its a little tricky to get the bar in there....its slow progress, but going way better than I thought it was going to be.

Saturday, August 5, 2017
Prepped bottom wing skins for priming - 7 hours
Very long day today working on the wing skins. I began filing all the edges on the skins down to remove the shear marks. Next I rounded all the 90 deg corners. Then I 3M'd the edges so they were smooth as silk. Next I deburred all of the holes, both sides. Once that was done, I then made/filed the scarf joint on the two skins that overlap. Next I used the edge rolling tool to put a nice edge on the leading edge of the skins, and the edge that overlaps the other wing skin. Next step I countersunk the holes for the rivets that hold the access plate nutplates on. Last step of all was to dimple the holes.
Very long and tedious day in the garage....but its done.


Very long and tedious day in the garage....but its done.


Friday, August 4, 2017
Riveted Flap Brace and Devinyled wing skins - 3.5 hours
I riveted the flap brace onto the wings as I was on a roll with bucking AD4 rivets. Went quite quickly but getting the bucking bar into the root rib area was a bit tricky. I think i am going to enjoy riveting the wing skins....not.

Next I de-vinyled the wing skins. A time consuming process, but put on Netflix and the time passes easier.


Next I de-vinyled the wing skins. A time consuming process, but put on Netflix and the time passes easier.


Tuesday, August 1, 2017
Finished ground school and wrote the written exam
Well, at the beginning of July I finally finished ground school and all that I needed to do was start studying for the final exam. Part of the ground school program is that you must write a minimum of three (3) practice exams. So, I studied for a week or so and one Sunday I attempted the first exam. A three hour exam...I scored about 85%. Since there was lots of time left in the day, and feeling like a had a good handle on the exam I decided to write the second. I scored better...into the low 90's I believe. I felt like I had a good handle on the information, however there where many items that I was not 100% on like types of Fog and as well as some of the Air Law stuff. So I decided to cram and memorize. I began the task of doing flash cards for nearly all of the sections. This took an amazing amount of time, but no better way to review all of the course notes.

After which, I began studying for the P-STAR pre-solo exam. Which just goes hand in hand with studying for the written PPL exam. Studying for the P-Star was fairly easy as a good potion of the info is a refresher of the PPL course and I just needed to memorize a few details such as what the different tower lights mean (red, green, white) and some airspace heights. So I studied and memorized for a week and wrote the P-STAR exam. Managed an excellent mark!
I switched back into review and wrote more third party practice exams. The last weekend in July I managed to study three days straight studying about 25 hours total. Everything was solid in my head.
So August 1st was my scheduled Transport Canada Exam for my PPL. I passed! 89%. Nailed Navigation, but Air Law I struggled a bit. So I won't get lost, but I may end up in Jail.
In retrospect the actual Transport Canada Exam was quite difficult. Seemed like most of the questions they asked were all parts that I didn't study heavily for. And all the parts that I crammed studying on they didn't ask. Isn't is the way it goes.

After which, I began studying for the P-STAR pre-solo exam. Which just goes hand in hand with studying for the written PPL exam. Studying for the P-Star was fairly easy as a good potion of the info is a refresher of the PPL course and I just needed to memorize a few details such as what the different tower lights mean (red, green, white) and some airspace heights. So I studied and memorized for a week and wrote the P-STAR exam. Managed an excellent mark!
I switched back into review and wrote more third party practice exams. The last weekend in July I managed to study three days straight studying about 25 hours total. Everything was solid in my head.
So August 1st was my scheduled Transport Canada Exam for my PPL. I passed! 89%. Nailed Navigation, but Air Law I struggled a bit. So I won't get lost, but I may end up in Jail.
In retrospect the actual Transport Canada Exam was quite difficult. Seemed like most of the questions they asked were all parts that I didn't study heavily for. And all the parts that I crammed studying on they didn't ask. Isn't is the way it goes.
Subscribe to:
Posts (Atom)