Friday, August 4, 2023

More riveting of the the Fwd Fuselage Ribs - 3 hours

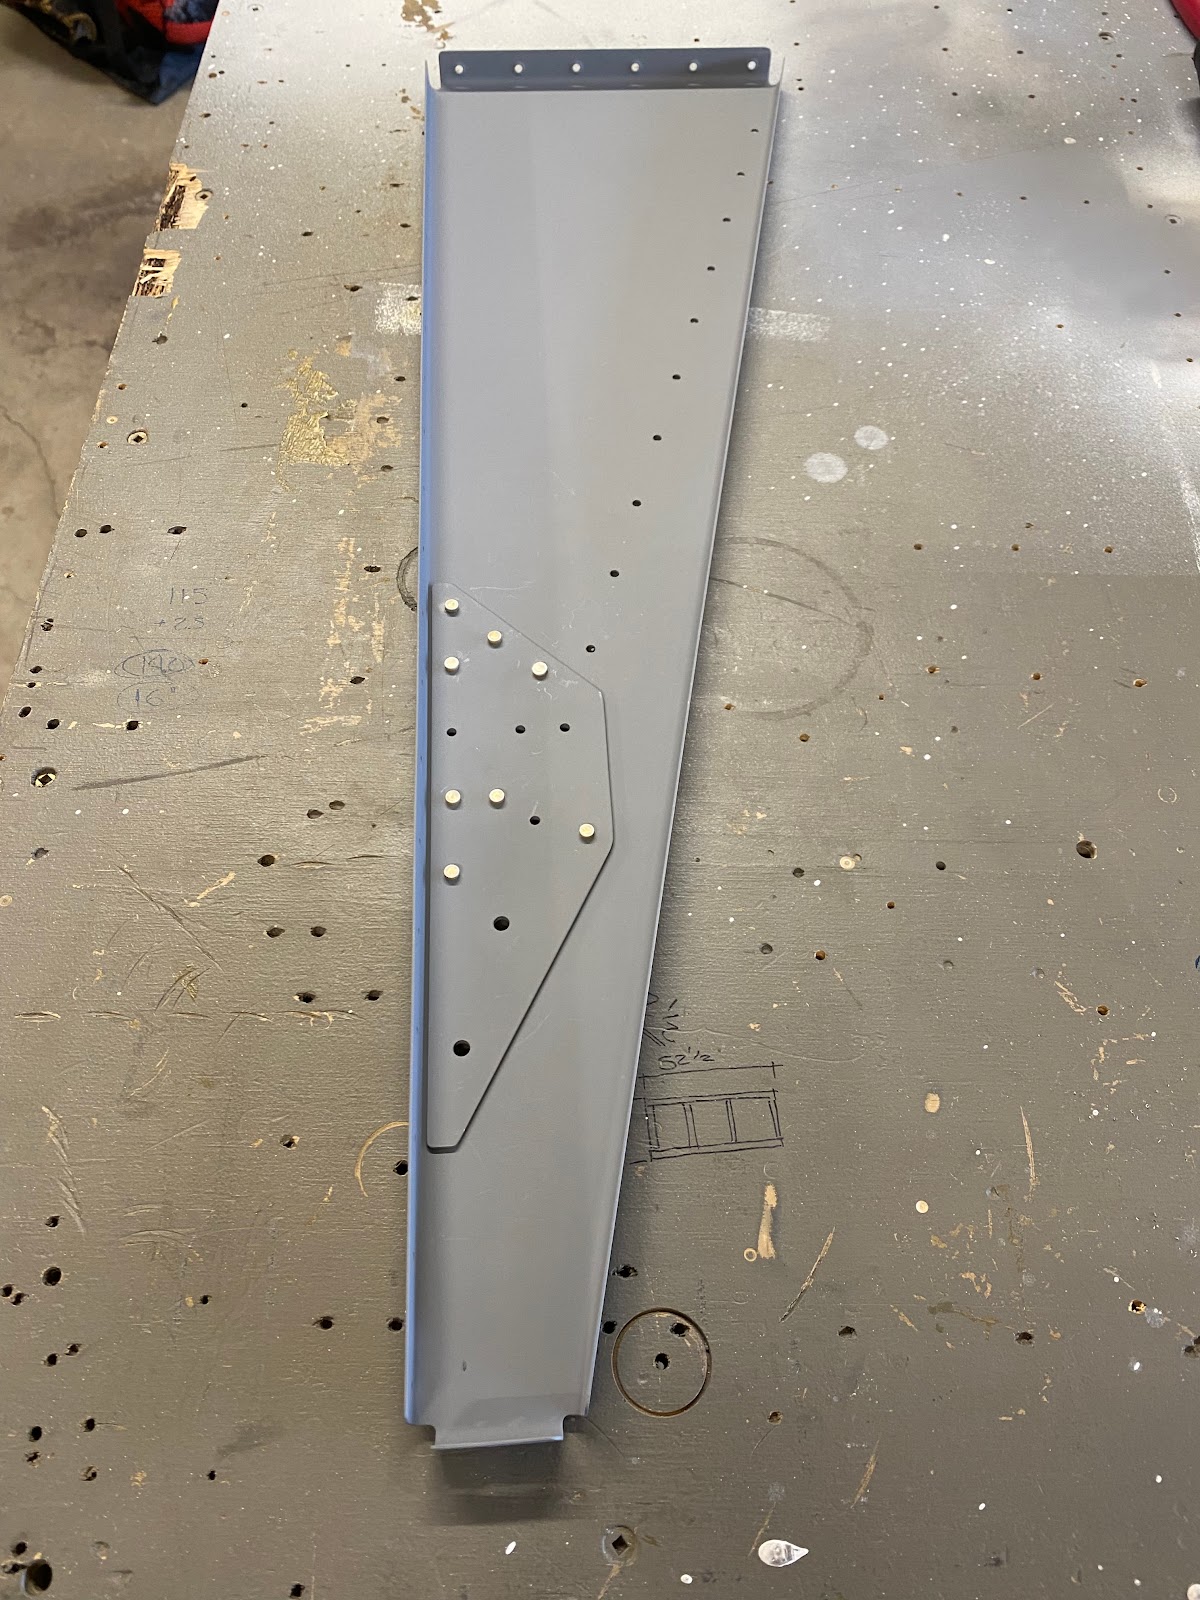
For now, l clecloed the junk F-7105B-L rib into place as well as all the other F-7108 and F-7107 ribs.


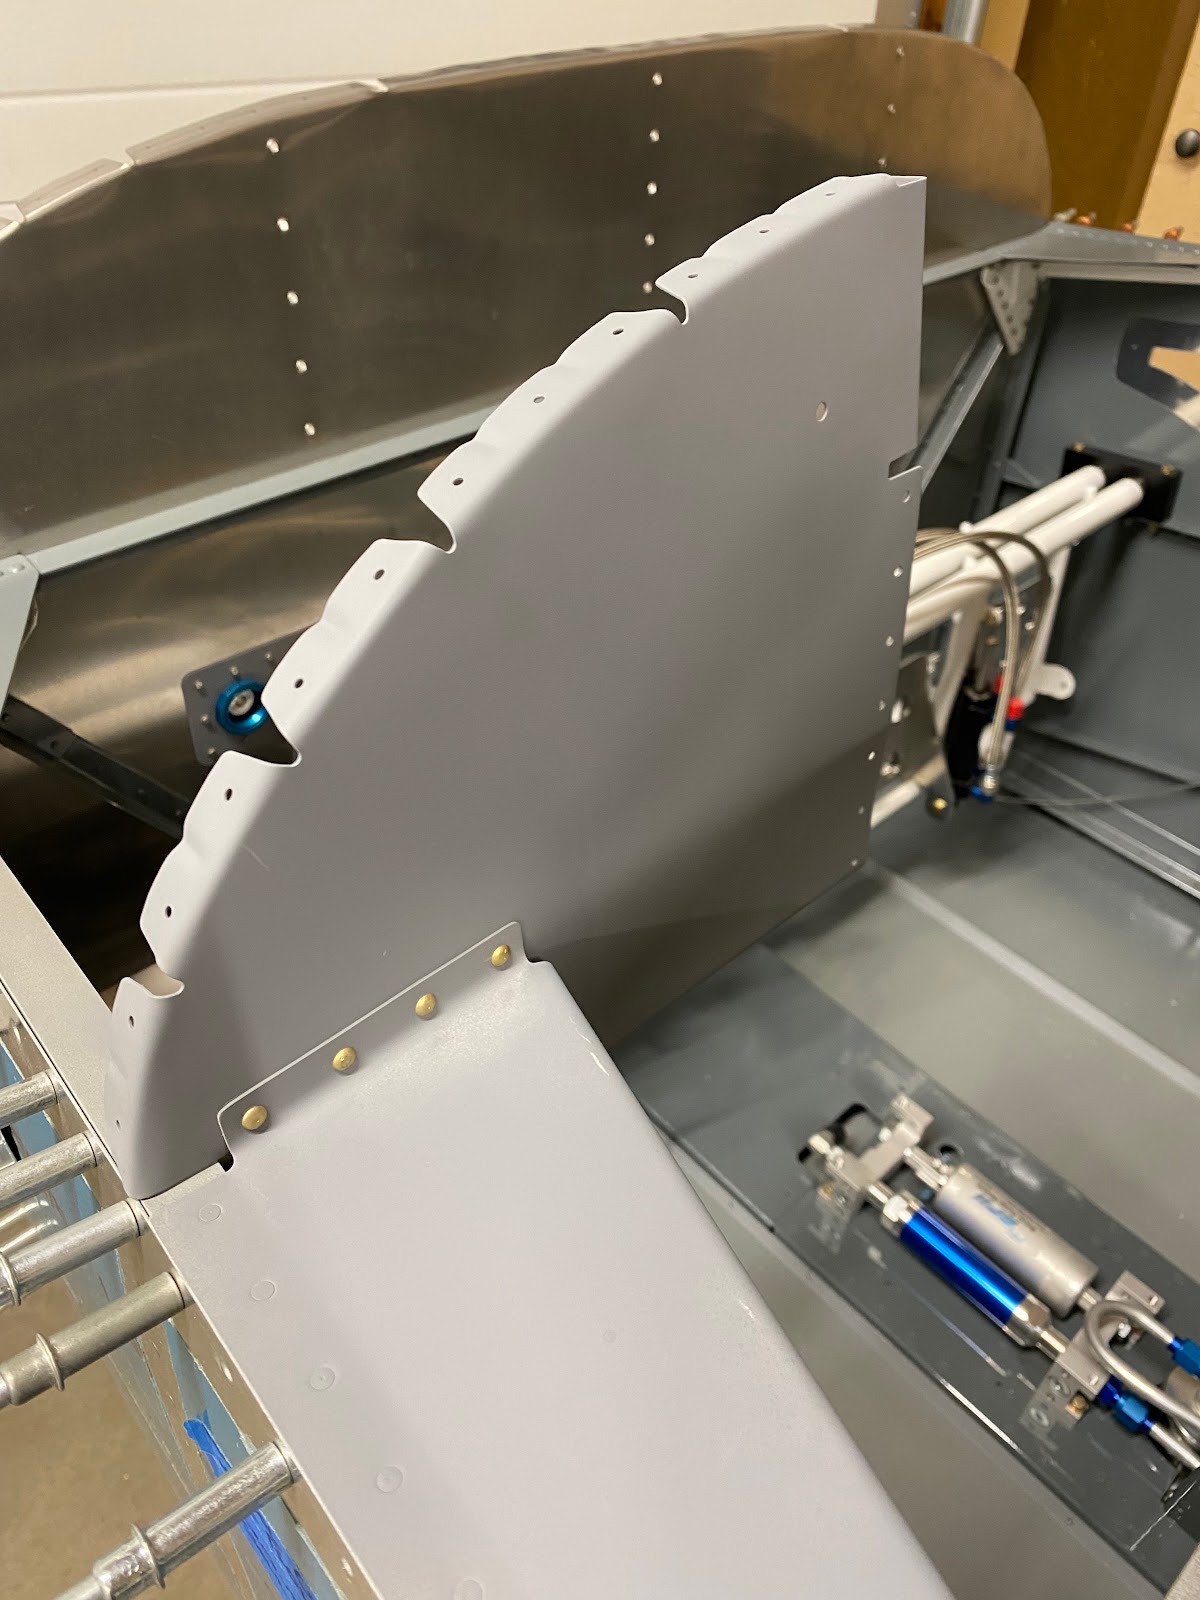
 I managed to rivet both remaining ribs to the firewall. For the next step I choose to rivet the F-7108B angle to the F-7108A rib. The plans have you do this riveting prior to setting the rib into place, but I chose to do it this way instead as everyone complains that the riveted assembly is very difficult to get the F-7105A center sub panel set into place after. 

Space for the rivet gun was tight, but using the smallest rivet set I had allowed me just enough room to buck these perfectly. I did most of the rivets, leaving the last AN4 rivet open. I did this to allow me to easily slip the roll bar down tube into place. If I rivet it now I fear I am really going to have issues getting that down tube in and out. I’ll save it for later.


Thursday, August 3, 2023

Riveting the Fwd Fuselage Ribs to the Firewall - 1.5 hours

 Well, got news back from Van's that a new F-7105B-L sub panel is out of stock and is going to be approximately Sept 18th for it to ship. Totally understandable as Van's has lots of issues with their 3rd party suppliers laser cutting process. I imagine they parts stock is suffering everywhere.

Well, Looks like I will just have to build the front deck and fit the sub-panel later when it comes in. I started in by riveting the right F-7108 Fwd Fuselage Rib to the Firewall. It went very well and the rivets sent nicely. 


Wednesday, August 2, 2023

Started riveting the fwd fuselage rib pieces together - 3 hours

 Its always fun to start riveting freshly primed parts. Its so gratifying to see it come together in its final form

I riveted the F-7109 plate to the F-7108A rib.

 Next, I decided to rivet the F-7108C angle to the F-7108A rib. I’ve been scratching my head for a while how best to assemble and rivet this front deck. I’m fairly certain that my method will work well as it’s served me very well during fit up.


Next, I riveted the 3 nutplates into the ribs.
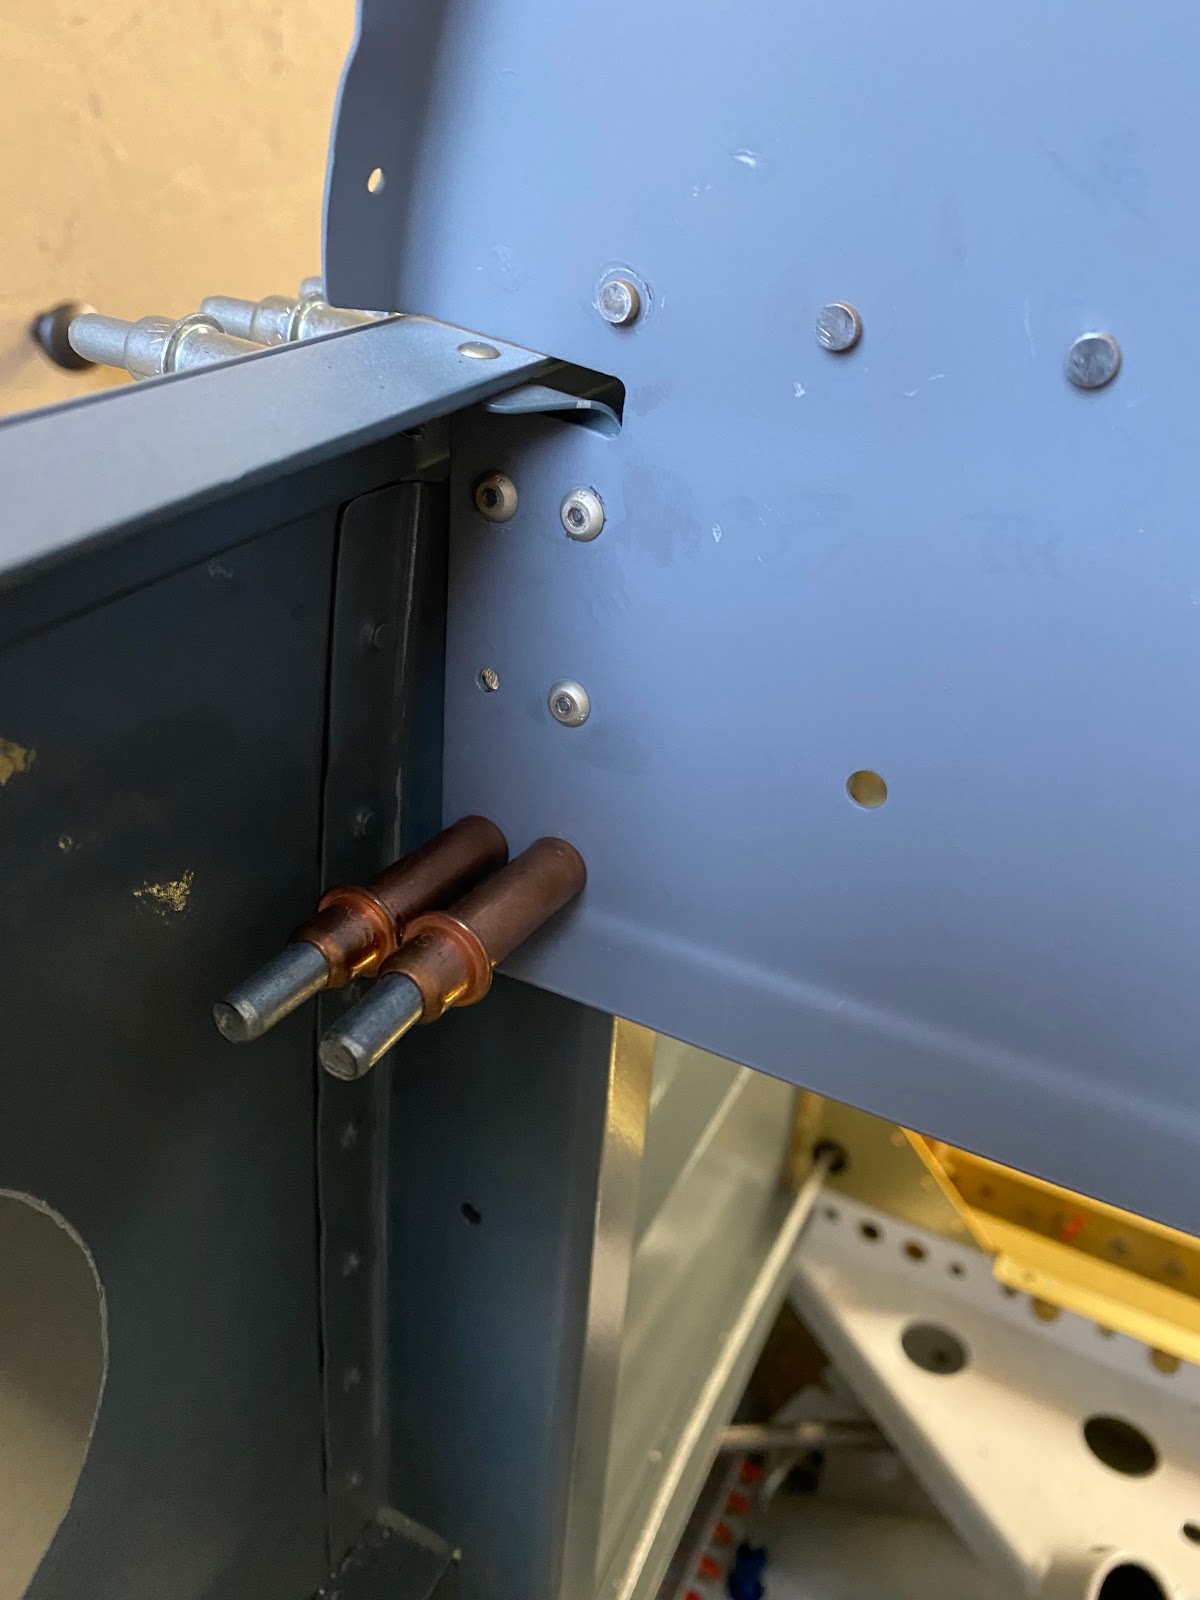
 Now to sort out how to rivet the good F-7105-R rib onto the fuselage. Fortunately for me a while back I bought an assortment of cherry max rivets in various sizes. According to my gauge I need CR3213-4-2 length which I have. So I went to work.


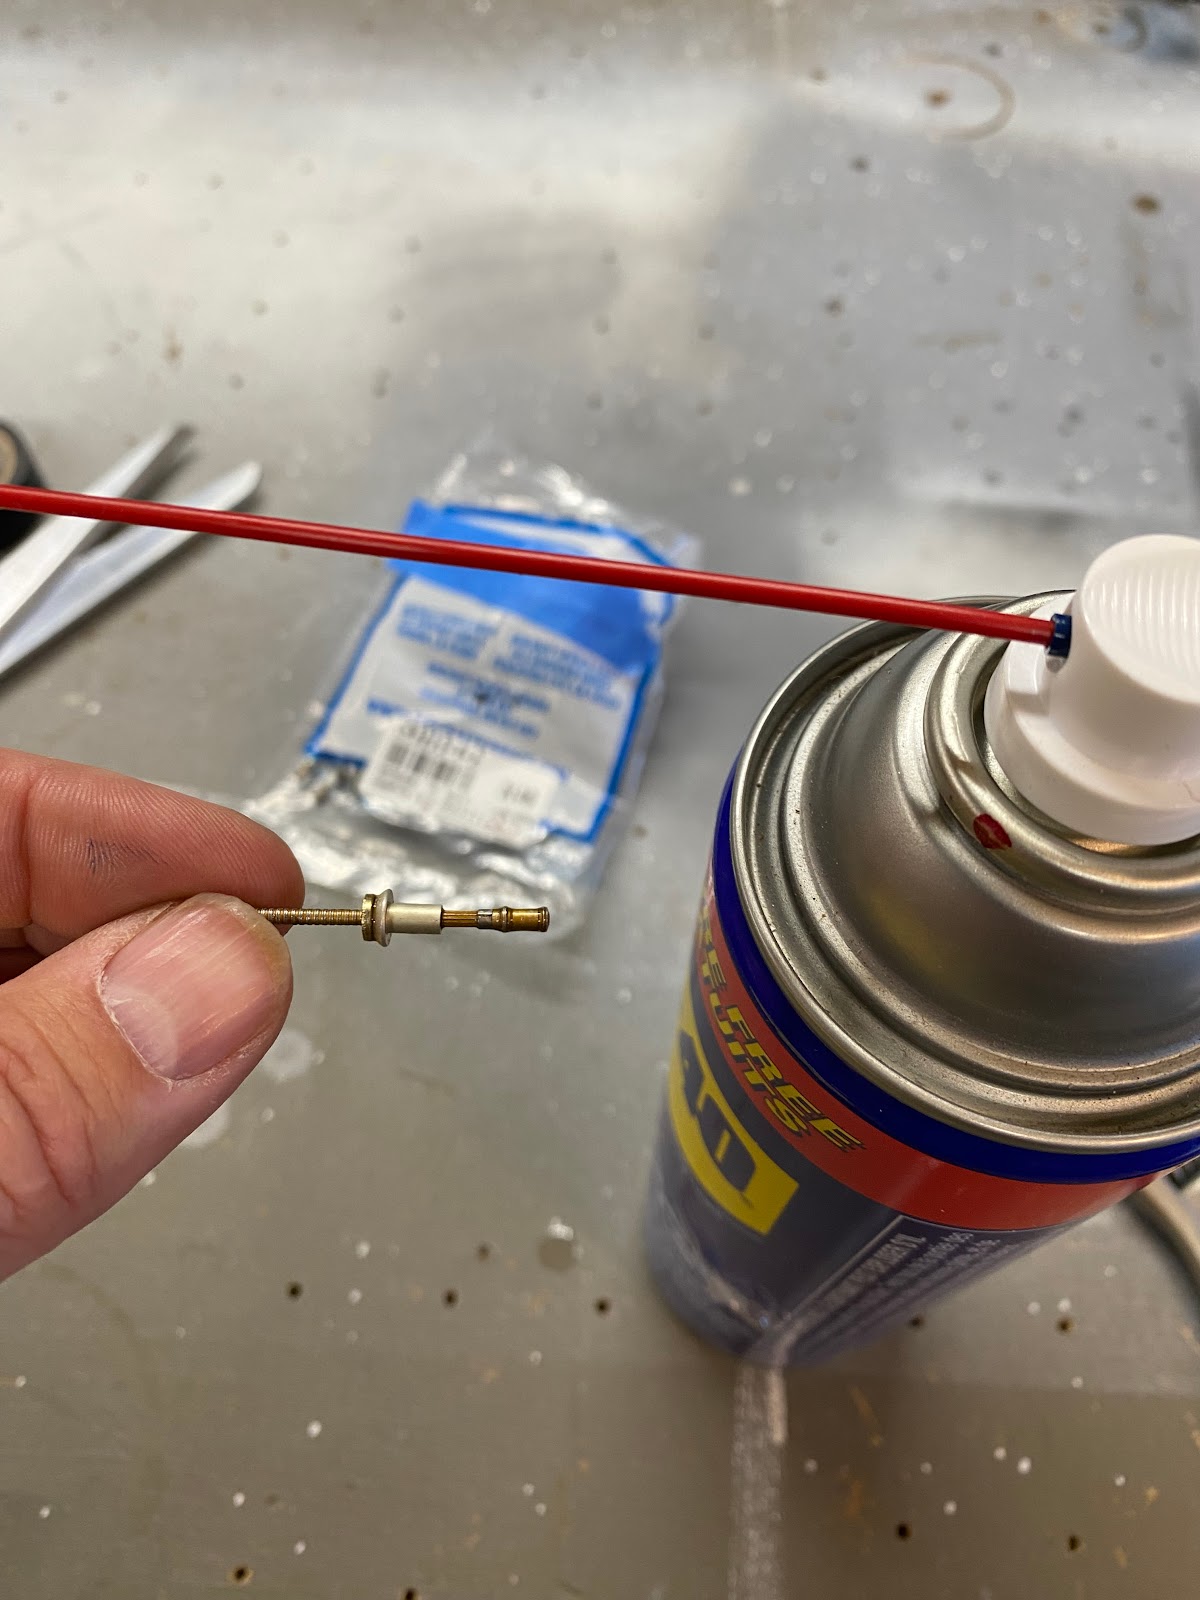
Now I was careful to prep these rivets according to Vans recommendation video on cherry max rivets

I lubed them with WD40 and then set them one by one. Access was tight, but I managed to get all 6 of them set perfectly. I sooo wish I had did this on the left side.


Saturday, July 29, 2023

Disaster strikes on the left F-7105B sub panel - 1.5 hour

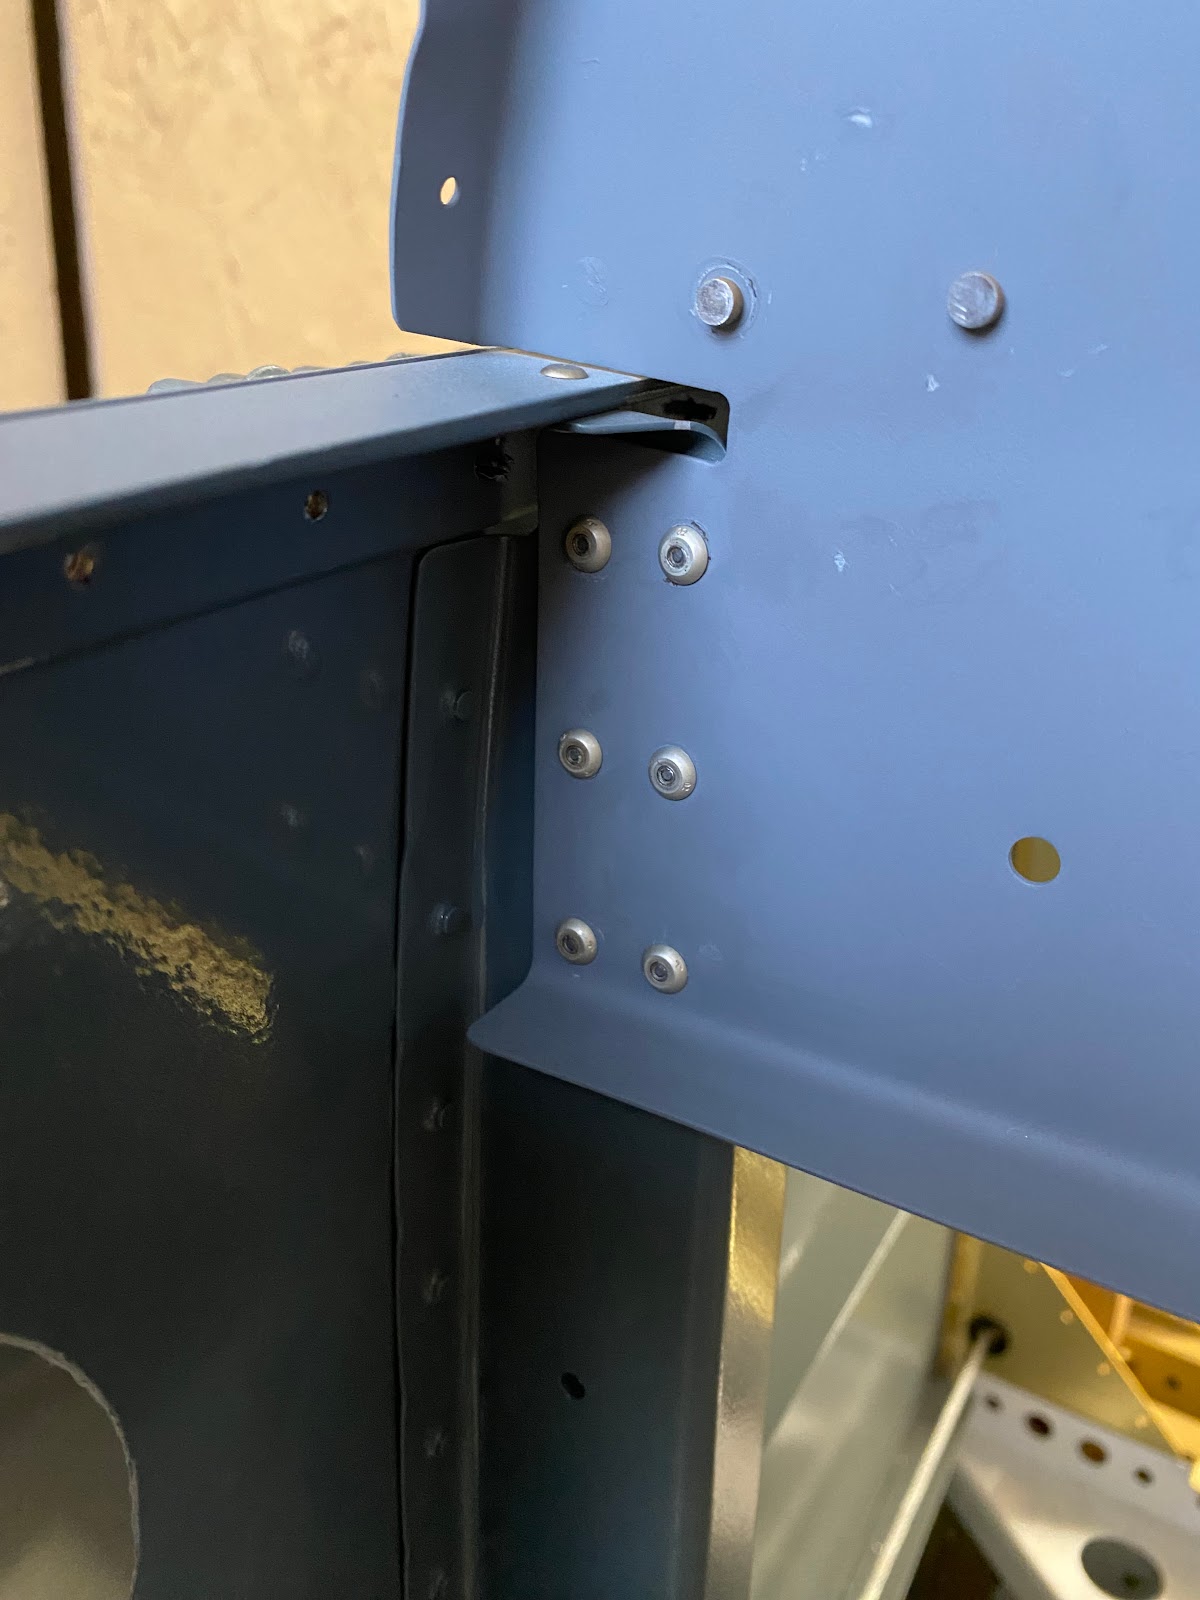
Next step to finish the riveting of the subpanels, was to install the six AN4704-4 rivets to the fuselage rib. Unfortunately the access in this area is horrible for both the pneumatic gun and for bucking bars. The angle of the fuselage side skin makes things poor for the gun, and the lip on the fuselage rib makes it difficult for the bucking bar. I ended up using the double offset rivet set and the results were disastrous. 

The first rivet was ok, but not great. The second was about the same. The third was terribly slumped. Not any good at all. I have to remove these! Standard rivets are just going to be awfully difficult to set correctly for me.


After inspection, the two top left holes are in good shape, the bottom left is not usable. The 3 on the right are perfect and untouched. Now, how to figure out an acceptable fix? There is no question that I will order a new F-7105B-L sub panel. After consulting with some knowledgeable friends, we decided that replacing the F-902-L fuselage bulkhead is not the most wise. The fix we settled on was to clean and salvage the fuse bulkhead. Install a new sub-panel and fabricate a 0.032" patch to fit behind. Essentially sandwich the fuse bulkhead between the patch and the new sub-panel. Of course I will abandon the idea of using solid rivets here due to the high risk of damaging the parts...again. I will have to use cherry max rivets here.  

I used the dremmel and I deburred the holes with scotch brite. I used a round file on the large oblong hole to take out any sharp edges, as well I polished it with 800 grit sandpaper on the dremmel. I do not want any cracks forming from this spot. 

Next, I cleaned and prepped the areas to spot prime.


Tuesday, July 25, 2023

Started riviting the F-7105B sub-panels to the Fwd Canopy Decks - 1.5 hours

 Excited to finally get these pieces together, I started with clecoing the F-7105B sub-panels to the fuselage assembly. The easiest rivets to attack straight away are the AN4704-4 rivets that attach the Sub-Panels to the Fwd Canopy Decks.  


Sunday, July 23, 2023

Priming the forward canopy deck parts - 6 hours

 Big day in the garage today. To start I cleaned and spot primed the fwd canopy decks to cover the newly installed rivets


Next, I took some time to debur, file and clear all edges and nooks/crannies of the forward canopy deck parts. 


 I set up the garage for a priming run which takes a while to set up and the process itself is a lot of work. Soap wash and scrub with scotch-brite, rinse, acid etch, rinse, MEK wipe, prime!


Saturday, July 22, 2023

Installing the right F-721 fwd canopy deck - 2 hours

 I managed to squeak out a small work session today. I riveted the right F-721 fwd canopy deck to the fuselage.


 As well, I needed to dimple the holes for the vent support brackets in the fuselage side skins. I used the pop rivet dimple dies for this. While they do the job, they don’t do the best job at making a crisp dimple. On the other hand…ever try to drill accurate holes when they are already dimpled?…haha can’t be done. I will live with these being so so dimples.


 Last small item, I riveted the 4 nutplates onto the fwd canopy decks.