Friday, July 12, 2019

Mounted the aileron trim arm - 2 hours

Not much work on the project today. I booked the plane this afternoon to do some flying, but it wasn’t quite ready to fly from its annual that was completed yesterday. We ended up installing the front cowl and I learned how to do an engine run-up. I wrote up a report and turned it in. No flying today....but still a good plane day!

When I got home. I dove into mounting the aileron trim onto the plastic mounting block. First item that the plans have you do is to angle the arm 10 degrees down.


Next, I fit the assembly and marked the cotter pin hole and drilled to 1/16”.


Once that was done... The shaft of the trim arm could be trimmed down. That steel is really tough....took me a while to cut on the band saw. Once the rough cut was done....I trimmed it down on the sanding station. I then installed the large washer and cotter pin. As I want to prime before assemble...one of the items I need to do before priming is countersink the #10 mounting screw. Not a quick process....But it’s done. I’m now ready to prime.

Thursday, July 11, 2019

More aileron trim bracket work - 4 hours

One thing that has been on my mind was how to ensure the F-716 rib would be straight so that I could be accurate drilling with me template. What I came up with was to make a second template, but this time made from the seat pan. At least this way I could ensure that the ribs were the right distance apart.


This wood template ends up being placed on the underside of the ribs, and I cleco’d on the pilot seat pan..and began match drilling. First the co-pilot side. Then the pilot side.


When setting the seat pans on the assembly. I didn’t quite like the fit. I need the F-716 ribs to sit tighter to the spar. Took me some time to find it on the plans, but I figured out I need to countersink the spar for the AN426 rivets that eventually attach the F-716 seat ribs. I’ll just insert the rivets for now to help hold things in alignment.


I then moved over to drilling the 1 1/2” hole in the replacement F-725R luggage rib that I received from Vans earlier today. Then I recleco’d the assembly as I will need to re-install the center section bottom skin so I can match drill it.

I cant flip the assembly by myself, so I have to wait for help....

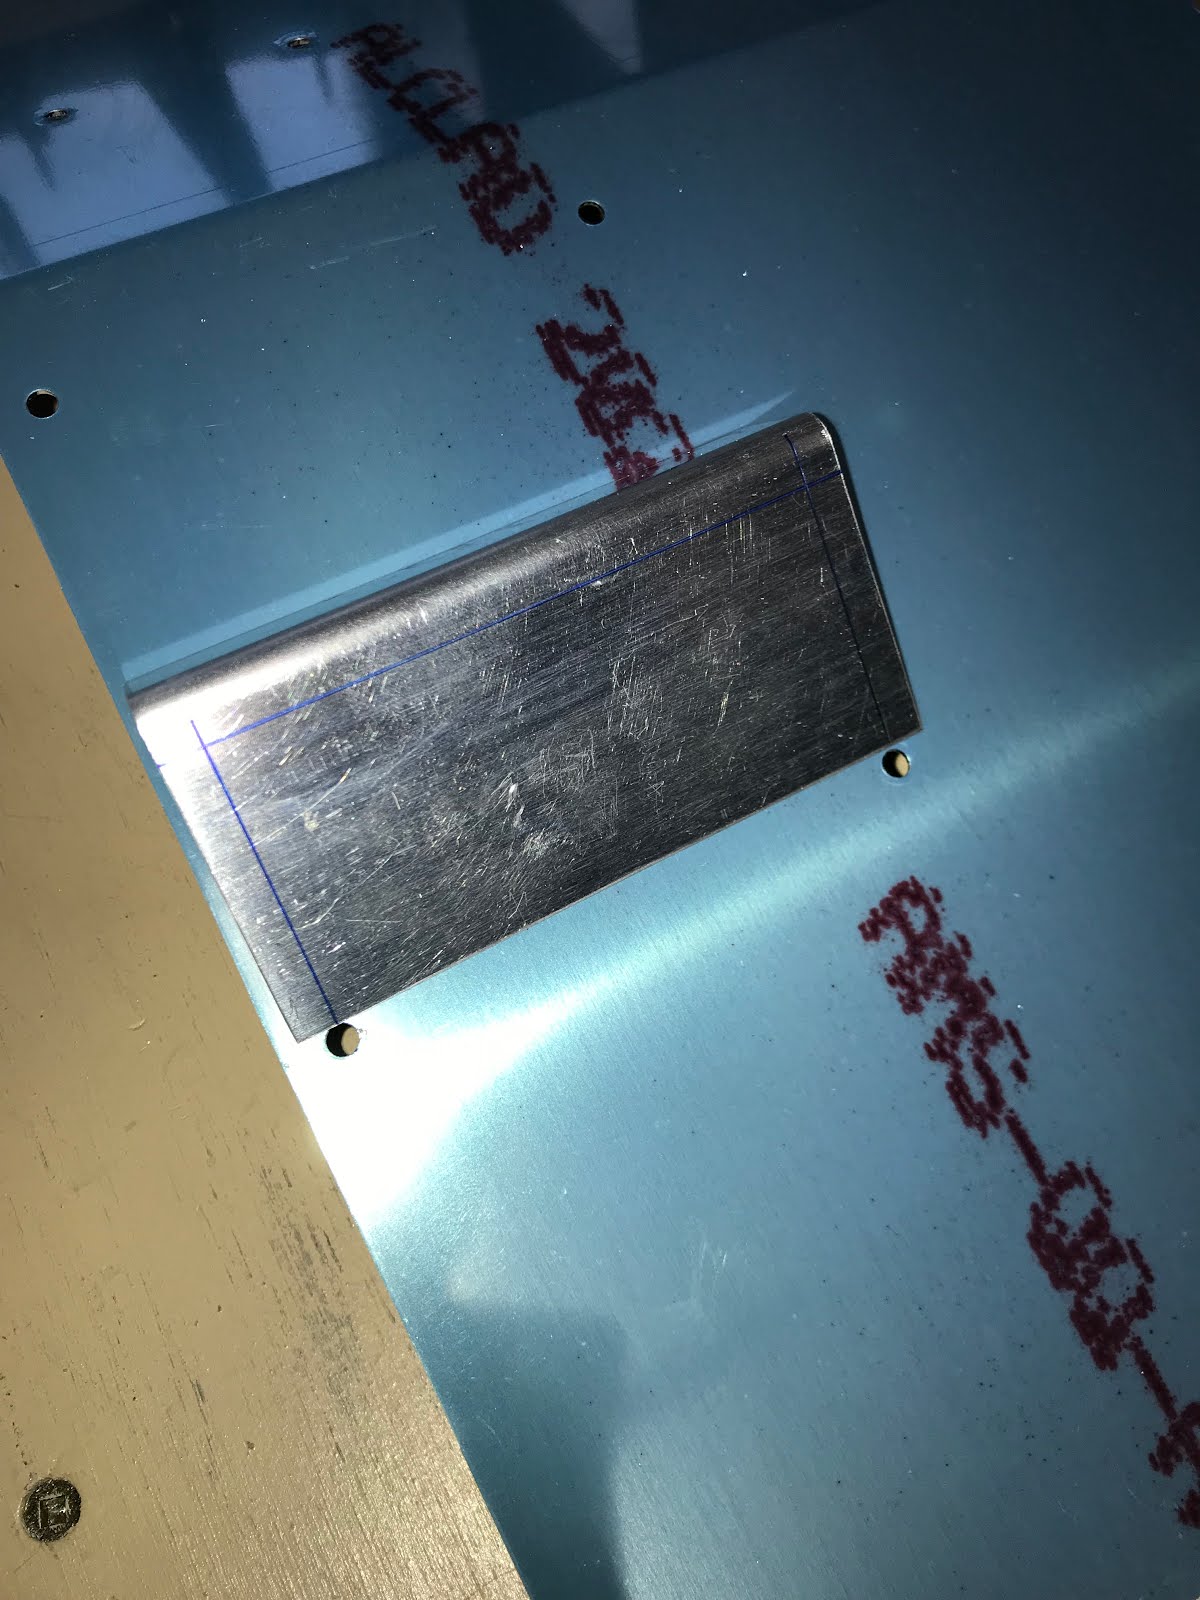
Wanting to keep building, I moved back over to the aileron trim. I dimpled the rear mounting holes for the countersunk screws. Then, I set up the sanding station with the table at 45deg to chamfer the edge of the plastic to allow figment to the mounting bracket.

I could then mark out the final placement of the block, clamped the assembly and match drilled the two mounting holes.

Next I laid out the nutplates and drilled the mounting holes to #40.

Tuesday, July 9, 2019

Drilling the aileron trim bracket - 2 hours


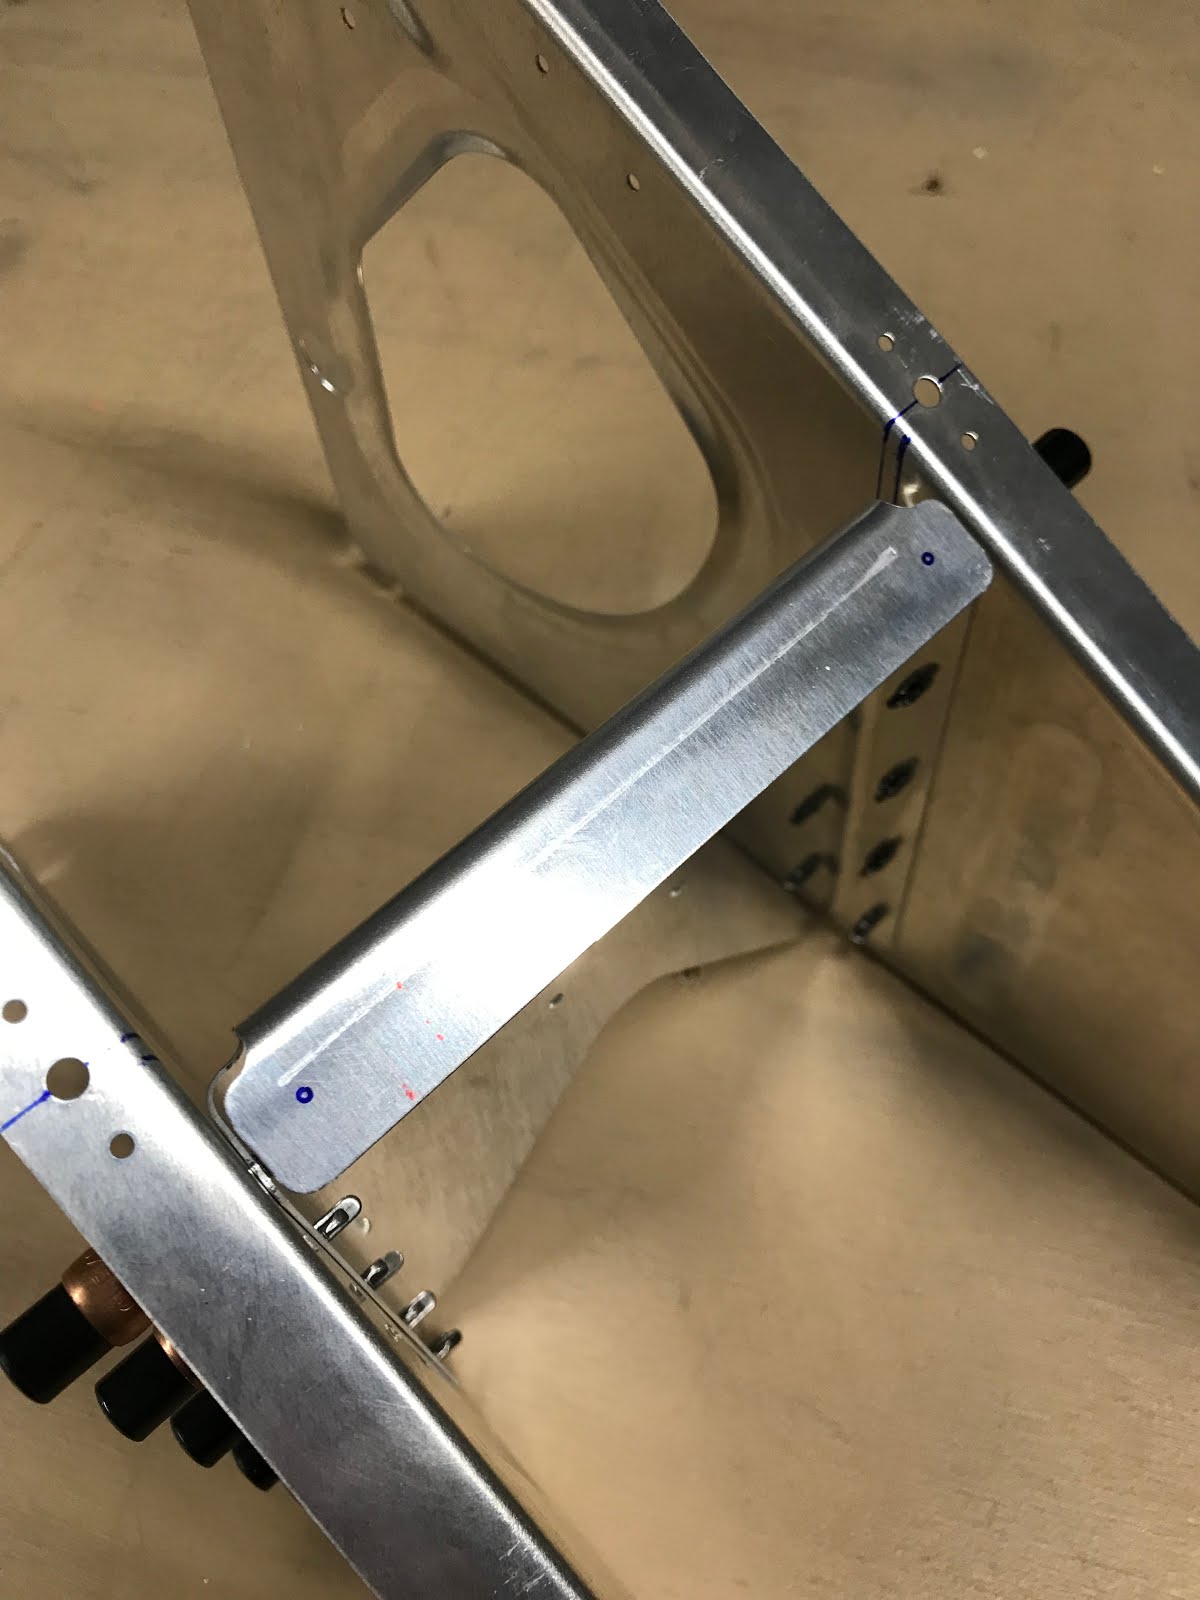
Next I need to drill the mounting bracket to the F-716 ribs. In my initial fit, I had aligned the mounting bracket to the edge of the seat pan. Not good. After double checking, the holes would not be centered in the bracket. So I went to work on figuring out centering the trim bracket between the two mounting holes in the seat pan.

Once I was satisfied that I would have equal edge distance on both ends. I drilled one hole...Aligned it and clamped it.

Match drilled the second hole...Looking good. The lower two holes of are easily drilled from dimensions.
 
Now...getting these match drilled to the F-716 ribs took a bit of effort. Since I want this to be exact. The best I could figure was to make an exact template and this can be cleco’d on top of the ribs, allowing me to drill from the top. Worked like a charm.

Monday, July 8, 2019

Started the Electric Aileron Trim - 2 hours


I was a bit reluctant to forge ahead on the centre section until I hear back from Van’s so I decided to move onto the electric aileron trim assembly.

The first step is to drill a couple of holes in the plastic to #10 for mounting holes. This seems relatively straight forward however experience in drilling the flap mounting blocks has taught me to go slow and be certain that everything is square.

Next the plans have you notch the top of the plastic. Turns out this isn’t exactly easy. I ended up figuring out by a lot of trial and error that 120 grit sandpaper wrapped around a drill bit on the drill press would allow me to “sand” a perfect notch into the plastic. The trick was to clamp a guide on the drill press base that would allow the drill bit to stay in one place and not have the piece wander.

It took some time but the result was nice.
 

Sunday, July 7, 2019

Finished the crotch strap brackets - 6.5 hours

Another big day on the build today. I managed to complete the co-pilot crotch strap bracket in short order. Next I was ready to drill the forward most brackets. I ran over to Home Depot in the morning and picked up some 1/8” aluminum flat bar to use as spacers.


Once I had the spacers cut, I was then able to cleco the entire assembly together. I double checked the fit and was really happy with how everything laid out.

Next, I disassembled one side for the F-716 ribs allowing me to match drill into the other F-716 rib. This process worked extremely well, and disputed using all of my special cleco’s it was fairly quick to complete both the pilot and co-pilot brackets.


Next I was ready to drill the anchor bolt hole for the crotch strap itself. The crow harness has a slightly longer mounting hardware than the vans so it was obvious I wouldn’t be able to use the stock pilot hole. It places the belt return too high and out of the relief hole, so I will need to move it down.


 Taking a hint from Mike Bullock’s RV build page, I moved the hole down just slightly over 1/2” (0.510” to be exact). I then drilled a pilot hole to #30 in the aft bracket.

I drilled a #30 hole in the center of the aluminum spacer. I then cleco’d the aft bracket to the spacer, and reassembled. Once I had everything clamped, aligned. I removed the #30 cleco and match drilled the forward bracket to #30. I disassembled and I had perfect setup to open the #30 holes for the AN5 bolt.

One small item that I needed to do was to trim the innermost seat belt mounting brackets to clear the F-916 spacers. I had trimmed them originally, but they needed a tad bit more.


I was going to turn in for the night, but I decided to match drill the AN3 bolts that connect the main spar to the F-716 ribs. That went very well, but unfortunately one of the holes was set a bit to much inboard in relation to the line of rivets and the edge distance doesn’t look good. A couple of other holes aren't great, but this one is the worst. 

On further inspection, it would appear that the factory drilled holes are a bit out of alignment. These holes are already drilled, I just needed to match drill them.


I’ll send an email off to Van’s to see what they suggest. Maybe it will be ok given the location and circumstance. I looked at a few other build websites and I notice similarities in other projects.

UPDATE July 16-19 - I didn't get an email back from Van's so after a week of waiting I called in to builders assistance. Support reviewed the pictures and said that this was an easy fix. They recommend I build a doubler with the same thickness of the flange and large enough to catch at least the two adjacent rivets below and make the doubler wide enough to provide proper edge distance for the AN3 bolt.

Saturday, July 6, 2019

Notched center section ribs and started crotch strap brackets - 6 hours

I went flying this morning at Cooking Lake (CEZ3). The day was overcast but looking good for flying with a decent crosswind. I ended up logging a 1.3hr flight, practised some landings. All in all had a great day.

When I came home I was ready to tackle those notches/scallops in the ribs. I ended up using a large round file to start me off in the right direction. Then I used a variety of sanding drums to make the final notches. The have a sanding drum for the drill that's just about 5/8" diameter so it makes the notches on the F-716 ribs perfect.


Next item I moved onto was getting the crotch strap mounting bracket worked out. I started off marking the centerline of the #19 hole as per the plans.

Using a square I carefully drew a vertical reference line down each rib. To check my work, I clecoed the pair of ribs back together and could verify if both lines on the ribs line up. Once I knew my lines were exact and the same on both ribs, I marked out a new line 3/32" offset aft of my reference line.

Again, I clecoed the two ribs together back to back to check if the lines matched up.This now gave me a mounting reference to locate the aft crotch strap mounting bracket. I then clamped a piece of plywood at a location that allowed me to just barely see the new line (3/32" aft of reference), and one along the top flange.

I then clamped the aft bracket in place, checked all alignments and then drilled. I ran the drill bit through the mounting holes on the opposite flange to ensure accuracy.


I then quickly clecoed on the floor/seat pans to confirm edge distances for the mounting holes on the flanges of the aft bracket.


The holes look good, however they are not exact (just a few hundreds of an inch off) so I will re-cleco the center section assembly together to ensure the most accuracy before drilling these holes.
Also, I dug out the Crow Harness crotch straps from the basement to work out how I need to mount these. Looks like I won't be able to use the stock mounting holes as the tabs are longer than the Van's mounts. But the tabs are 0.125" thick - give or take, so I will use Van's recommended dimension for spacing (0.125").

I then assembled the F-716B rib access plates. I had primed the pieces earlier in the day and now that the primer had a change to dry I could assembly. When I was done, I gave them an extra shot of primer cause these will likely see a lot of action during future construction.


Friday, July 5, 2019

Misc Center Section Work - 4 hours

I ordered a new F-725R luggage rib and also ordered 120 black clecos so that I can properly match drill the seat and luggage floors to #19 for the removable floors.

Until those arrive I’m forced to just putz on some miscellaneous center section items until I can get back on track. I prepped and primed the F-715 rib inserts as I need to get a days worth of dry time on the primer before I can assemble.

It’s been bugging me a little that I messed up the hole in the luggage rib, so off to Home Depot to buy more tools. And sure enough I managed to fine a proper 1 1/2” hole saw with a fine tooth pitch perfect for drilling the holes I need. Too bad I didn’t have this to begin with.


I set up the drill press and made quick work of the task.


Next I decided to re-cleco the luggage rib into the assembly and wouldn’t you know...No way that its gonna go back in there without a fight. So after some head scratching I decided to disassemble everything. I’m going to have to use the special cleco method attaching the bottom skin I learned a few days ago however there’s no point in getting it re-clecoed until I have the replacement F-725R rib in.

So I’m settling on disassembling the center section and do all the other stuff that needs to be done. (I have the crotch strap, aileron trim, and a host of other bits to do) Once I have the replacement parts I can re-cleco the assembly and proceed with finishing the work for the external steps and match drilling the seat/luggage floors (which I think I need the bottom skin in place to be accurate)

So after getting the bottom skin off I decided to notch all the center ribs for the wiring holes first. They are all marked and ready to notch.