
Friday, February 5, 2016
Match drilled the Right Wing W408 rib - 0.5 hours
I really wanted to do much more than match drilling the right wing W408 rib. But that's all that happened. At least it came out really nice.


Thursday, February 4, 2016
Tank Z-Brackets Research
Time to figure out how to do the z-brackets. Reading the construction logs, it can be a tad bit difficult to figure out what the best course of action is here. Everyone is on board with the Hurlbut method that Dan Checkoway had popularized. But I was unsure on where the center line was derived from. Was it the top of the flange or the bottom of the flange. Different build logs have center lines on either side. Great response to questions on Van's Airforce. The method and procedure started to fall into place.
Center lines are drawn on the bottom flange (The face that sits against the spar). From that point....The holes are offset to one side 1/16". The offset is towards the web for all the outboard flanges. This places the nutplace close to the web, and thus maximizes the clearance for the pop rivets that are later installed. For the most inboard z-bracket though. The offset is opposite and is 1/16" (away from the web). This places the AN3 bolt such that there is room for the socket head.
I'll give it my best shot and see how things turn out. Worst case is that I just need to re-order more z-brackets.

Wednesday, February 3, 2016
More Tools
More goodies arrived when I came home from work. This time tools from Cleveland Tools. The little tungsten bucking bar should come in handy. I also really like the polished tie down bolts.
I also bought #30 and #40 reamers. I'll give those a shot.

No work on the project tonight though. Too tired.
Tuesday, February 2, 2016
Fitted right leading edge, Opened up the left tie down hole - 2.5 hours
Managed to cleco the right leading edge. This side seemed to be a bit more difficult to get the initial holes to line up. I ended up putting the first couple of clecos in the front, then swung the leading edge assembly around and put one cleco in the bottom side to suck the ribs nice and tight forward into the leading edge. Worked it slowly. Finally worked the clecos on the top side front to back, flipped it around to the bottom side, again front to back. I then placed it on the right wing. Very nice fit!!!


I took a short break...not sure if I really had the energy tonight to deal with the joint plate. So i decided to try to open up the left wing tie down hole. Again slow and easy was my approach. I worked exactly according to the plans and used a file to re-center the factory hole and open it up. Then I used a unibit. I was careful not to get the unibit too deep and cut into the tie-down bar.


At the end, I uncleco'd the leading edge to use the unibit on the final cut....just to scared that i will chew into the tie down bar. I'm pretty happy with how good it turned out. I think i'll open it up a tad more just so that there is some clearance for when paint is applied.


I took a short break...not sure if I really had the energy tonight to deal with the joint plate. So i decided to try to open up the left wing tie down hole. Again slow and easy was my approach. I worked exactly according to the plans and used a file to re-center the factory hole and open it up. Then I used a unibit. I was careful not to get the unibit too deep and cut into the tie-down bar.


At the end, I uncleco'd the leading edge to use the unibit on the final cut....just to scared that i will chew into the tie down bar. I'm pretty happy with how good it turned out. I think i'll open it up a tad more just so that there is some clearance for when paint is applied.
Monday, February 1, 2016
More Cleco's!!! Re-fitted Right wing skins- 1.5 hours
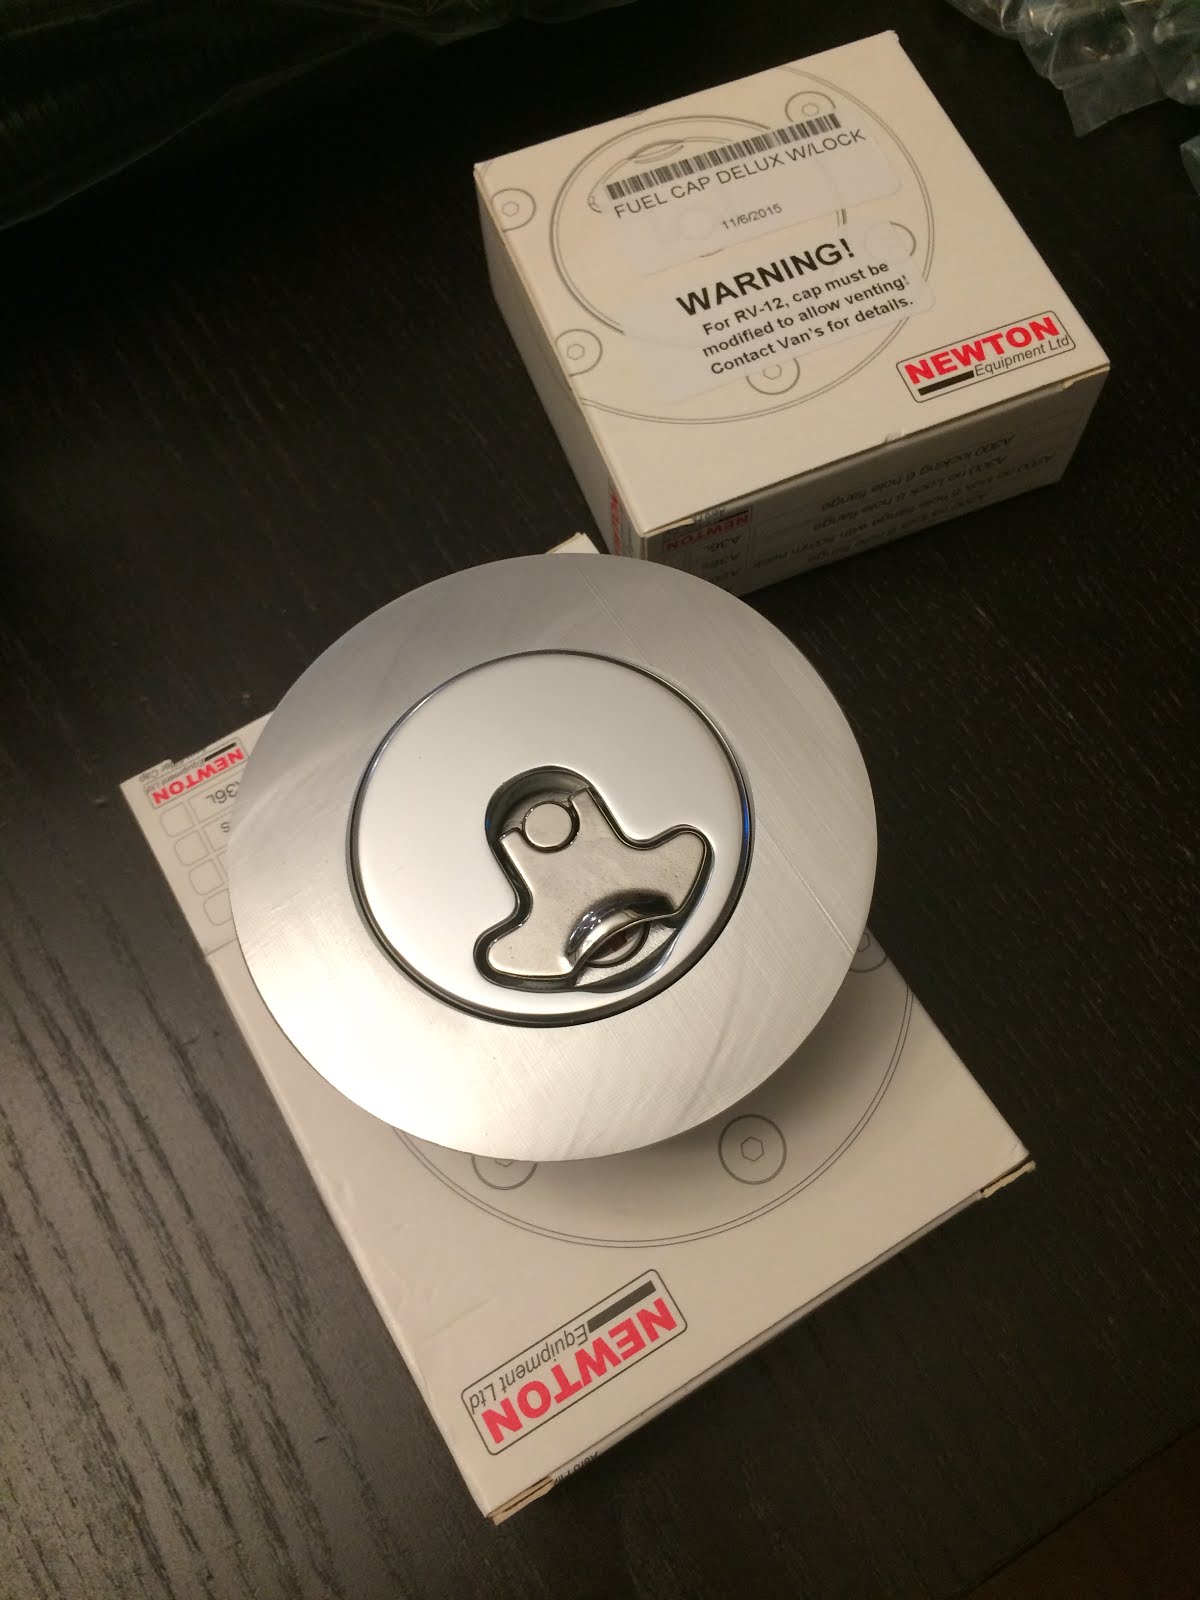
I arrived home from work to find that my shipment from Vans has arrived!!! I so badly need the 500-3/32" clecos to make progress. I also got 50' of conduit, 2 flop tubes, safety wire, locking fuel caps, blank plates for tanks, Proseal, polygone gel, tank test kit,

I was eager to see what the fuel caps looked like. I was not disappointed. Expensive - yes, but worth every penny!

So no time like the present to put the cleco's to use. I re-fitted the top skins on the right wing.


I was eager to see what the fuel caps looked like. I was not disappointed. Expensive - yes, but worth every penny!
So no time like the present to put the cleco's to use. I re-fitted the top skins on the right wing.

Sunday, January 31, 2016
Fitting Left leading edge w-408 rib - 4 hours
It was finally time to finish preping the W-408 leading edge ribs. I slid one rib into the leading edge assembly and marked the holes with pen to give me an idea of where to flute the ribs.

I then transferred those marks over to the other rib. It was not time to double check the flanges were 90 degrees. I broke out the rib straightener and made some adjustments.

I then fluted the ribs. The left one went well, but the right just gave me brain damage. Not the easiest to work out. I was satisfied that it was sorted out, but not a perfect as it could have been. In any case, I fit the left rib into the leading edge assembly and clamped the rib to allow match drilling the aft flange with the spar. It came out pretty nice,


I then clecoed it back into place.

Next it took me some time to figure out where/how the w-423 joint plates come from. I finally noticed the note on drawing #12 section F-F. going into my inventory I found the 2 AS3 strips. I slowley worked it out that these do not need to be cut down. The are the correct length to begin with.
I then came up with the idea to fit then around the rib to double check the correct fit and also to pre-bend the strip. This turns out to be a fairly important step. I made sure to even out the slight overlap on each end and mark it.

Then....I followed the plans to fit the joint plate in. The process for me was quire slow and lots and lots of adjustments back and forth to get just the right fit. I then started to match drill and cleco. Checking and re-checking as i went.


A long process...But extremely nice on how it turned out.

I then transferred those marks over to the other rib. It was not time to double check the flanges were 90 degrees. I broke out the rib straightener and made some adjustments.

I then fluted the ribs. The left one went well, but the right just gave me brain damage. Not the easiest to work out. I was satisfied that it was sorted out, but not a perfect as it could have been. In any case, I fit the left rib into the leading edge assembly and clamped the rib to allow match drilling the aft flange with the spar. It came out pretty nice,


I then clecoed it back into place.

Next it took me some time to figure out where/how the w-423 joint plates come from. I finally noticed the note on drawing #12 section F-F. going into my inventory I found the 2 AS3 strips. I slowley worked it out that these do not need to be cut down. The are the correct length to begin with.
I then came up with the idea to fit then around the rib to double check the correct fit and also to pre-bend the strip. This turns out to be a fairly important step. I made sure to even out the slight overlap on each end and mark it.

Then....I followed the plans to fit the joint plate in. The process for me was quire slow and lots and lots of adjustments back and forth to get just the right fit. I then started to match drill and cleco. Checking and re-checking as i went.


A long process...But extremely nice on how it turned out.
Stall Warning Hatch - 2.5 hours
I started in on sorting out the Stall Warning hatch. I little bit of thought goes into as the kit is designed to be an add on to an existing plane, but there a few steps that you can skip as they are not applicable. The supplied template is just scrap because the left leading edge is prepunched with the correct hole locations.


Not much to report for the hatch. The holes did not need match drilling (I made sure for each hole anyway) so I buffed the holes, deburred slightly, and dimples for the screws. I then went to work on countersinking the holes for the rivets that hold the platenuts. These are done by hand with the deburring tool and take some time to fool around with and get right. I DO NOT want to countersink too far. I opted to use the NAS Opps rivets for these rather than dimple them.

I did a trial fit of the hatch cover over the area, and I must say that there is quite a gap all around. Not sure that I am too keen on the fit. Maybe I need to make a new custom hatch??


Not much to report for the hatch. The holes did not need match drilling (I made sure for each hole anyway) so I buffed the holes, deburred slightly, and dimples for the screws. I then went to work on countersinking the holes for the rivets that hold the platenuts. These are done by hand with the deburring tool and take some time to fool around with and get right. I DO NOT want to countersink too far. I opted to use the NAS Opps rivets for these rather than dimple them.

I did a trial fit of the hatch cover over the area, and I must say that there is quite a gap all around. Not sure that I am too keen on the fit. Maybe I need to make a new custom hatch??
Subscribe to:
Posts (Atom)