Thursday, July 23, 2020

Finished the right gear leg - 3 hours

Again, a very slow tedious process checking the gear leg, trimming, fitting, checking, trimming, over and over again. I suppose I could have done this much faster but I had little confidence in the template. (The few plans "gotchas" recently have made me cautious).

I managed to get the hole perfectly cut to accept the gear leg on the right side.

But as I clecoed the skin down, I saw that I had a bit more cutting to do to open up the sides and towards the forward firewall. Again, slow and steady a trimmed away.

Finally done the right side!

Sunday, July 19, 2020

More fitting of the gear weldments - 2 hours

Not much to report, still working away on getting the holes cut for the landing gear weldments. I do not want to make any mistakes here so it is taking me a long time to get this done. I just don't trust the template so I'm afraid to cut up to the line.

I'm able to check the scallops on the F-704 flange with the holes I've made in the skin.


I have a bunch more cutting to do before I match the scallops in the flange.

At this point I am able to confirm that my paper template is correct and the hole is slightly undersized already.


Tuesday, July 14, 2020

More fitting the landing gear weldments - 5 hours

Before I get the holes cut complete in the floor skins. I think it best to get the scallops for the weldments cut in the F-776 and F-704 centre section flange first.This will allow me to easily "dial-in" the fit for the backside of the weldments.

It was very easy to extract the 7/16" bolts holding the centre section allowing the weldments to be test fit.

I could then see just how much material needs to be removed for the landing gear.


I then drew some reference lines as a guide (Remember, I have little confidence in the paper template at this point).
I then place the paper template on and traced the line in a different color pen. I could see how close my reference lines were to the template. The lines matched up in terms of left-right....however according to the template...I need to remove a lot of material to get the weldment placed far aft.
In fact...the scallop looks like it has to be taken back almost to the rivet countersink.

I dug out my round files and dremel tool and went to work. Grind, check fit, grind, check fit. again and again. It took quite some time, but the fit is excellent.

Now having faith that my template is shy of what I needed to cut. The other side was cut and shaped very quickly.

Monday, July 13, 2020

Opening up the holes in floor skin - 2 hours

I used a dremel tool to open up the rough-cut holes in the bottom skin. I was careful not to cut too much. I want to ensure that it fits perfectly and that I don't cut too much.


In order to be sure, I will need to work on trimming the F-776 and F-704 centre section flange first.

Sunday, July 12, 2020

Fitting the Landing Gear Weldments - 3 hours

I've taken a bit of time away from the build in order to finish replacing my deck. I've replaced the pressure treated boards with Trex decking. I thought it would take me a weekend, but in reality it took me a couple of weeks. Seems Trex is a bit more tedious to install than I though but it is totally worth it!!

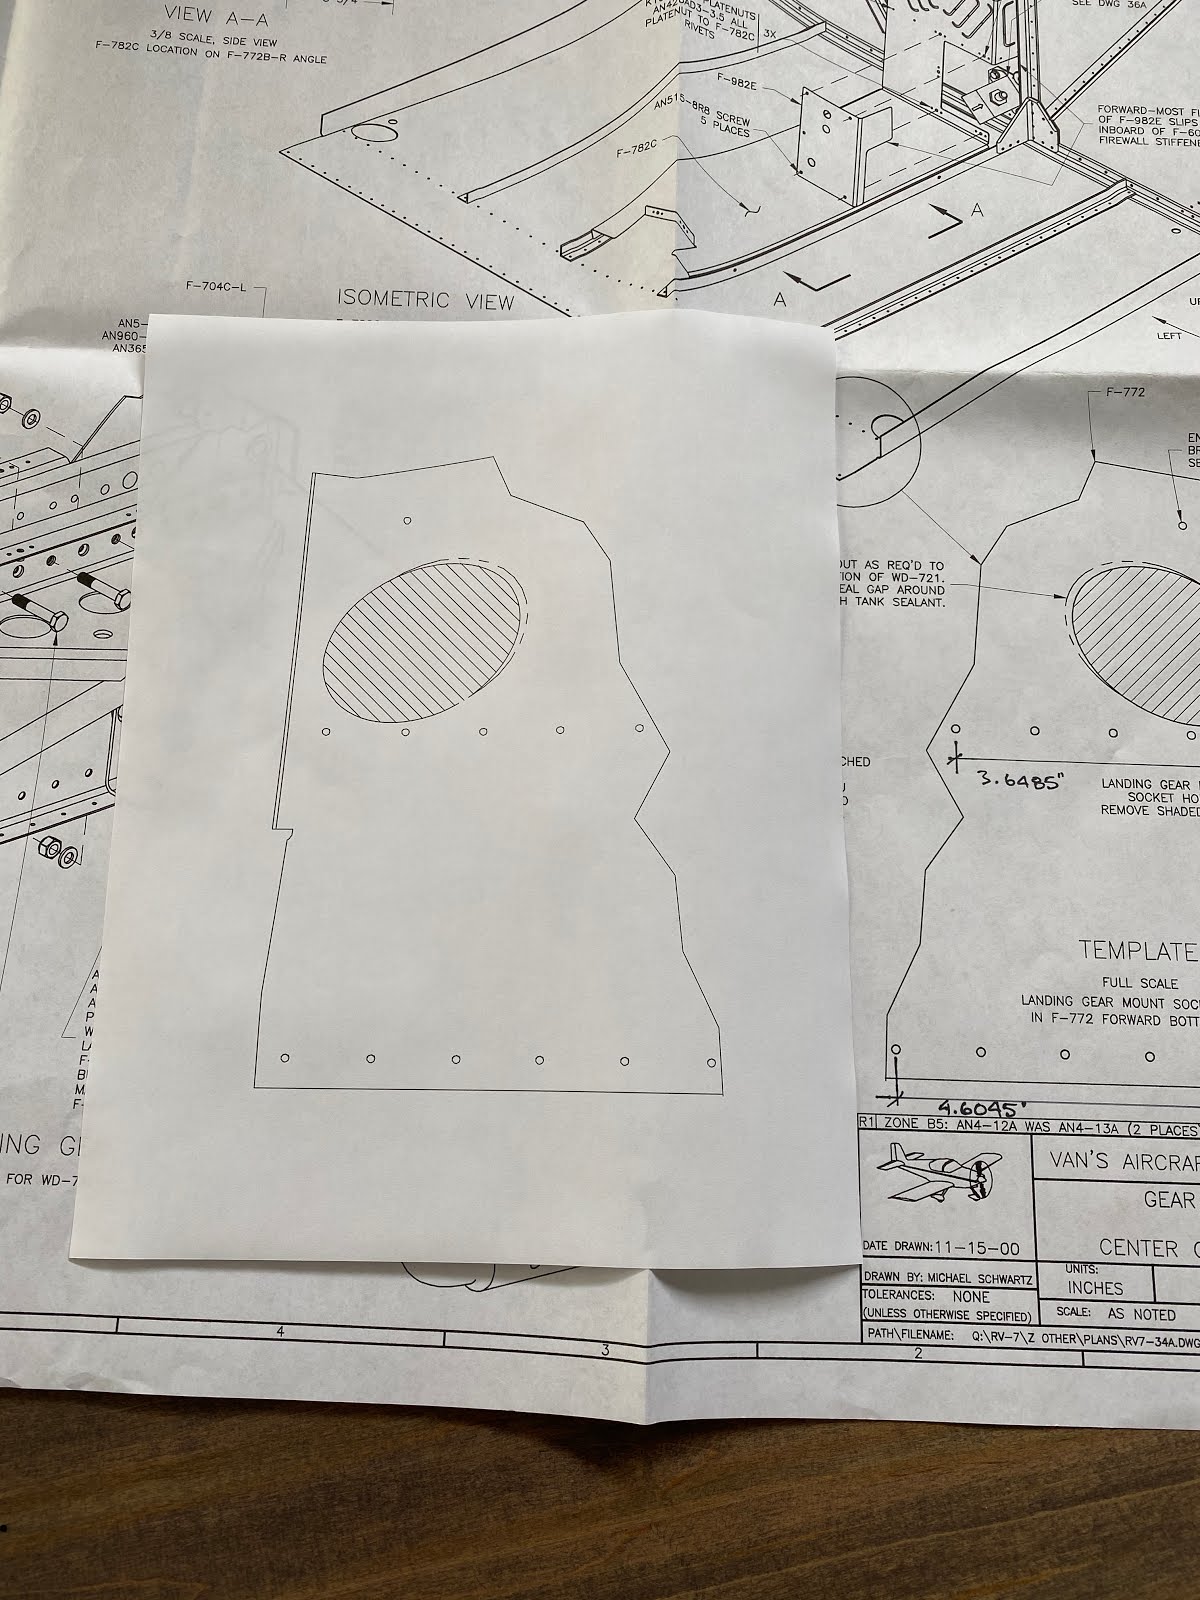
So to start back in on the build. I need to begin fitting the landing gear weldments to the frame. But I need to start by cutting holes in the F-772 bottom skin. Not wanting to cut the plans all up. I've scanned the original drawing into AutoCAD and gave myself a template that I could print out on 8 1/2"x11" paper. I also can easily make it left and right.


I traced the holes onto the skin, and then used a drill bit to get things started.


Thursday, June 18, 2020

Finished matchdrilling the firewall - 2 hours

So now that I have the word from Van’s that the edge distance at the top of the fire wall is not an issue. I was ready to start match drilling the firewall to the fuselage. I started drilling all the holes along the bottom of the fuse (top from my perspective). Then I started drilling the sides starting at the longerons as per the plans.


The edge distance at the top most hole ends up super close to the edge of the relief in the flange. Eeesh!


 The edge distance on the corner weldments are really good. The blue line represents minimum edge distance (to center of the hole) so lots of room to work with here.


Wednesday, June 17, 2020

Still messing with the firewall fitment - 6 hours

After quite a number of small build sessions in the evenings, lots of fitting and checking, trimming the longeron(s) and repeat the process. But I seem to have everything figured out. Its taken quite a lot of time to get things to fit right. Tip: the best method I found was to start fitting the longerons to the firewall using the AD4 rivets first.....Then cleco the side skins to the longeron. It doesn't work well if you cleco first and then try to slip the rivets in. Its a very tight fit for everything.

The last little item before drilling the firewall that I notice is that I have one hole each side that has a questionable edge distance issue.

Edge distance issue at the top most hole of F-770 side skin


I've put up a post out on the Van's forums to see what the consensus is as not many people note this item on their build-logs, and I couldn't find any other pictures of this area on other builds. Looks like I might be the first one?

Called Van's the next morning and the advice on my particular edge distance issue was to build-on. Technical support was extremely helpful offering additional advice on recommended cowling attachment. I won't dive into the details for the blog but we had talked about sky-bolt fasteners and a good practice is to tighten up spacing of them along the bottom. Once again, Van's is 10/10 for service and support! 

Here's some misc. pics of me messing with the fit over the last couple days so you can see the fit.