Monday, December 16, 2019

Trimming the F-623 ribs for the side steps - 3 hours

Tonight was a lot of head scratching on how to fit the side step tubes and scallop the F-623 ribs.  I wanted to make sure that the F-776 floor skin was sitting flush with the top of the F-770 side skin. I used a toothpick in the relief hole to hold it up.

At first I started to eye ball it and sketch the scallop. Lots of un-clecoing and re-clecoing, checking and re-checking. The plans have the best suggestion using a straight edge to mark the edges of the holes....then you just work out the scallop depth from there. Not easy, but just work slowly at it.
I used a sharpie marker in the scallop, and then would fit the step. I'd rotate the step a number of times which would remove the sharpie from the high points on the rib. I'd know exactly where to trim the material down.


I managed to get the scalloping perfect for the right side step.

In the end, an excellent fit.

I just need to trim the 1 1/2" tube down but I'll save all that adjustment work for later.


Sunday, December 15, 2019

Cutting the steps into the F-770 skins - 4 hours

Now the plans have you cut 1 1/2" diameter holes into the F-770 side skins for the optional step kit. Yes, I did choose to install the step kit. (P.S. I was relieved to see that Van's has reinforced the step kits as the earlier generation units had a tendency to crack at welds, at certain locations).

Next I really battled with did I want to cut these 1 1/2" holes now before the conical bend? I want to get that conical bend over with, however for the life of me, I just couldn't figure a way to cut the hole cleanly/easily after the skin was bent. Decision made....Ill cut first, bend later. Fingers crossed.

I drilled the pilot hole up to 1/4" then used a 1 1/2" hole saw on the drill (in reverse). Makes for a much cleaner cut and doesn't want to grab and mar the aluminum.

Seeing that I was going to work well...I de-vinyled before I continued drilling.


I managed to get both sides done and re-cleco'd the side skins back on.


Saturday, December 14, 2019

Fitting the longerons to the aft fuselage - 9 hours

As usual. It's been a very busy week leaving not a whole lot of time to work on the RV. I am teaching ground school one day a week but frankly its lots of work to write power point presentations. Did I mention its not easy to teach...You really want to know a subject, try teaching it.

I rechecked the fit of the longerons just to make sure I was happy with everything. I need to make very small adjustments for the vertical stabilizer bars. (Longeron openings are a tad snug). I also double checked the ends of the angles for trimming.


Now that I'm happy with the fit of the F-710B angle I riveted it to the bulkhead.

Next step I cleaned up the longerons. I filed the openings for the horizontal stabilizer bars so they weren't so tight. I filed down some thickness on the flange that was trimmed back on the aft end, and I also timed the aft length so that it sat flush with the tab on the aft bulkhead.


All ready to install on the fuse and then to flip the fuse over.


Next I was then ready to join the aft and center sections. Slow and easy wins the race.

It occurred to me after some time that the F-704 Bulkhead does not sit "in" the angle. I used some spacers to lift up the F-704 bulkhead as it sits on "top" of the angle.Then the side skins and everything else started to fit quite nicely.


Sunday, December 8, 2019

Worked on the F-710B angle - 3 hours.

The Van’s Facebook group basically came back with the opinion that given the chance. Make a new angle. Fortunately I have a length of spare angle already so making a new one is fairly easy. Getting the angle cut to a correct length was relatively easy since I have the old piece as a guide. I could easily fine tune the length as I could cleco the angle in and measure the 0.125" off the side skins.

The trickier item is I made a relief for the tab to fit in the angle which would allow. This took quite a bit of work with the files but here is what it looks like.

The result is that this allows the top side of the angle flange to overhang the tab and allows for a very snug fit with the longeron.


At the end of the day, there was a lot of fussing with this area to get the angles to fit snug. I highly recommend that anyone trying this pre-order some spare angle and prepare yourself to fuss with this area. Seems many planes out there have fitment issues with this area and edge distance can become an issue if you are not careful. As a side note, Steven Lynn on the Vans Group suggested a gusset/shim in that area (Normally the plans call for just a shim) but I sure like the idea of this gusset.


Saturday, December 7, 2019

Working on finishing up the center section - 7 hours


While I’m waiting on the paint to dry on the new platform I built in the garage. I went to work on the center section to clean up a few outstanding items. One of the items I haven’t addressed is countersunk the F-705 bulkhead for the nutplates (for the removable baggage floors).
I countersunk for nutplates and then I masked off the assembly and spot primed the area. 
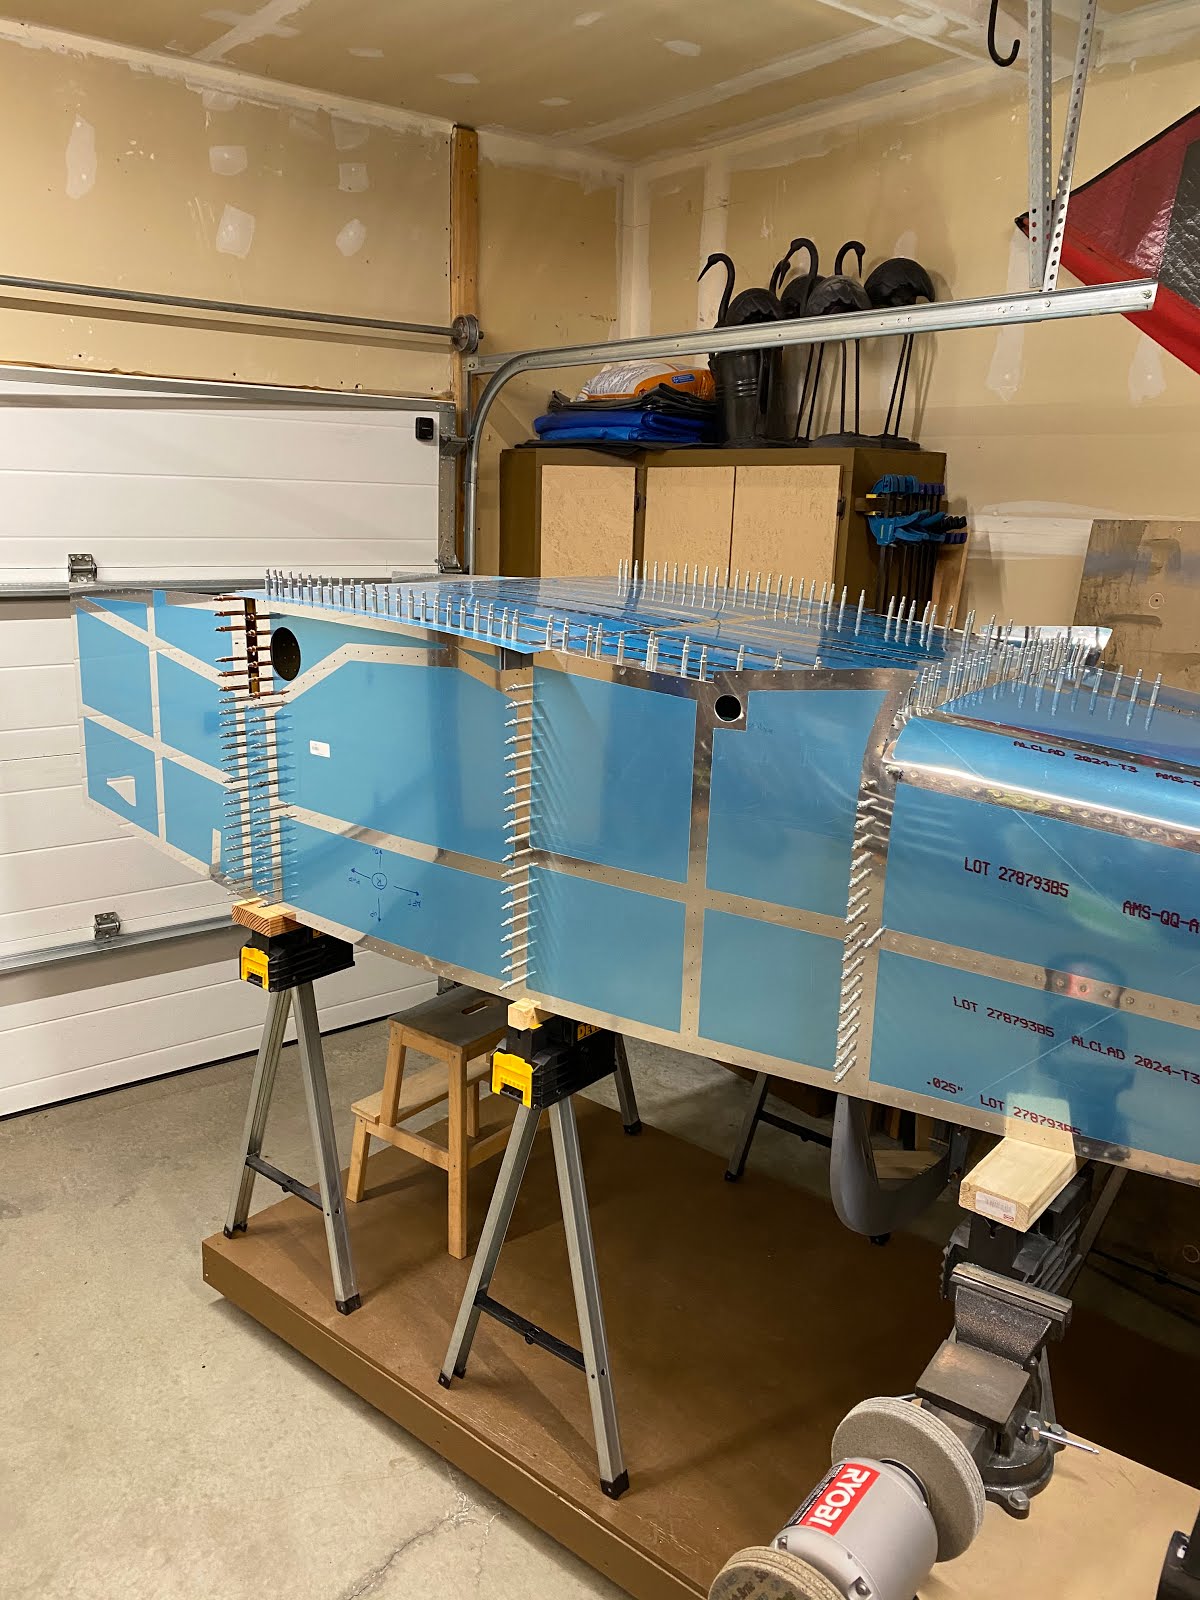
Since I had the primer out, I touched up the skin under the forward F-704 bulkhead/spar. 
Next step I need to make sure the aft fuselage is prep’d for the longerons. Reading other build logs. I see that the relief hole for the longerons in the bulkheads need to be enlarged slightly. I have some scrap 3/4x3/4x125 angle so it made adjusting those holes pretty easy. 
I fitted the longerons to the aft fuselage to check fit. 
Like Mike Bullock’s build page. I too had a slight bit too much of Bulkhead F-711 that kept the longerons from sitting flush with the side skin. I will need to trim those down.
I checked the fit at the back and marked the longeron that I purposely left long to be cut right where the rear tab ends. No edge distance issues here! 
Using the method Mike Bullock used. I isolated the F-711 bulkhead from the horizontal stabilizer mount with a plastic scrapper and used a small flat file to remove about 1/32” of material. Worked very well.

 
Next step I wanted to take a good look at the F-710B angle. I haven’t riveted it yet to the bulkhead as I wanted to take a good look at how all this was going to mesh with everything. I cut and shaped the F-710B angle exactly to the dimensions on the plans and then fitted it to the F-710 bulkhead. Looking at other build logs, I see that there can be quite the issue with getting proper edge distance with the AN3 bolt used to mount the horizontal stabilizer. There’s just not much material to work with there. I can get things more snug. I built the F-710B angle to fit between the tabs of the bulkhead but I could have made it longer. I’m about 1/32” to 1/16” short on both sides if I want it tight to the longerons.


I sat and looked at it for a while. Looked at other builds. Scratched my head. I think I’ll post this dilemma to the Van’s Facebook group and see what more experienced eyes say. 

Finished the platform - 2 hours

I finished up the platform and painted the base so this will be the home for the fuselage for quite a while.  As I waited for the paint to dry, I spent a good part of the day working on the center section getting a bunch of small things done.


Friday, December 6, 2019

Building a platform for the Fuselage - 3 hours

I need to get things ready to join the aft fuselage and the center section. One of the battles that I have is that my garage floor I’ve very uneven and sloped. So placing sawhorses directly on the concrete is not a great way to try to work on the fuselage if I want it straight. I've finally settled on building a semi-permanent platform (that’s level) to place the saw horses on.

Much of the time was spent on cleaning up the garage and getting area ready. I picked up twelve 8’ 2x4’s and went to work. I have the frame built and then levelled the assembly with the laser. All good to go. Just need to put some 3/4” ply down and paint it.