Sunday, July 7, 2019

Finished the crotch strap brackets - 6.5 hours

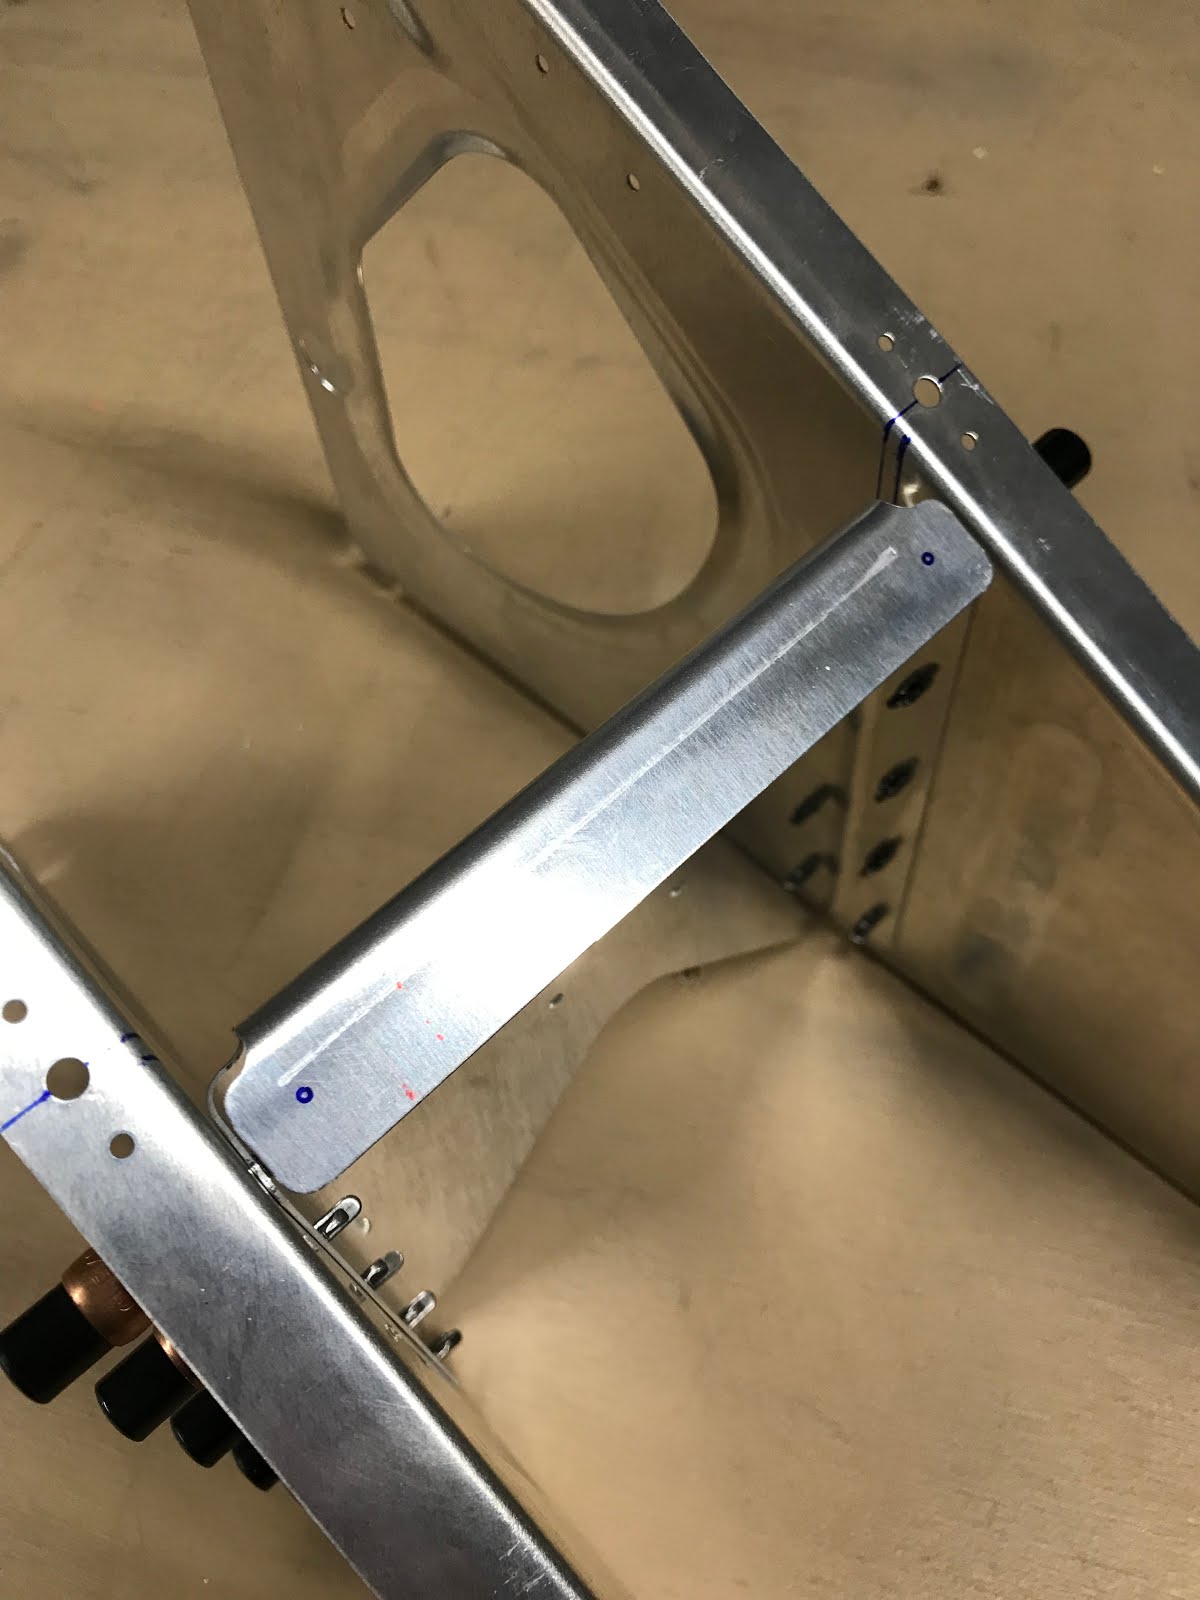
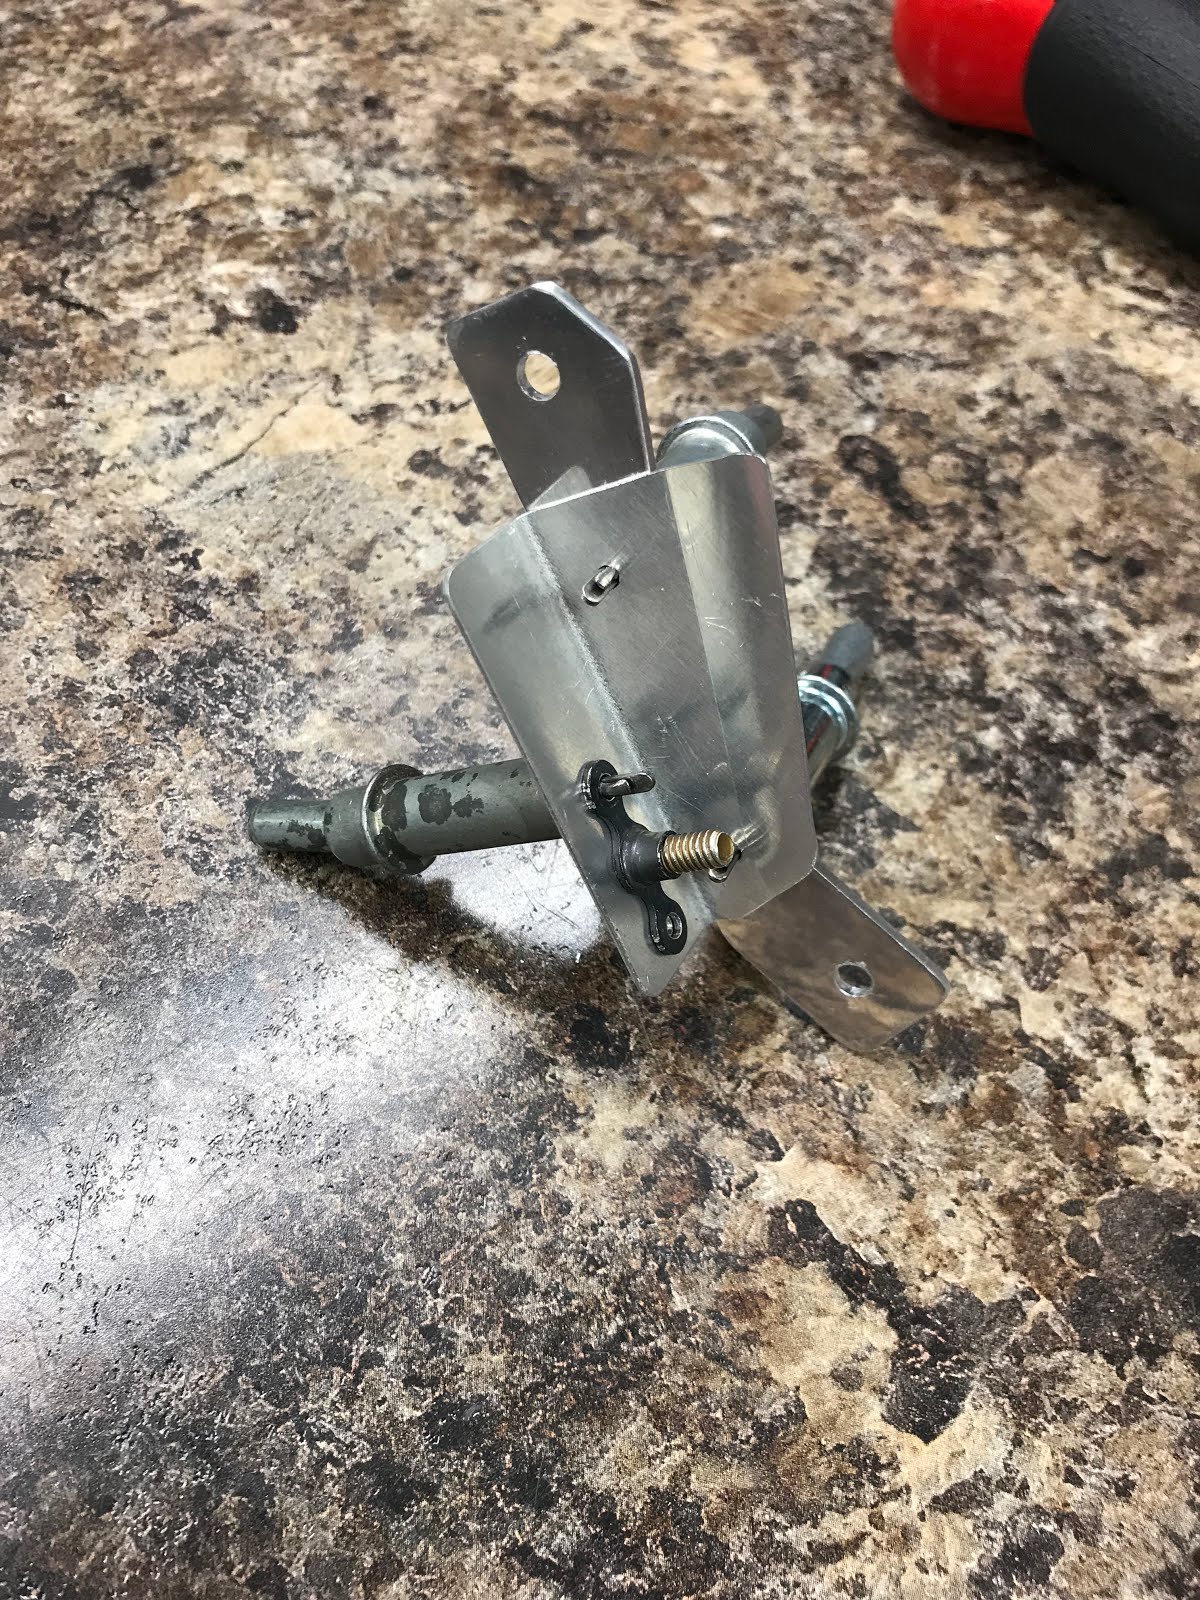
Another big day on the build today. I managed to complete the co-pilot crotch strap bracket in short order. Next I was ready to drill the forward most brackets. I ran over to Home Depot in the morning and picked up some 1/8” aluminum flat bar to use as spacers.


Once I had the spacers cut, I was then able to cleco the entire assembly together. I double checked the fit and was really happy with how everything laid out.

Next, I disassembled one side for the F-716 ribs allowing me to match drill into the other F-716 rib. This process worked extremely well, and disputed using all of my special cleco’s it was fairly quick to complete both the pilot and co-pilot brackets.


Next I was ready to drill the anchor bolt hole for the crotch strap itself. The crow harness has a slightly longer mounting hardware than the vans so it was obvious I wouldn’t be able to use the stock pilot hole. It places the belt return too high and out of the relief hole, so I will need to move it down.


 Taking a hint from Mike Bullock’s RV build page, I moved the hole down just slightly over 1/2” (0.510” to be exact). I then drilled a pilot hole to #30 in the aft bracket.

I drilled a #30 hole in the center of the aluminum spacer. I then cleco’d the aft bracket to the spacer, and reassembled. Once I had everything clamped, aligned. I removed the #30 cleco and match drilled the forward bracket to #30. I disassembled and I had perfect setup to open the #30 holes for the AN5 bolt.

One small item that I needed to do was to trim the innermost seat belt mounting brackets to clear the F-916 spacers. I had trimmed them originally, but they needed a tad bit more.


I was going to turn in for the night, but I decided to match drill the AN3 bolts that connect the main spar to the F-716 ribs. That went very well, but unfortunately one of the holes was set a bit to much inboard in relation to the line of rivets and the edge distance doesn’t look good. A couple of other holes aren't great, but this one is the worst. 

On further inspection, it would appear that the factory drilled holes are a bit out of alignment. These holes are already drilled, I just needed to match drill them.


I’ll send an email off to Van’s to see what they suggest. Maybe it will be ok given the location and circumstance. I looked at a few other build websites and I notice similarities in other projects.

UPDATE July 16-19 - I didn't get an email back from Van's so after a week of waiting I called in to builders assistance. Support reviewed the pictures and said that this was an easy fix. They recommend I build a doubler with the same thickness of the flange and large enough to catch at least the two adjacent rivets below and make the doubler wide enough to provide proper edge distance for the AN3 bolt.

Saturday, July 6, 2019

Notched center section ribs and started crotch strap brackets - 6 hours

I went flying this morning at Cooking Lake (CEZ3). The day was overcast but looking good for flying with a decent crosswind. I ended up logging a 1.3hr flight, practised some landings. All in all had a great day.

When I came home I was ready to tackle those notches/scallops in the ribs. I ended up using a large round file to start me off in the right direction. Then I used a variety of sanding drums to make the final notches. The have a sanding drum for the drill that's just about 5/8" diameter so it makes the notches on the F-716 ribs perfect.


Next item I moved onto was getting the crotch strap mounting bracket worked out. I started off marking the centerline of the #19 hole as per the plans.

Using a square I carefully drew a vertical reference line down each rib. To check my work, I clecoed the pair of ribs back together and could verify if both lines on the ribs line up. Once I knew my lines were exact and the same on both ribs, I marked out a new line 3/32" offset aft of my reference line.

Again, I clecoed the two ribs together back to back to check if the lines matched up.This now gave me a mounting reference to locate the aft crotch strap mounting bracket. I then clamped a piece of plywood at a location that allowed me to just barely see the new line (3/32" aft of reference), and one along the top flange.

I then clamped the aft bracket in place, checked all alignments and then drilled. I ran the drill bit through the mounting holes on the opposite flange to ensure accuracy.


I then quickly clecoed on the floor/seat pans to confirm edge distances for the mounting holes on the flanges of the aft bracket.


The holes look good, however they are not exact (just a few hundreds of an inch off) so I will re-cleco the center section assembly together to ensure the most accuracy before drilling these holes.
Also, I dug out the Crow Harness crotch straps from the basement to work out how I need to mount these. Looks like I won't be able to use the stock mounting holes as the tabs are longer than the Van's mounts. But the tabs are 0.125" thick - give or take, so I will use Van's recommended dimension for spacing (0.125").

I then assembled the F-716B rib access plates. I had primed the pieces earlier in the day and now that the primer had a change to dry I could assembly. When I was done, I gave them an extra shot of primer cause these will likely see a lot of action during future construction.


Friday, July 5, 2019

Misc Center Section Work - 4 hours

I ordered a new F-725R luggage rib and also ordered 120 black clecos so that I can properly match drill the seat and luggage floors to #19 for the removable floors.

Until those arrive I’m forced to just putz on some miscellaneous center section items until I can get back on track. I prepped and primed the F-715 rib inserts as I need to get a days worth of dry time on the primer before I can assemble.

It’s been bugging me a little that I messed up the hole in the luggage rib, so off to Home Depot to buy more tools. And sure enough I managed to fine a proper 1 1/2” hole saw with a fine tooth pitch perfect for drilling the holes I need. Too bad I didn’t have this to begin with.


I set up the drill press and made quick work of the task.


Next I decided to re-cleco the luggage rib into the assembly and wouldn’t you know...No way that its gonna go back in there without a fight. So after some head scratching I decided to disassemble everything. I’m going to have to use the special cleco method attaching the bottom skin I learned a few days ago however there’s no point in getting it re-clecoed until I have the replacement F-725R rib in.

So I’m settling on disassembling the center section and do all the other stuff that needs to be done. (I have the crotch strap, aileron trim, and a host of other bits to do) Once I have the replacement parts I can re-cleco the assembly and proceed with finishing the work for the external steps and match drilling the seat/luggage floors (which I think I need the bottom skin in place to be accurate)

So after getting the bottom skin off I decided to notch all the center ribs for the wiring holes first. They are all marked and ready to notch.


Wednesday, July 3, 2019

Started to cut the F-725 ribs for the external steps - 2 hours


I had been thinking on how best to scallop the corner ribs. I ended up deciding that I need to transfer the centre line of the external step tube onto the corner rib. This way I would have at least a correct location to start scalloping.  I can get a little trimming done to at least give me good reference to go off of. The final trimming can easily be done once I am ready to set the steps in place.
 

Next I needed to cut the 1 1/2” holes in the F-725 for the steps. I unclecoed both L and R ribs and makes reference lines and a 1-1/2” diameter line....cause why not. I set up the right rib on the drill press and dug out my 1 1/2” hole saw from the basement all set to make my first cut. Then disaster struck. I basically ruined the hole. The hole saw that I have has an amount of play in it. It wasn’t immediately noticeable at first but once I started drilling it started to wander and chewed up the rib. Nice messy oblong hole.

I’ll save you the drama. I just decided to order a new rib....I already feel better about it.

Still wanting to make some progress tonight. I hoped over to preparing the two F-716 rib access cutouts for the stick controls. I match drilled with a sacrificial nut plate and then countersunk the rib for an opps rivet. The I countersunk the F-716B stiffener plate for a regular AN426AD3-4 rivets.


Monday, July 1, 2019

Even more work on the F-623 corner ribs - 5 hours

I was in a bit more of a groove today following yesterdays build session. I need to make the Aft F-623A attach straps. Like the forward strap I cut a piece of thin cardboard and used some masking tape to make a template.

I then could use the template to verify the hole edge clearances. Initial fit looks really good.

I then used the cardboard template to cut some 0.032” material to size. I then started to trim the aft end to clear the rib and was able to make initial marks of the rivet holes to reconfirm proper edge distances.

Next I clamped the strap to the assembly and committed to the aft hole.

Once that was done, I checked fit again clamped one more time and finished drilling the other holes. Now that I have the correct holes, I now have a solid strap piece with an abundance of edge distance.....however the fit in the rib is a bit too tight. At this time, I used that piece to make the left strap.

Being that I drilled the rivet holes, now there is no guesswork as to my edge distances and I could easy mark them and work the fit. And with a little time on the sanding station, files and 3M wheel I was finished with the Aft F-623A attach straps.


Next I clecoed on the side skins and opened up the hole in the skins for the steps to #30. Using a long #40 drill bit I can see the center line of the step tube. I just have to figure out how to scallop the F-623 corner ribs...hmmm.

Sunday, June 30, 2019

More work on the F-623 corner ribs - 7 hours

Quite a long build session in the garage today with little progress to show for it. This is a tedious process working with these F-623 ribs.

I need to complete the correct and final trim to the forward flanges of the 623 corner ribs, and to do that I need the floor at the correct angle. Fortunately for me I have some botched parts from a previous F-706 bulkhead attempt that I can use. I dug those out of my scrap bin and used them to cleco the F-770 side skins on. This gave me the best chance at getting the correct angles to work with.


I could then easy mark and trim the flanges of the corner ribs to meet the F-705 bulkhead flanges.

I was then set up to easily mark out the aft ends of the F-623 corner ribs with perfect reference to the F-706 bulkhead.


I was then ready to match drill the bottom skin to the F-623 corner ribs. This isn't as straight forward as you would think. The ribs don't quite match the edge of the skin as the drawings indicate. This took a bit of messing around on my part. Clamping, checking, repositioning, repeat....till I was happy.

A closeup of my rough fit. I still need to round the corners.

I need to trim the inboard flange of the corner rib on the aft end to prevent contact with the baggage rib.


I was then ready to match drill the corner ribs.

Next step I needed to make the Forward F-623A attach straps. I deviated from the plans and opted for a larger strap that ensures good edge distance. I started first with cutting some cardboard scrap as a template.

I could trace the holes and confirm the proper edge distances. I then used 0.032" scrap and cut the larger wedges out of that.

Check fitting...Looks good.
 
After match drilling and some TLC on the 3M wheel, here's how it looks.
 

 Now to work on the Aft F-623A attach straps. Think this will be just as tedious.