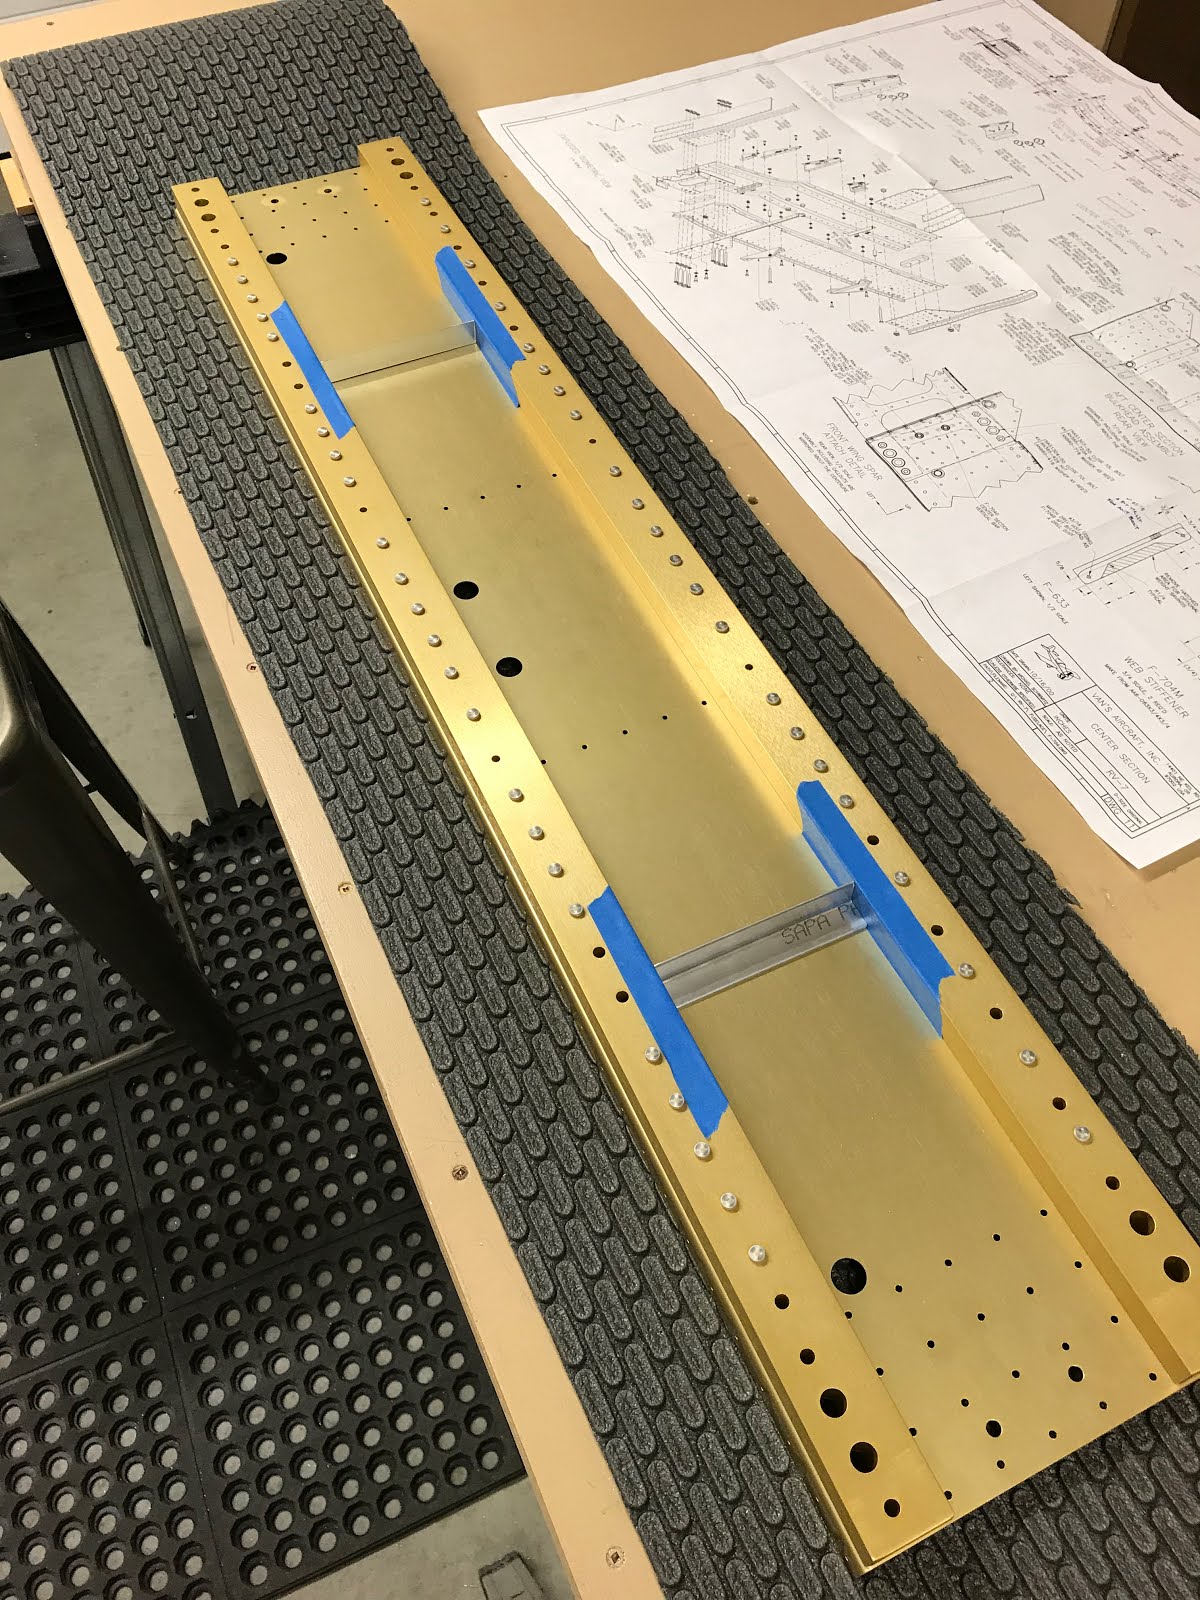
Next step was to "fabricate" the F-633 control mounts. I had to laugh because they are already fabricated, you just need to drill a few holes and lighten them up. I drilled the uppermost hole(s) to the dimension shown. The plans have you drill the hole to 3/16" dia, which is not enough for an AN3 bolt, very close, but not enough. So I polished the hole with the dremel and 800 grit sandpaper until I could press fit the bolt in.

Next step I bolted the control mount to the center section and carefully squared the mount with the center section using a big square. I checked this with a few different squares and few different ways. then I clamped the piece, re-checked square.

I then flipped the center section over and lightly back drilled the hole with a #12 bit to start a shallow pilot. I then removed the mount and set it up in the drill press and finished drilling the hole with the 3/16" bit. The result is a tight hole, but is perfect in fit and location with zero play.

Next the plans give you the option to cut down the angle for optional weight savings. Everyone seems to do this step on their build logs. So I figure why not. I marked out the dimensions, and drilled the radius holes. Then I began to wonder, just how much weight savings is there? I should have weighed the piece before I drilled. But this will give you an idea of how little weight there is in those pieces. I suspect you save about 50 grams total. Haha, what a bunch of work for 50 grams. (I know is about the sum of all parts...but I just had to laugh)


Next step is to fit the control sticks at this point. I dug out the pieces and tried to fit the co-pilots control stick WD-611 & F-669 and it just wouldn't slip in. I see that I have some powder coating over-spray as well as a bump internally caused from the welding of the bracket on the outside.

In fact the overall fitment of the bushings, etc in the pieces is a bit
poor and I will need to polish/ream so that nothing binds. This will
take a little time. For the WD-611 piece, I softened the powder coating
with MEK and then used some sand paper to take down the paint. I used
the dremel to take down the weld bump and them polished the inside with
3m scotchbrite on the dremel. The fit is now great. I move onto the bushings tomorrow.